
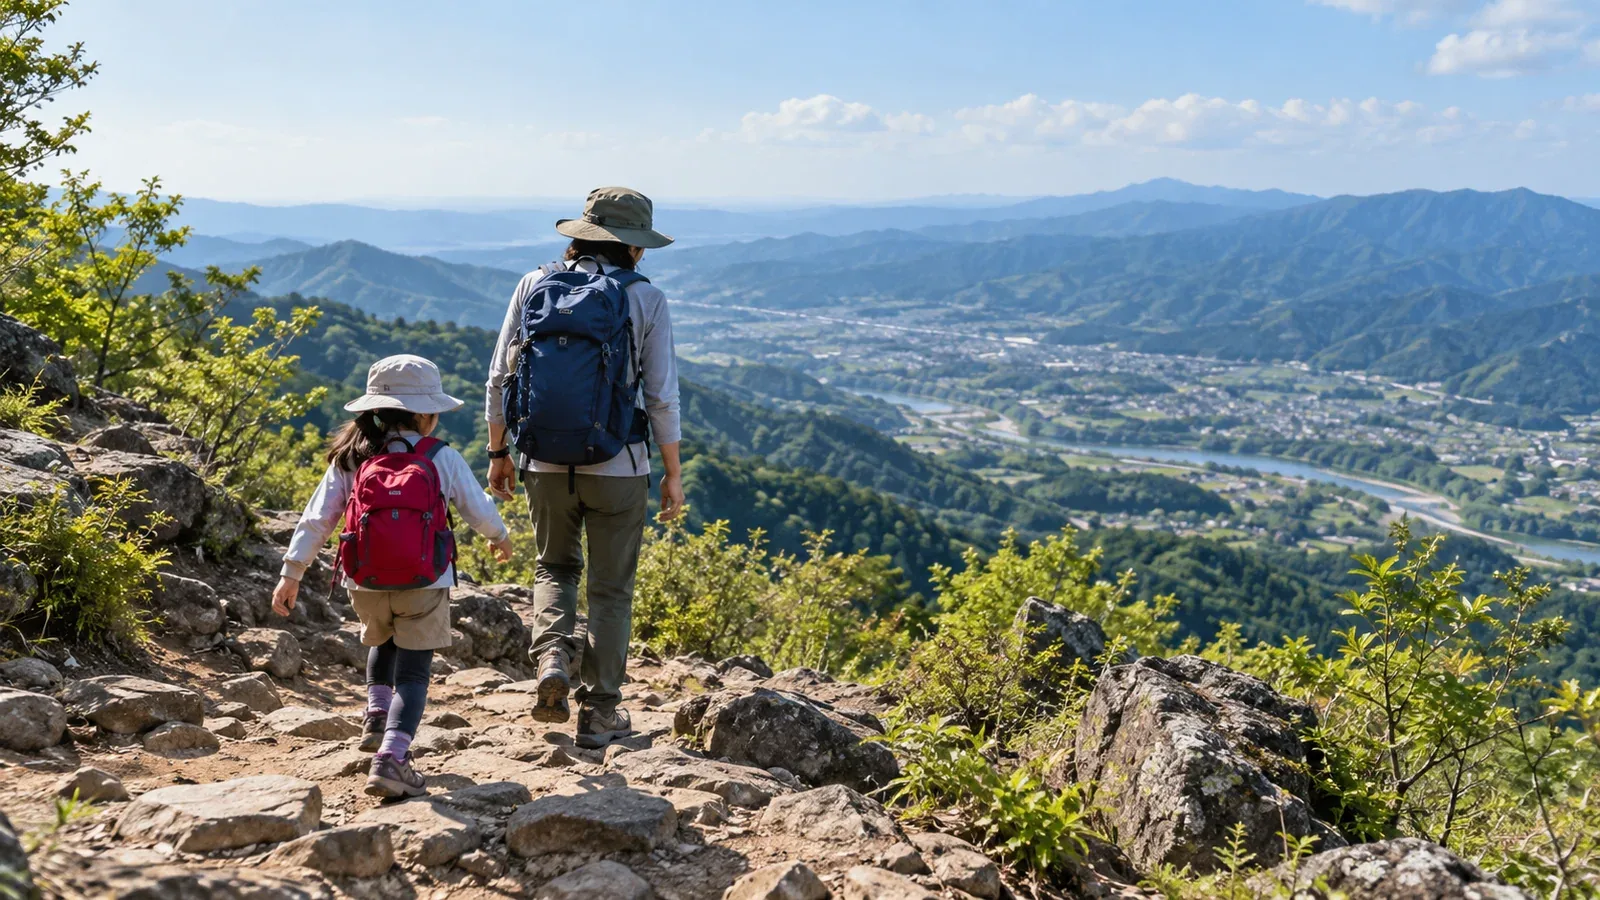
When you take the train for a family hike, include the walk from the station to the trailhead and the walk from the trail exit back to a station. A mountain close to rail can still have steep trails or take longer than expected.
Compare these four options in Kantō and choose a short section that suits your child, with time to get back before they get too tired.
What changes when you can walk from the station
When a hike starts within walking distance of a station, check the journey on foot, what you’ll carry and how you’ll get back.
Walking to and from the trail. A short stretch between the station and trailhead simplifies planning. If you turn back, count the distance and footing from where you are to the station. If a child seems so unwell they can’t walk, stop somewhere safe, check their condition and call for help if needed.
What you’ll carry on the train. Even on a short hike, pack water, food, rainwear, warm layers and a light according to the weather and route. Share heavy items and spare gear among the adults to keep the child’s load light.
Which way to return. On an out-and-back you return along a trail you know. If descending towards another station, check the difficulty, current access and the trip from the trail exit to that station.
Four things to check before choosing a route
It’s easier to narrow your options if you first consider the kind of terrain your child can walk, for how long and how much time you have for travel.
1. Walking time and breaks
Think about how long it took your child to want a rest in a park or on similar ground. Estimate uphill and downhill travel, station access, food and rest separately, and leave extra time for the return.
2. Elevation change and footing
For the same elevation gain, a shorter climb is steeper. Check maps and trail information for slopes, stairs, rock and places that get slippery after rain. Choose footing similar to what your child is used to.
3. Transfers and the walk from the station
Check transfers, station stairs and paths to the trailhead. If your child tends to tire on transfers or access walks, choose a shorter route with places to rest and allow for the interval between trains on the way back.
4. Early return routes and facilities after the descent
Choose a safe turnaround point and find nearby toilets and rest stops. If you plan to return by a different path from a junction, check access and transport from the exit in advance.
Compare four options in Kantō
These are rail-accessible options. Once you’ve chosen a section to walk, check closures, footing and facility hours for your plan that day.
Mt. Takao, Hachiōji, Tokyo. The cable car operator puts the walk from Takaosanguchi Station on the Keiō Line to its lower Kiyotaki Station at about five minutes. The cable car reaches Trail 1 partway up the mountain. Allow for queues, the last departure and the walking after you get off.
Mt. Hiwada, Hidaka, Saitama. The city puts the walk from Koma Station on the Seibu Line to the trailhead at about 25 minutes. Beyond the first torii, the rocky Otokozaka and gentler Onnazaka branch off. The city recommends Onnazaka for the descent. Consider a turnaround below the summit.
Mt. Nokogiri, Futtsu and Kyonan, Chiba. Nihonji Temple puts the walk from JR Hamakanaya Station to the lower ropeway station at about eight minutes. Parts of the uphill route from Hamakanaya don’t have finished steps. For a first visit, check ropeway operation and the steps and uneven ground on the section you’ll walk.
Kōbōyama Park and Mt. Azuma, Hadano, Kanagawa. The Hadano Tourism Association puts the route from Hadano Station to Tsurumaki-Onsen Station at about 7.4 km. For a first trip, add the walk to the entrance and look for a shorter out-and-back section.
Once you get off the train
Allow time for the walk from the station before you reach the trail. Review the plan before starting and make sure you can return early.
Find backup trains. See whether you can still return before sunset if you miss a train or transfers take longer. Shorten the hike if you are delayed.
Pause at the trailhead. Check the map, shoes and gear, and talk with your child about the first landmark and rest stop. Let them know you can change plans along the way, even if you hoped to reach the summit.
Keep drinks and snacks within reach. Find a safe place to stop, ask how the child feels and take a break.
Rest before fatigue builds. Stop early if facial expression, gait or pace changes. If a rest doesn’t help, reconsider the plan and turn back.
Plan something to enjoy after the hike. If you know a spot near the station to wash hands or have a snack, stop there if you still have time and energy.
Check the season and return time
Even on a low mountain, shade, wind on a ridge and recent rain can change conditions. When the days are short, check sunset and aim to be back at the station before dark.
Keep rainwear and warm layers within reach. Watch your pace and breaks and stick to your turnaround time. Choose a shorter section if you lose your buffer.
Check the destination forecast the day before and the morning of the hike. Look for current trail restrictions and transport notices from local authorities, site managers and operators.
Try a short section
Pick one option and use the map and timetable to check station access in both directions, the trail section, rest breaks and the return train. Choose a short section with a clear turnaround point for your first day out together.