
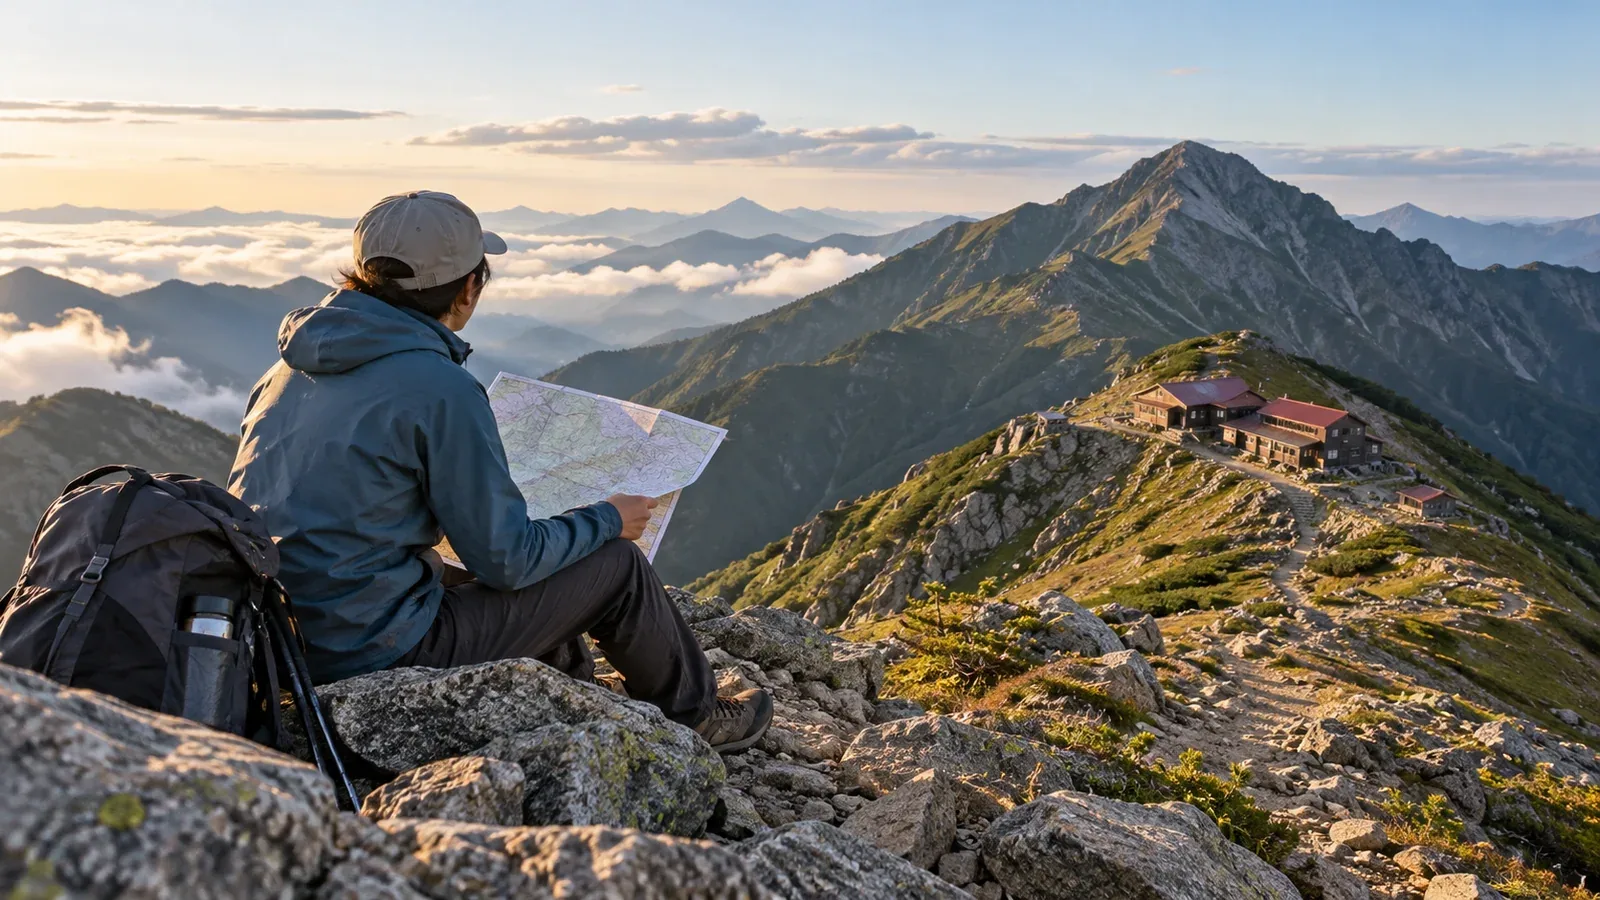
The first challenge in planning a traverse is figuring out how long you can walk and where you can stop for the night. You can draw the whole route on a map, but adding up the published times without adjustments can leave you short of your first overnight stop.
This guide explains how to set a daily limit, choose and sequence overnight stops and decide when to revise the plan. It is aimed at day hikers preparing for their first traverse of two nights or more.
Setting your daily hiking time
The times on a hiking map or official route guide are estimates for each section. Check the legend to see whether they include breaks. On day hikes, record your actual walking time on the same sections. Divide it by the published time to get a personal pace estimate.
On a traverse, allow for fatigue from the second day onward as well as a heavier pack. For example, someone who can comfortably walk seven hours in a day might try planning five to six hours of actual walking per day, leaving separate time for breaks and delays. This is a planning example. Set the pace for the least fit member and adjust for elevation gain, trail surface and pack weight.
Break down the time you need
Alongside actual walking time, allow time for the following.
- Getting ready and breaking camp: Time how long you need to take down your tent, dress and eat breakfast, then work backward from your planned departure.
- Breaks: Estimate short stops and meal breaks separately, and allow more for the heat or the group’s fitness.
- Photos, navigation and water: Include time at junctions and water sources, plus the walk there and back.
- Contingency time: Find stretches where rough ground or queues could slow you down, and add time to the plan.
Six hours of walking, an hour for breaks and water, and another hour for delays add up to eight hours from departure to arrival. Set a target arrival well before sunset and the hut’s check-in deadline, then calculate your departure time. The National Astronomical Observatory of Japan publishes sunset times. Valleys and forests can feel dark earlier, so give yourself extra time.
Choosing the order of overnight stops
Start with places you can reach within the day’s time budget. Choosing a favorite hut or campsite first can commit you to a stage that takes longer than you can comfortably walk.
Narrowing down the options
- Add up the published walking times: Divide the total by the number of days for an initial estimate. Adjust the stages for elevation change, difficult ground and overnight stops.
- Mark possible overnight stops on the map: Note accessible huts and designated campsites. Ask the manager whether an emergency shelter can be used for a planned overnight stay.
- Calculate the time to each stop: Adjust published times from the trailhead or the previous night’s stop to your group’s pace, then add breaks and contingency time.
- Check that you can change plans: If bad weather delays your departure or forces you to wait a day, make sure you can shorten later stages or descend.
When you have several options, compare the total ascent and descent and the difficulty of the terrain for each day. Shorten stages with sustained climbs, steep descents or slow rocky ground to spread the effort.
Choosing a hut or campsite
Huts often require reservations during peak summer weeks and holiday periods, and can turn people away when full. Check each hut’s booking rules, when it opens reservations and how busy it is likely to be. Check again if time has passed since you made the plan.
Many areas allow camping only at designated sites. Check permitted locations, fees and water with the land manager or hut. Whether each overnight stop has water affects the sequence of your stages, so mark refill points on your map.
Build in escape routes
Escape routes for bad weather or illness can be easy to overlook. Some long ridge sections have few ways down. Work out the walking time from each overnight stop to the nearest exit and what transport is available below it. Those details will help you decide whether to leave the route.
For example, note that from your second overnight stop the map shows three hours south to the road. Verify whether the descent is open and usable in bad weather, and how you will get onward from the road. That information helps you make a quicker decision in the field.
Where can you wait out bad weather?
On a multi-day traverse, consider a reserve day and check where you can wait safely, whether you can stay an extra night and how much food and water you need. If you fall behind early, be ready to switch to a shorter route or descend instead of squeezing the original stages into the remaining time.
Check Japan Meteorological Agency forecasts and warnings the previous day and again that morning, along with local wind, precipitation and visibility. Decide early to postpone, shorten the route or turn back if lightning or strong winds would make an exposed ridge unsafe.
How pack weight affects your pace
Carrying food, water and overnight gear can slow you on the same climb compared with a day hike. Test your pace with a load close to what you will carry on similar slopes and terrain.
For example, suppose you cover comparable ground with a published time of five hours in four hours 30 minutes with a light pack and in five hours 30 minutes with an overnight pack. Your pace factors are 0.90 and 1.10. Use the time you measured with the overnight load, then add separate time for bad weather and fatigue later in the trip.
Lightening food packaging, cookware or spare clothing can help you keep to the plan. Keep essential insulation, rain gear and first aid supplies.
When to revise the plan
If you think the itinerary may be too demanding, review it in this order.
- Can you complete the longest day?: Add breaks and contingency time to your adjusted walking time. Choose a different route or overnight stop if you will miss check-in or arrive after dark.
- Is the last day too demanding?: If accumulated fatigue coincides with a long distance or steep descent, shorten the last day or move the previous night’s stop.
- Can you handle poor weather or delays?: If you can add a reserve day, identify a safe place to wait. Otherwise decide in advance when to shorten the trip or turn back.
- Do you know the exits?: Check descent trails, closures, travel times and transport with maps and information from the managers.
Where to start
Once your itinerary is ready, check official conditions of use for huts and designated campsites and book where needed. Follow the forecast from several days before the trip and check for updates the previous evening and that morning. File your hiking plan and share your route and expected finish time with family or another trusted person. If you want advice from people who know the route, you can look for hiking partners or certified guides in the area on Nordwand.
References
- National Astronomical Observatory of Japan (sunrise and sunset)
- Japan Meteorological Agency (forecasts, warnings and lightning nowcast)
- National Police Agency and Nagano Prefecture (mountain accident prevention and trip planning)
- Geospatial Information Authority of Japan and Shōbunsha (topographic and hiking maps)
References and sources
- National Astronomical Observatory of Japan | Sunrise and sunset times and the effect of terrain
- National Astronomical Observatory of Japan | Calendar calculator
- Japan Meteorological Agency | Forecasts and warnings
- Japan Meteorological Agency | Using the lightning nowcast
- National Police Agency | Mountain accident reports and prevention resources
- Nagano Prefecture | Safe hiking guidelines
- Nagano Prefecture | Shinshū mountain route grades
- Geospatial Information Authority of Japan | GSI Maps
- Shōbunsha | Yama to Kōgen Chizu hiking maps