
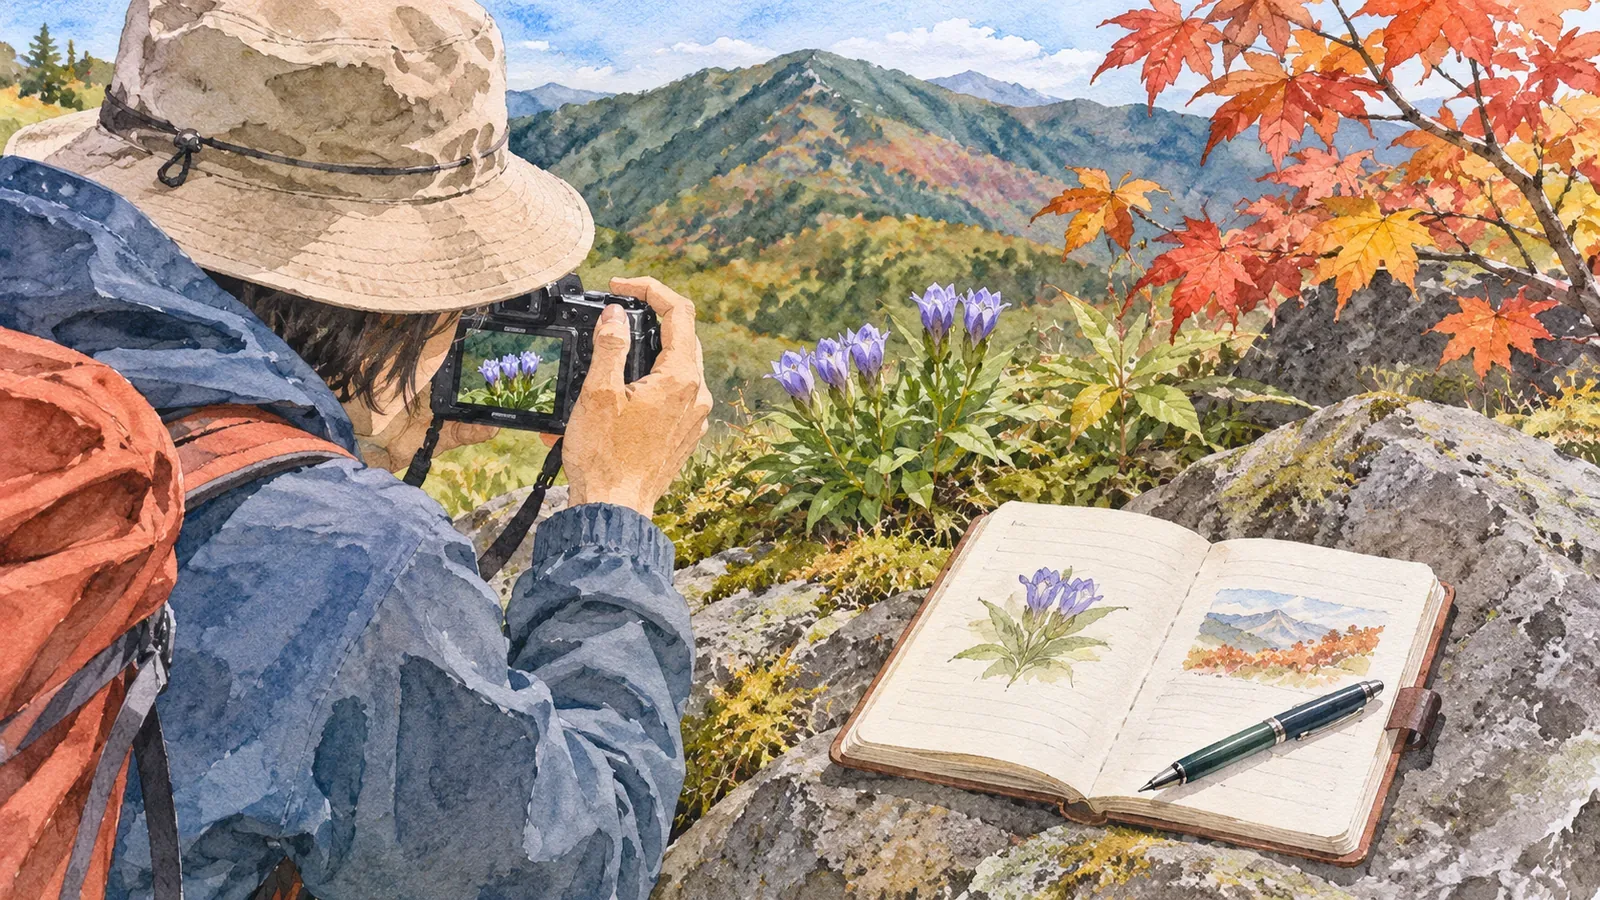
To make sense of your journal next year, record a place name and clues that will help you find the same spot and subject again. The Japan Meteorological Agency and Japan’s National Institute for Environmental Studies use repeated observations under comparable conditions, sometimes following selected trees. Here’s how to borrow that idea for the location field of your hiking journal.
Use the idea of a selected tree on a hike
The Japan Meteorological Agency uses common criteria at stations across the country to observe when Japanese apricots and cherries flower and when maples and ginkgos change color. It chooses specific trees to observe. The records help track seasonal timing and differences or changes in climate.
The Phenology Observation Manual explains that flowering and leaf color vary with the individual plant and growing conditions. Comparing years works better when conditions are consistent. It recommends open surroundings because local weather can affect the observations. If an observer replaces a selected tree, the manual says to record the change and the year the new tree was chosen.
Even if you can’t follow one tree, note whether you saw the same plant as last year or another nearby. You’ll be less likely to mistake a difference between plants for a change in the same one. Vague location notes can bring you back to a different spot without realizing it.
Five details for your location notes
Give the location five fields: name, landmark, coordinates, photos and changes.
First, record names: the mountain, trailhead, route and place names shown on signs. Second, describe your position from a landmark you can match with the map or signs. For example, “toward the summit from the sign, just before the large rock on the uphill side.” Landmarks can change. Use current maps and signs when walking. If you record the distance by steps or walking time, say how you estimated it.
Third, add latitude and longitude if available. The citizen monitoring project also asks for them. Accuracy can vary by device, settings and terrain that blocks satellite signals. Keep the coordinates alongside your landmark notes so you can interpret both later.
Fourth, add photos. The manual asks for both the whole tree and its flowers when reporting a flowering date. On a hike, pair a wide shot showing the terrain with a detail of the subject taken from where you can safely stand. Link photo numbers to the relevant note so you can find them quickly. The manual asks you to keep people out of the image. If you share photos, check whether they contain the shooting location. In Photos on iPhone or iPad, you can remove location data from the shared copy in the share options.
Fifth, keep a record of changes. For example, write “photographed from the right side of the trail last year and the left this year.” The manual uses the same idea when it records the replacement of an observation tree and the selection year.
Record the observation date, time and condition
The National Institute for Environmental Studies recommends a survey site volunteers can visit three or four times a week, ideally daily and at least once a week. Regular observations help capture events such as flowering or a first bird call. The report includes the observed category, date, frequency of visits, position and remarks.
A single hike records what you saw at a certain date, time and place. In your journal, label the date “observed on” so it stays clear when you compare last year’s record with this year’s.
Write the time alongside what you saw. For a selected Somei-yoshino cherry tree, the manual sets the flowering date at five or six open flowers, excluding those that grow directly from the trunk or roots. The tree’s state can change between morning and afternoon. Observe when the hike allows and write what you saw at that time. If maple color is hard to classify, the manual suggests reporting on several days. Leave your judgment open if you can’t return often.
For uncertain trees, the manual suggests asking the manager for planting information or contacting a local museum through the project office. Check what each institution accepts before asking about your own find. Write “possible species: X, unconfirmed” and keep the photo so you can check later. The volunteer program welcomes observations of a single familiar species. Starting with one subject can help you keep the location record consistent.
Leave plants in place and stop safely on the trail
Nagano Prefecture asks visitors to enjoy plants and animals where they are. Stay on the trail and out of vegetated or closed areas. Stepping off for a photo can damage the path and create a risk of falling. Trampling vegetation can leave bare ground and change the site you want to revisit.
Japan’s Natural Parks Act regulates collecting or damaging designated plants in special zones of national and quasi-national parks. The Ministry of the Environment lists them by park. Check the list for the park you’ll visit. Nagano’s guidance covers that prefecture, so check the local administration or park manager elsewhere.
Use photos and notes to make your record and leave the specimen in place. Take photos after stopping safely on the trail. Write your camera position and the plant’s position separately so you can find the view from a permitted path next time. On a narrow trail, Nagano asks you to wait on the safe uphill side, away from the drop. Write only after stopping and leave detailed organization for after the hike.
In brief: Leave enough detail to find the spot and subject again
Use five fields for the place: name, landmark, coordinates, photo and changes. Record the date as the day you observed, with the time included. This adapts official monitoring methods to a hiking journal. Stay on the trail and leave plants in place. Check the manager’s current information before leaving, as rules and access can change. Start on your next hike with one subject, a photo you can safely take from the trail and a line about the landmark.
References and sources
- Japan Meteorological Agency: Phenological observations
- National Institute for Environmental Studies: Citizen monitoring of seasonal changes in plants and animals
- Climate Change Adaptation Platform: Phenology Observation Manual, version 3
- Nagano Prefecture: Guidance for park visitors and hikers
- Japan Ministry of the Environment: Designated plants in national and quasi-national parks
- Apple: Manage location metadata in Photos