
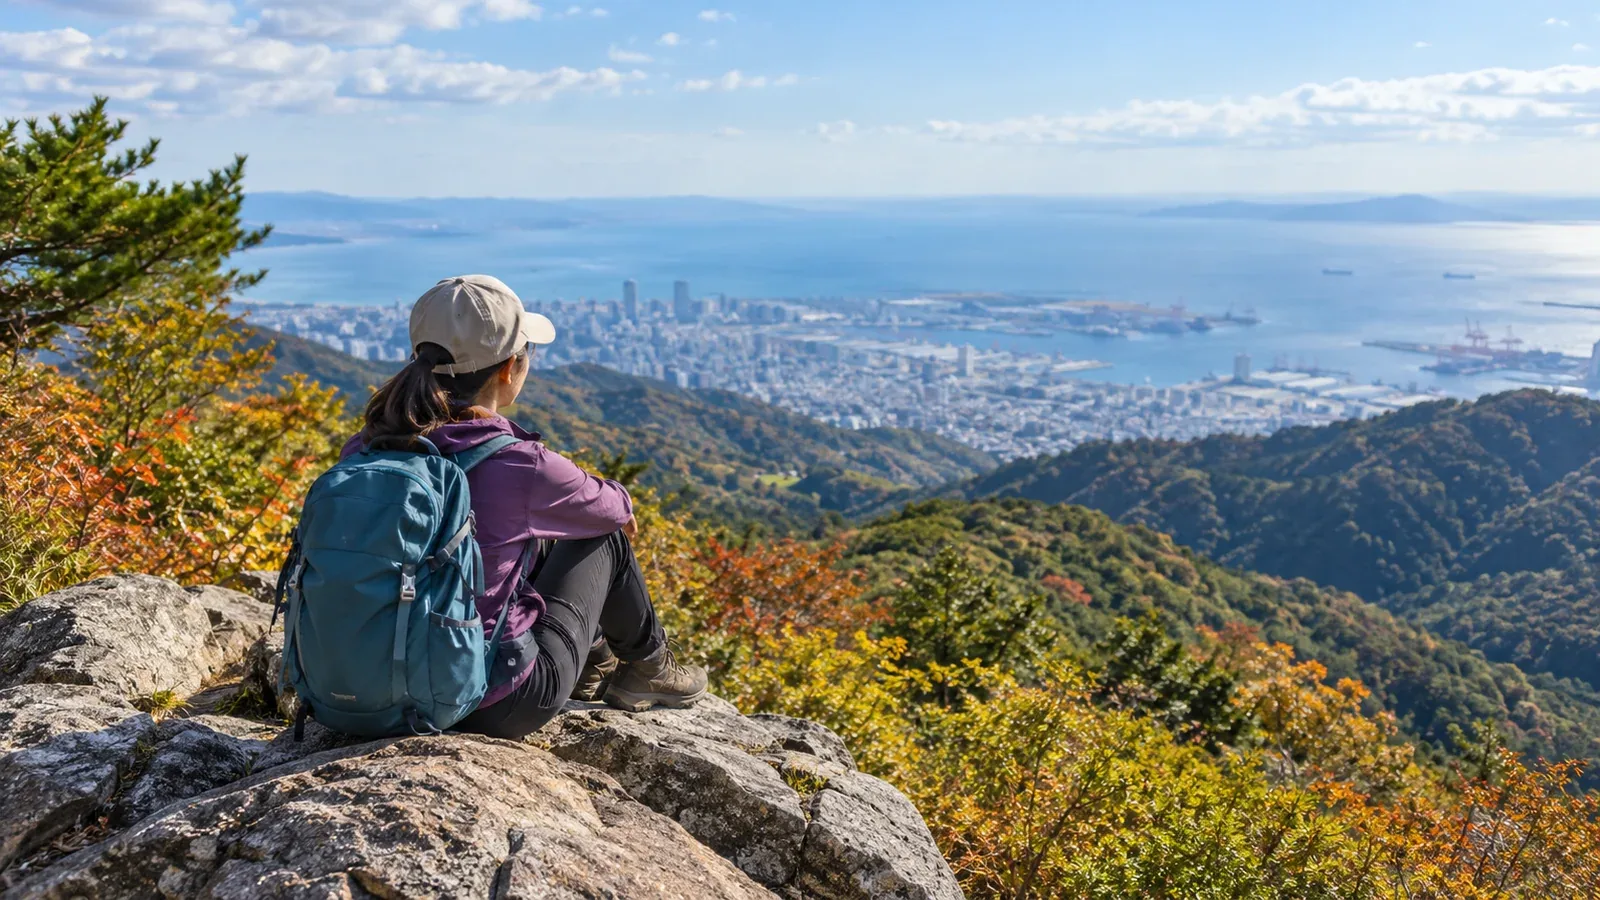
When planning your first Kansai day hike, think about how long you can walk, how you will get to and from the trailhead and when you need to be back down. Even near a city you know well, you can take a wrong turn or spend longer on the trail than expected.
Use these examples of mountains reachable by public transport from Osaka, Kyoto and Kobe to choose a day hike that suits you.
Look up the walking time and elevation changes for each route on a map. Before setting off, check current service days, closures and opening hours with transport operators and trail managers.
Three decisions to make before your first hike
Work out what you can manage that day. Answering these three questions first helps narrow down the options.
1. Where are you starting, and how will you travel? Some trailheads are within walking distance of a station. Others require a connection. Check the operator’s timetables for both directions, including weekday and seasonal service and the last departure back.
2. How long and how far can you walk? Start with a short route based on how long you usually walk comfortably. Check distance, cumulative elevation gain including any climbs along the way, and steep or rocky stretches. Leave enough energy for the descent and match the pace of the least experienced person in the group.
3. When can you reach the trailhead? Work backward from local sunset and your ride home. Set a start time and a turnaround time that leave plenty of daylight for the descent. Allow for breaks and delays. Shorten the route or go on another day if there is too little time.
Choosing a mountain area in Kansai
Several mountain ranges lie close to Kansai’s cities. Comparing them makes it easier to find one that fits your plans.
Rokkō range near Kobe, the Hankyu lines and the Hanshin lines
Some Rokkō trailheads are within walking distance of central Kobe. The highest point is 931.3 m, and some hikes that cross it take several hours. For a first trip, pick a short section and check the map for clusters of junctions.
Mount Hiei and the Hira Mountains in Kyoto and Shiga
Ride the Eizan Cable Car and Ropeway from Yase on the Kyoto side or the Sakamoto Cable Car from the Shiga side to reach Mount Hiei. There are walking routes too. For Mount Bunagatake in the Hira Mountains, one option is the bus from Katata Station on the JR Kosei Line to Bomura. Check which days transport runs and when the last service leaves. Check the elevation changes and trail conditions before choosing Mount Bunagatake.
Mount Kongō and Mount Katsuragi in southern Osaka and Nara
Mount Kongō, about 1,125 m, straddles Osaka and Nara. From Kawachinagano Station, Nankai buses go to Kongō Tozanguchi, the Chihaya Hondō trailhead, and Kongōsan at the Fushimi Pass trailhead. The Mount Kongō ropeway is out of service, so plan to descend on foot. Farther north, Mount Yamato Katsuragi has the Kintetsu Katsuragi Ropeway. Take a bus from Kintetsu Gose Station toward the lower ropeway station. Check for crowds in azalea season, trail closures and snow or ice in winter.
Ikoma Mountains and Mount Shigi between Osaka and Nara
Mount Ikoma is about 642 m high. The Ikoma Cable Car leaves from Toriimae Station next to Kintetsu Ikoma Station. For Mount Shigi, one option is a bus from Shigisanshita Station on the Kintetsu Ikoma Line. This area offers routes with short walks, but hot days can bring a risk of heat illness. Adapt your plans to the weather and heat.
Northern Kyoto and Mount Atago
The main approach from Kiyotaki to Mount Atago, about 924 m, is around 4 km each way. The trail is maintained but has steep sections, so allow time and energy for the way down. Check transport to Kiyotaki before setting out, and check for snow and ice in winter.
Seasonal conditions
Kansai may have a mild climate, but conditions in the mountains can differ markedly from those in town.
Autumn, September to November. The days get shorter and wind can chill you on exposed ridges. Check sunset, leave early and give yourself plenty of time to descend.
Winter, December to March. Even low mountains can have snow and ice. Check snow cover and the trail surface, then choose a route that fits your gear and experience. Choose traction devices for the terrain and snow conditions. Turn back if you reach conditions you cannot handle, such as a steep icy slope.
Spring and summer. Some areas have seasonal opening dates or restrictions to protect vegetation. Check weather agency and land manager updates before leaving, including heat, thunderstorms and closures after heavy rain.
Keep a record to make better choices next time
Record how long you walked, the sections you found hard, how much water you drank and how tired you were at the end. Compare your time with the estimate on the map. This helps you judge your pace and breaks for future routes with similar terrain and temperatures.
If you log your hike in an app, download the map first and check that it opens in airplane mode. Carry a power bank, a paper map and a compass, and make sure you know how to use them.
Essential gear
For even a short day hike, adapt this gear to the route and season.
- Footwear. Choose shoes that fit and grip on wet or sloping ground.
- Rain gear. Pack a rain jacket and trousers for sudden rain and wind.
- Water and trail food. Consider hiking time, temperature and where you can refill. Bring extra in case of delays.
- Map and compass. Bring a paper map and compass and make sure your app map works offline.
- Headlamp. Bring one in case the descent takes longer than expected. Check its batteries or charge before leaving.
- Warm layers. Pack insulation suited to the summit temperature and wind.
Plan your next hike
Pick a departure station and a mountain area with a reliable way home. Check the map and latest trail notices, and plan to finish in daylight. If it is your first time on the mountain, find people who know the area through Nordwand’s Base Camp or ask a qualified guide.
References
- Japan Meteorological Agency forecasts and weather warnings
- National Police Agency mountain incident statistics
- Transport operators’ timetables and service updates
- Route information from local authorities and trail managers
References and sources
- Kobe City | Mount Rokkō hiking route guide
- Enryakuji Temple | Getting to Mount Hiei
- Kōjaku Bus | Timetables including the Katata–Katsuragawa route
- Nankai Bus | Bus stops at Kawachinagano Station
- Osaka Prefectural Forest Park | Getting to Chihaya Enchi
- Gose City | Mount Katsuragi trails and transport
- Kintetsu Railway | Ikoma Cable Car
- Kyoto City Fire Department | Preventing accidents on Mount Atago
- Japan Meteorological Agency | Weather forecasts
- Chōgosonshi-ji Temple | Getting to Mount Shigi