
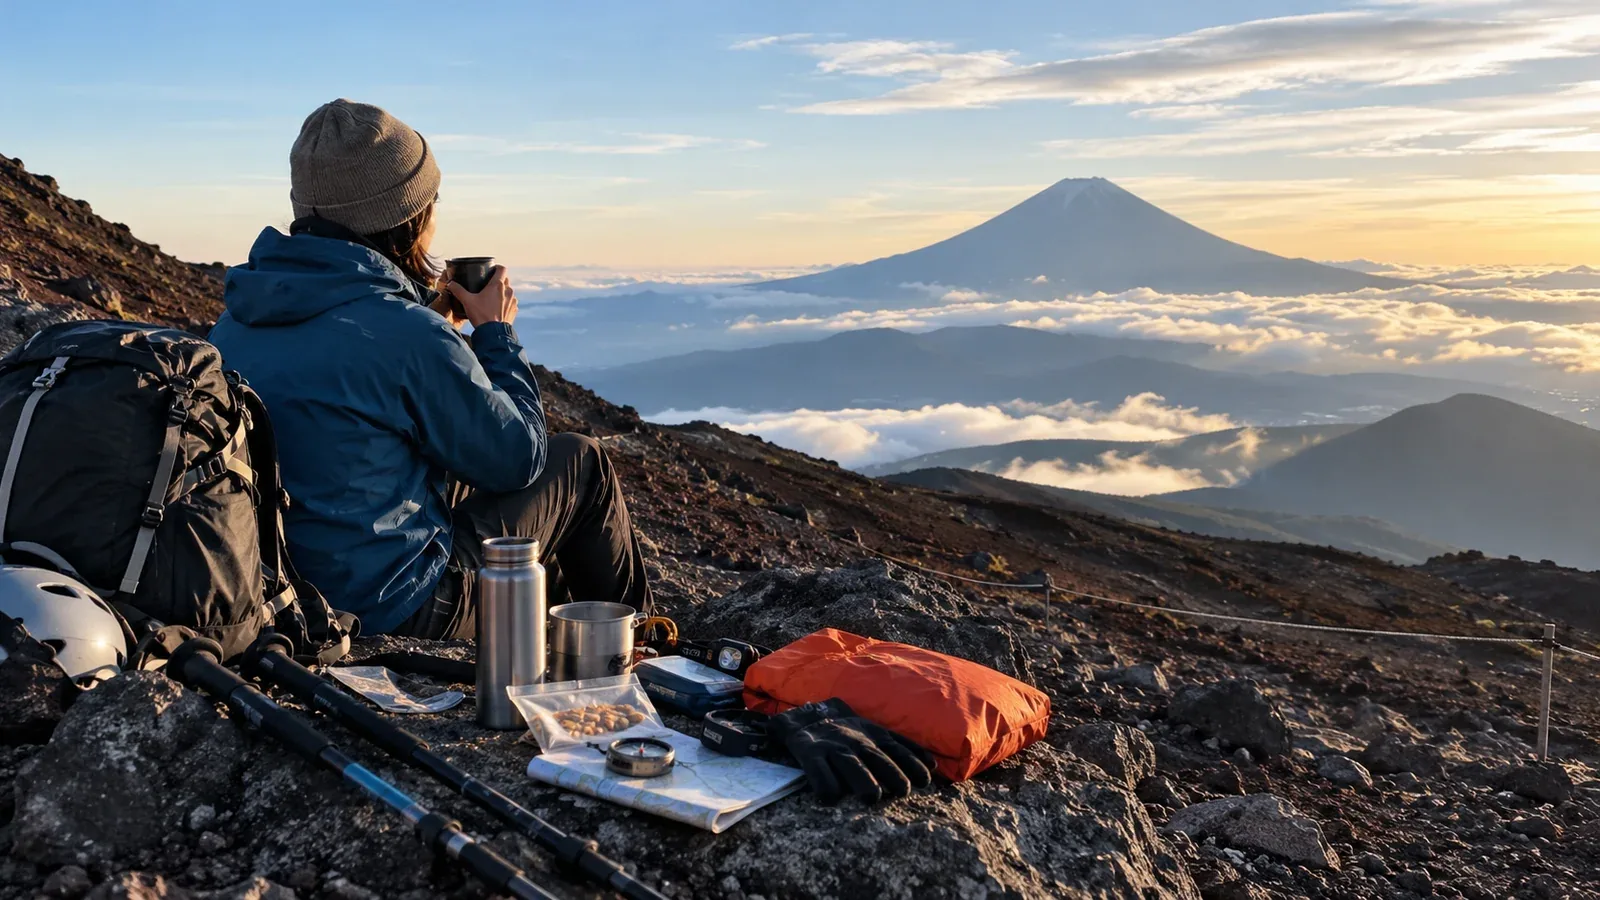
Packing for Mount Fuji means preparing for a long, exposed climb while keeping the load manageable. Start with what you need to stay warm, navigate, eat, drink and get back if the day goes differently from the plan.
Use the list to separate essential items from route-specific extras. Make choices based on your group, the weather, planned stops and which services you have confirmed.
Why Mount Fuji needs its own packing list
Mount Fuji reaches 3,776 m. The four main trailheads are at about 1,440–2,400 m. Rocky slopes and loose volcanic gravel make the climb and descent demanding, and the upper mountain can be cold, wet and windy even in summer.
Some huts sell food and water when open, but spacing, hours and supplies vary. Check your specific route and carry enough to reach your confirmed stop or get down if plans change.
The essentials
Warm layers and rain gear
The upper mountain can be cold even on a mild day at the trailhead. For the 2026 Yoshida season, the gate checked warm clothing, separate rain jacket and trousers, and suitable hiking footwear. Check current requirements for your route.
- Separate rain jacket and trousers: Choose gear that blocks wind and stays in place in strong weather.
- An insulating layer: Carry a fleece or an insulated jacket that fits under your shell. Keep a dry layer for stops.
- Gloves and a warm hat: Pack them where you can reach them quickly.
Footwear and socks
The trail crosses rock, fine gravel and loose stones. Choose footwear that fits securely and gives traction and protection on that terrain.
- Hiking footwear: Try it on a rocky route beforehand and check the soles, laces and fit.
- Gaiters if useful: They can help keep grit out, especially on the Subashiri or Gotemba descent.
- Hiking socks: Wear a pair you know fits your shoes and bring a dry spare.
Drinking water and food
Carry enough for your expected time, the weather and delays. Plan refills only at huts you know are open and sell water. Bring easy-to-eat snacks and an emergency portion you can use even if you turn back or arrive late.
Headlamp and backup
Bring a hands-free headlamp even if you expect to finish in daylight. Test it and pack the correct batteries or backup power. A second light helps if the first fails. Save your phone for navigation and calls.
Sunscreen and sunglasses
The open slopes expose you to sun even when it is cloudy. Use broad-spectrum sunscreen according to its label, reapplying at least every two hours and more often if sweating heavily. Wear sunglasses, a hat and clothing that covers exposed skin.
Map, compass and offline navigation
Download the current official route map and mark the correct descent and key junctions. Carry a paper map and compass you can use. If using a phone, take a charged power bank and keep it dry. Carry a small first-aid kit and a way to signal for help.
An altitude and rest plan
Build in time to adjust at the trailhead and climb steadily. Hydrate according to need. Stop ascending if you develop symptoms of altitude illness. Descend if they worsen and get urgent help for confusion, poor coordination or breathlessness at rest. Ask a clinician about an existing condition before the trip.
Useful extras for the route
Trekking poles
Poles can help with balance on suitable ground. Practice with them first and stow them where you need your hands or they might interfere with other hikers.
Thin liner gloves
A liner lets you keep some coverage for brief tasks like using a camera or adjusting your gear. Pack enough insulation for the expected conditions.
Waterproof pouches
Protect maps, electronics, food and spare clothes with waterproof bags. Keep one for packing out waste.
Portable toilet kit
Check toilets and hours for the ascent and descent. Carry cash where required. The official guidance recommends a portable toilet as a backup and asks you to pack out used bags for proper disposal.
An extra insulated jacket
Add insulation if the forecast or a long wait near the summit calls for it. Choose layers that work together and keep them dry. Use your planned stopping time and wind exposure to decide.
Personal medication
Carry your usual medication in an accessible, dry place. Check with a clinician or pharmacist before adding a new drug. Do not use pain relief to push on through signs of altitude illness.
What to leave behind
Extra food you won’t use
Bring the meals, snacks and emergency food the plan calls for. A confirmed hut meal may let you leave bulky extras. Carry food you can eat without a stove and check the hut’s rules.
Heavy camera equipment or tripod
A small camera may be enough. A heavy tripod adds weight and can get in the way on narrow paths, especially in the dark. Stop for photos where you can stand safely and keep the trail clear.
Cotton next to the skin
Choose a quick-drying base layer. Cotton can hold sweat and feel cold once you stop or move into wind.
Rain gear that won’t stand up to wind
Choose well-fitting waterproof hiking rainwear with separate jacket and trousers. A loose poncho can catch the wind, and a thin disposable garment can tear.
Electronics and chargers you don’t need
Bring the phone, light, battery and cables you need to navigate and communicate. Keep them dry. Leave nonessential devices behind.
How to prioritize and test your pack
Pack and carry it on a shorter outing. Check that you can move comfortably on rocky ground, reach rainwear quickly and get to water and food without unloading everything. Adjust extras before removing safety gear.
Put dry insulation and a waterproof shell where you can add them quickly. A few layers with distinct jobs let you adapt to sweat, wind and cold stops. Follow current official advice on a helmet and other protection for rockfall and volcanic hazards.
Before you go
Compare your gear with the official checklist and the rules for your route and season. Test footwear, rainwear and lighting. Check hut operations and confirm the trail is open. On Nordwand’s Base Camp you can ask other hikers what worked on that route.
Sources
- Official Mount Fuji climbing website: equipment and rules
- Mount Fuji World Heritage Council: safety information
- Japan Meteorological Agency: weather forecasts and warnings
References and sources
- Official Mount Fuji climbing website — Equipment and current season
- Yamanashi Prefecture — 2026 Yoshida equipment check
- Japan Meteorological Agency — Forecasts
- Official Mount Fuji climbing website — Trails and access
- Official Mount Fuji climbing website — Facility operating dates
- Mount Fuji World Cultural Heritage Council — Safety guidelines
- U.S. FDA — Sunscreen and sun protection
- CDC Yellow Book — Altitude illness