
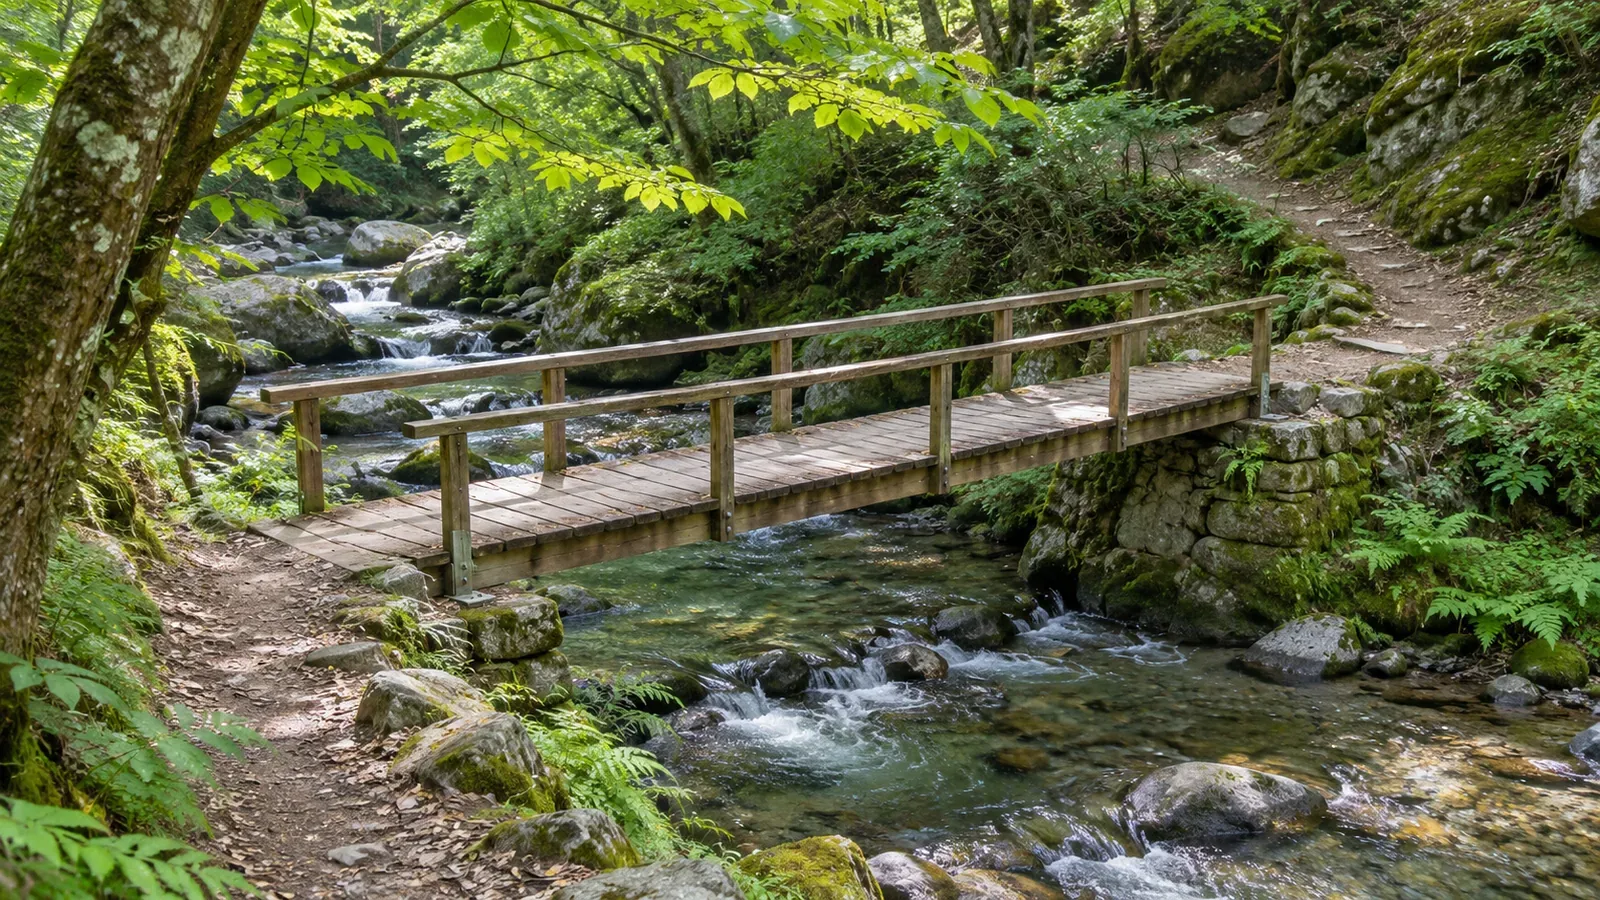
When a valley trail follows a river, working out where it switches banks helps you identify gaps in your plan. Based on map standards and river terminology consulted on October 28, 2026, we propose a map exercise for recording bank changes. The current condition of a bridge and the safety of a crossing require separate checks.
Trace the river and the trail separately
Pick the trail you want to study and the river it follows. In GSI’s 1:25,000 display standards, the river centerline describes the waterway’s route and how it connects. Road symbols follow the road centerline. Start by following the blue water line and the black path line separately.
Jumping between place names can make you lose your place and switch to a side valley or a different path without noticing. We suggest tracing the trail with your finger from start to destination, then tracing the river across the same area. Leave gaps where overlapping lines are hard to read.
The standards allow some edges of road and railway symbols to overlap when the features run close together. Touching lines on the screen are insufficient to establish that the trail crosses the river. Look at where the same trail and the water line continue on both sides of the apparent crossing. Mark unclear points with a question mark.
At this stage you are making a list of possible mapped crossings. You still need to establish whether a bridge exists today, whether you can cross without entering the water and whether passage is allowed. This article does not count the crossings on a real route.
Name the right and left banks while facing downstream
In JMA terminology, the right bank is on your right when you face downstream, and the left bank is on your left. The sides will look reversed when you walk upstream. The labels do not depend on the edges of the map or on north and south. Even around a bend, face downstream at that point to identify the banks.
Under the GSI standards, a flow arrow can show the direction where it is hard to tell from the map. A river may turn, so check the drainage connections and elevations before carrying the arrow’s direction to places that have no arrow. If you still cannot identify upstream and downstream, leave the bank label open too.
Call the main river along your route “River A” for this exercise. Label each section “right-bank side of River A” or “left-bank side of River A” to keep the names consistent for the climb and descent. On a real plan, use the official river name. If the stream is unnamed, add the location and the river it joins. River A is a fictional label.
JMA describes a tributary as a river that joins a main river. Crossing a tributary does not necessarily move you to the opposite bank of River A. Keep “number of watercourses crossed” separate from “number of times the trail switches banks on River A.”
Read bridge symbols in the context of the path and what it crosses
According to GSI, the road-bridge symbol can show a river bridge, a grade-separated crossing or an elevated road section. When you find a bridge symbol, check whether the line below it is a river, road or railway before calling it a water crossing.
The GSI road-bridge rules say to draw the bridge portion of a footpath with a solid line. If a solid line interrupts the black dashes, that alone does not indicate a road open to vehicles. Read the bridge mark, the water line and the footpath on both sides together.
The standards also define where the map symbol for a bridge begins and ends. You cannot read the actual width of the water from the length of that line alone, or see the condition of the deck or railings. Keep your map reading of the crossing location separate from information on the bridge’s current condition.
If you cannot read a bridge mark, write down that the crossing method is unknown and check for current information from the trail manager or another relevant source. An unclear symbol gives you no basis to assume a ford, or to guess that a short water line makes it easy. Resolve the question without entering the river.
Record the crossings in order in a short table
Imagine a fictional path that starts on the right-bank side of River A, takes a bridge across it to the left-bank side, crosses Tributary B, and finally crosses River A again. Along River A there are two bank changes: right to left, then left to right. Put the crossing of Tributary B in a separate field. This is a counting exercise with fictional terrain and conditions.
In your trip notes, list the order, river, banks before and after, the symbol you read, and where to check current conditions. For example: “River A, right bank to left bank, bridge marked, access status to check.” Keeping known and unknown details distinct in the same row makes it easier to see what you need to look up.
Near a confluence, pay particular attention to the name of the river you cross. Check that you have used the same river as the reference for both upstream and downstream sections. If you cannot make out the name or how the channels connect, mark the location and write “identify the river.” Keep unresolved candidates visible and out of your confirmed count.
Trace the route in reverse to check whether its first and last banks match your description. A crossing from right to left on the way out becomes a crossing from left to right when you come back along the same path. The bank names themselves stay the same. If you use a different route back, make a separate table.
Before using the table to decide whether to go, check trail closures, bridge conditions and the weather, including upstream. JMA explains that heavy rain upstream can cause a sudden rise and accidents downstream even where there is no rain. An accurate map reading or a small number of crossings does not establish a safe passage.
Record the bank changes and what you still need to verify
Follow the water and the trail separately and name the banks while facing downstream. Use the bridge symbol to check how the path continues on either side. Count crossings of the main river separately from crossings of tributaries.
For each possible crossing, note what you can read on the map and what requires current information. Keep unclear lines and unknown crossing methods visible in your notes. Once you identify the location, check separately whether you can cross.
References and sources
- Geospatial Information Authority of Japan (GSI): 2013 Topographic Map Display Standards at 1:25,000, Articles 17, 19, 24 and 26 (including the March 30, 2026 amendment)
- GSI: Map Symbols — Road Bridges
- Japan Meteorological Agency (JMA): Terminology for Rivers, Floods, Heavy Rain Inundation, Landslides and Storm Surges — River Terms
- JMA: Hazards from Sudden Heavy Rain