
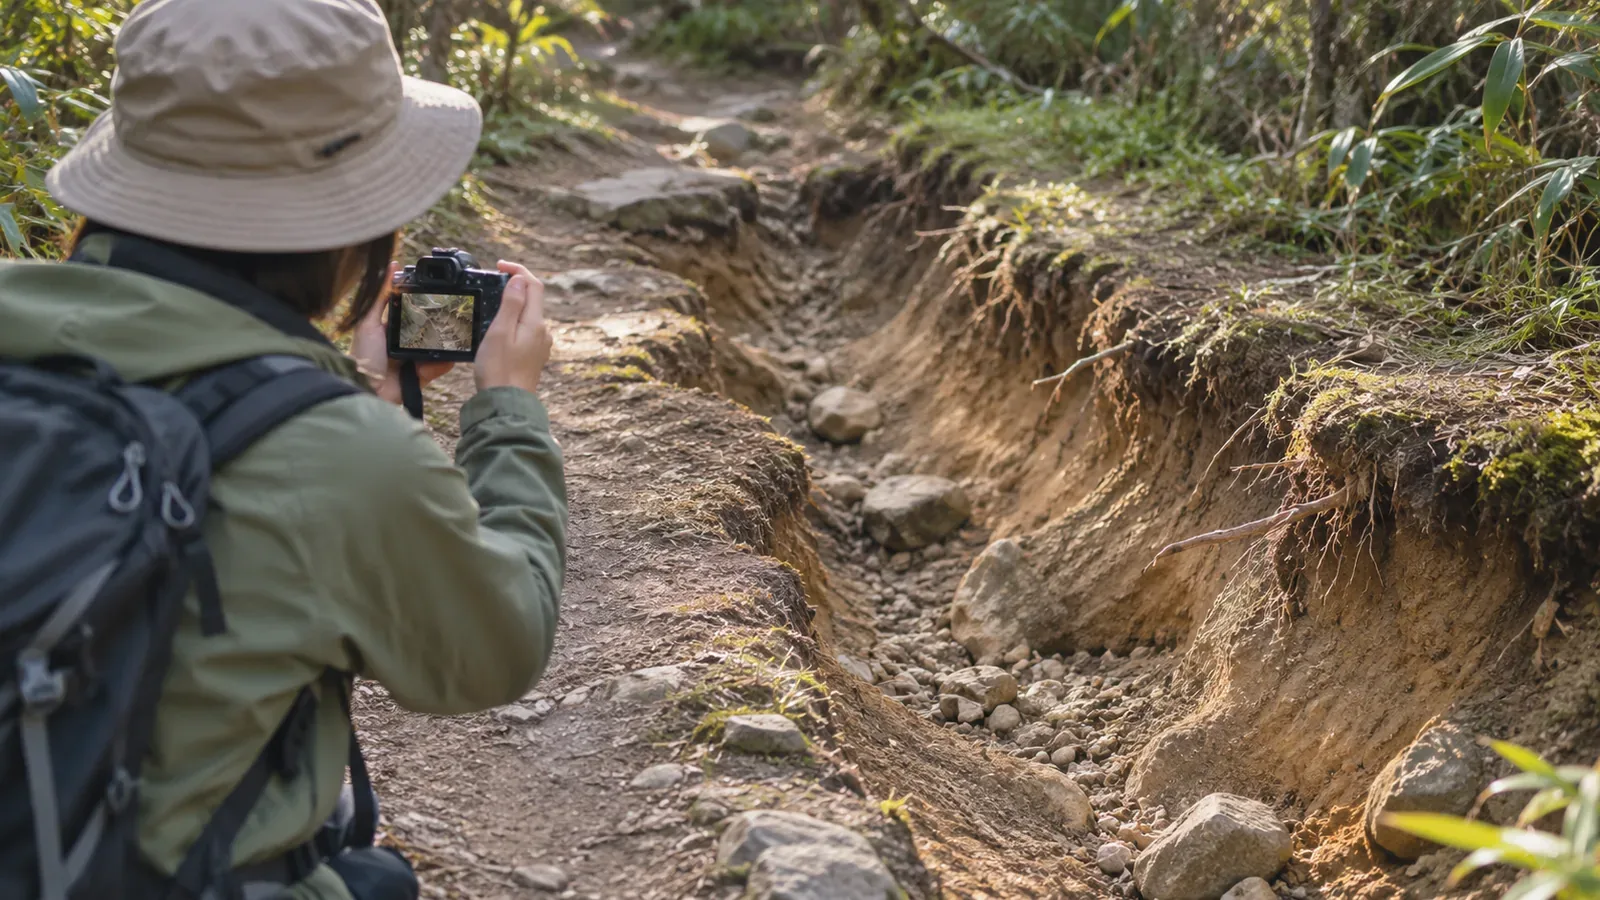
To photograph trail erosion, stop on stable ground within the trail and stay clear of the edge. People already tend to step aside to avoid worn stretches. Japan’s Ministry of the Environment’s guidance helps explain how to make a photo that shows the location while leaving the path clear.
Erosion Can Push People Toward the Edge
The Ministry of the Environment’s Daisetsuzan guidance explains that if a trail becomes a slippery channel or erodes into a deep rut, hikers start walking along the raised edge. Plants are damaged, soil is exposed and erosion spreads. An eroded patch can lead to more damage around it as people try to get past.
The same guidance notes that overtaking and passing can widen a trail or create parallel tracks. In Chichibu-Tama-Kai National Park, managers help protect vegetation by making the intended route clearer where these problems occur.
Moving around for a photo can make a narrow path tighter. Choose a spot where you have steady footing and both you and anyone passing can stay on the trail.
The More You Want a Closer Look, the Easier It Is to Step Off
The Daisetsuzan guidance notes that people sometimes step off even a boardwalk to get closer to something that catches their eye, leaving bare ground. A deeply cut rut or a collapsed slope can make you want to take a closer look.
Japan’s national park etiquette asks visitors to stay on paths and boardwalks to avoid getting lost, trampling plants and washing away soil. Stay within the trail when you take a photo. Check signs and instructions from the site manager.
Daisetsuzan’s repair guidance asks crews to avoid stepping repeatedly on the same spot to protect the vegetation. If you’re taking photos with a group, avoid crowding the same spot and blocking the way, and stay away from eroded edges.
At the edge of an eroded patch, your footing may be hard to see, and it can be difficult to tell what the ground will do under your weight. Choose a spot that lets you photograph without testing the edge, for your own footing and for the trail.
Three Checks for Choosing Where to Stand
First, stop on stable ground before you take out the camera or phone. Choose somewhere that leaves the path clear. If there’s nowhere to stop safely, skip the photo. Check the rules and instructions on site.
Second, shoot from within the trail. Keep away from the edge. Use the zoom if you have one, or take the photo from where you are even if the detail won’t be sharp. You can check what you captured later.
Third, start with a wide photo that shows where you are. A close-up of the damage alone can make the location hard to identify later. Include a trail sign, a large rock, a junction or the shape of the surrounding terrain. If no landmark fits in the frame, try another stable spot on the trail or skip the photo.
Before leaving, picture a few situations, such as a descent with a deep rut, a narrow ridge or the middle of a boardwalk. For each, jot down where you might stop, which way you’d aim and when you’d keep walking. Moving to a wider spot can keep others from having to step around you. As Japan’s national park guidance suggests, check trail conditions before setting out and plan to focus on getting through damaged stretches safely.
What to Check Before Sending a Photo
Daisetsuzan’s repair guidance includes a form for recording the location, photos and problems at a damaged spot and comparing conditions before and after repairs. If you’re reporting what you saw, include the location and a description of the issue with the photo so the manager can find it more easily.
Kanagawa Prefecture’s Tanzawa–Oyama trail information lists conditions and contacts by route, including prefectural offices and the forestry office. The Ministry of the Environment’s Northern Alps Trail Program at Mount Norikura invites hikers to report trail hazards. Before leaving, check who looks after the section and how to contact them. If the official guidance doesn’t say, ask the municipality, park office or a hut.
It can be tempting to try to fix an eroded patch. Daisetsuzan’s guidance tells crews to avoid changing the water flow in ways that worsen erosion and to limit the work. Too much stonework can harden the trail, so it is reserved for steps and severely eroded spots. Leave the decision to the trail manager. As a hiker, observe, record and report.
Stop Safely on the Trail and Show the Location
An eroded patch can lead to more trampling around it. The guidance describes how hikers step onto the shoulders of washed-out trails and sometimes leave boardwalks to get a closer look. Stay away from the edge, stop on stable ground within the trail and include a wide photo that shows where you are. That gives the manager a view of the damage in context.
If you can’t stop without getting in someone’s way, skip the photo. Before setting out, check the latest conditions on your route and find out where to report hazards.
References and sources
- Japan’s Ministry of the Environment: Etiquette in National Parks
- Japan’s Ministry of the Environment: Conservation Work in Chichibu-Tama-Kai National Park
- Japan’s Ministry of the Environment: Daisetsuzan National Park Trail Maintenance Guidelines, Chapter 3: Conservation and Restoration Methods (March 2005)
- Kanagawa Prefecture: Trail Access Information for Tanzawa–Oyama
- Japan’s Ministry of the Environment: Northern Alps Trail Program at Mount Norikura