
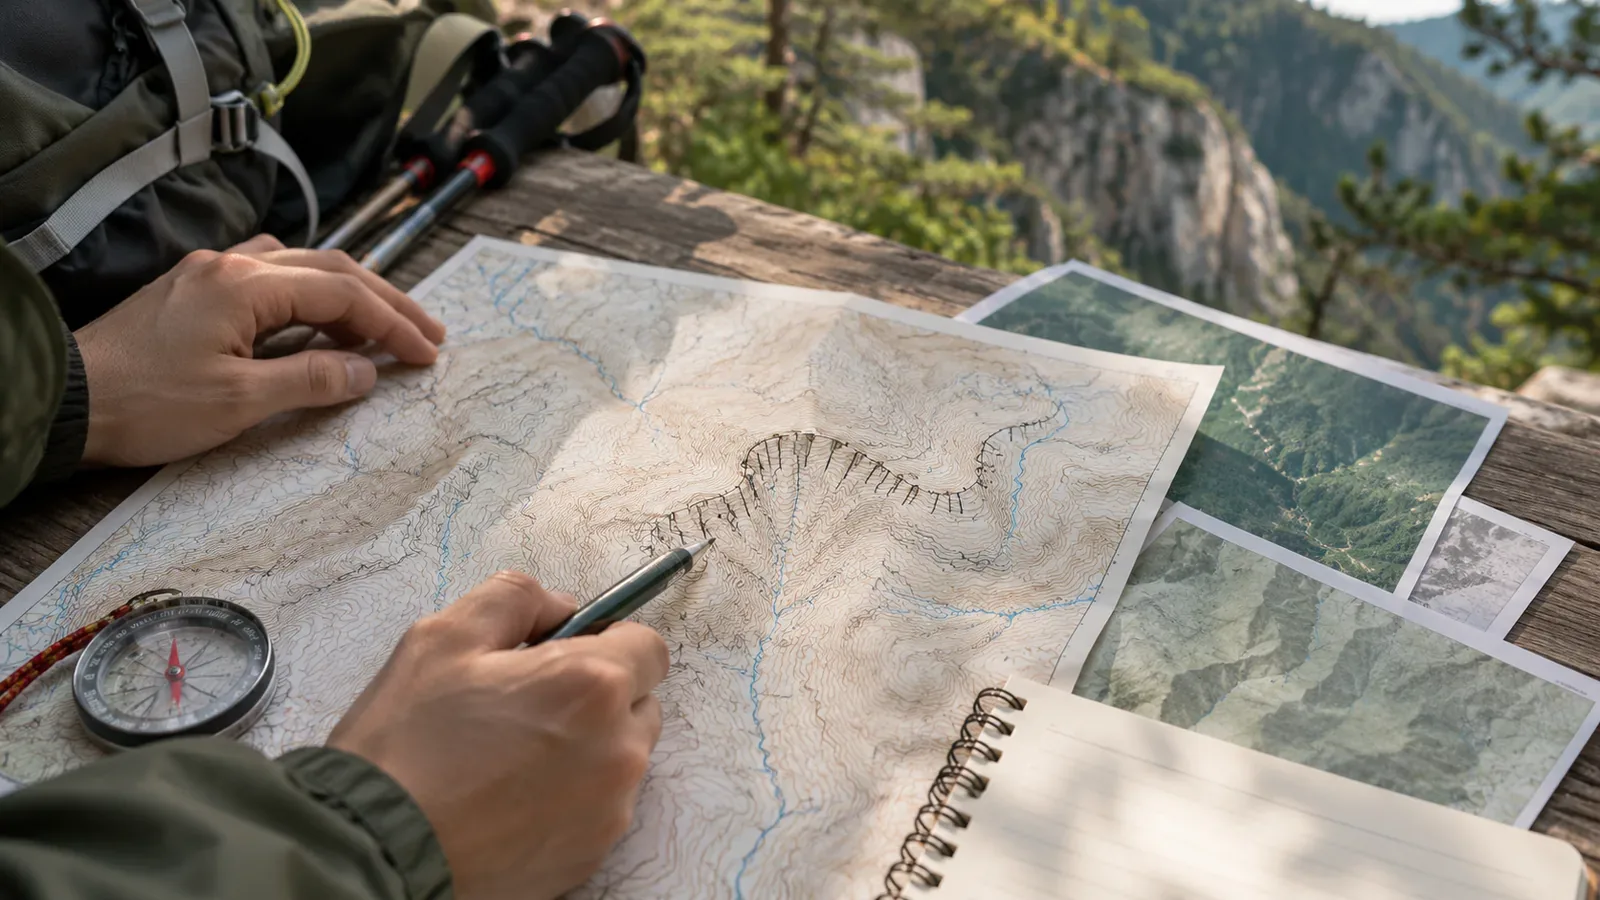
A cliff symbol is a cue to look more closely at the area around your planned trail. The distance from the edge of the symbol cannot tell you whether the trail is safe. Before a hike, compare the slope shown on the topographic map with accident records and the latest information on trail access. This article uses GSI's mapping standards, a Japan Sport Council training manual, and maps from Saitama Prefecture and its police, checked on October 28, 2026, to show how these sources can inform your route plan.
A cliff's mapping criteria are separate from its level of risk
In GSI's specifications for 1:25,000 topographic maps, the rock cliff symbol denotes steep rocky slopes. These are generally at least 5 m high and at least 2 cm long on the map. Smaller features may be included where needed. These figures determine what gets drawn. They give no indication of whether a hiker could survive a fall.
Since smaller cliffs are shown as needed, a section with no symbol may still have cliffs or rocky terrain. Look up conditions along your entire route, including stretches without a cliff symbol.
A rock cliff is drawn as seen directly from above, with short strokes in the direction of steepest descent. If that overhead projection is less than 1 mm wide on the map, it is drawn 1 mm wide. The width of the symbol gives no measure of usable footing, and the space between its edge and the trail may offer no safe footing at all.
The same standards allow a feature to be moved the minimum distance needed when its true position cannot be shown clearly. This is a rule for placing features on the map. It gives no basis for setting a buffer in metres between cliff and trail or estimating the error of a phone's location reading.
Research both your intended route and the way back
The Japan Sport Council's manual for high school mountaineering instructors recommends using topographic maps, hiking maps and guidebooks, with the most recent data available. It also asks readers to check whether trails on a topographic map have since been abandoned. A line on a map tells you the trail was mapped. A separate check tells you whether it can still be walked.
The manual recommends starting with the topographic map to locate key features and hazards and work out which way the route crosses the contour lines. Spotting cliff symbols is one part of that preparation. Counting the symbols gives no reliable measure of a hike's difficulty.
The manual also advises looking for easy-to-miss turns, fall and slide hazards, and places made dangerous by rain on any alternate route. It calls for the same preparation for backup plans, escape routes and turning back as for the main route. Those checks are relevant to planning your own hike as well.
Trace the outward route and planned descent separately, and check whether turning back would mean descending the same section. If a cliff symbol prompts you to consider a different line on the map, check the conditions on that alternative before choosing it.
Accident maps answer a different question from cliff symbols
Saitama Prefecture's Safe Hiking Maps use information from the prefectural police mountain rescue unit to show frequent accident locations on Mount Ryokami and Mount Kumotori. The guide also notes dangers such as winter ice, alongside terrain factors such as steep slopes. It is an example of how accident records can add context to mapped terrain.
The prefecture posted the page on April 20, 2026. The resources it links to have their own dates. The Mount Kumotori map is the August 2017 edition and the Mount Ryokami map covers 2023–2025. Using the page date to treat both maps as records from 2026 would give you the wrong time frame.
The prefectural police document for Mount Ryokami is a mountain incident hazard map. Its legend distinguishes falls from height or slides, trips and falls, and getting lost. Symbols and incident dates appear on the map. These added incident marks convey different information from the rock cliff symbols in the topographic base map.
The document states that its purpose is to identify hazardous locations and that it should never be used as a hiking map. Consult it for the locations of recorded incidents and use a separate map to follow your route. A stretch with no incident marks can still be the site of an accident.
The records alone cannot tell you what conditions will be like on your chosen day or the chance that your group will have an accident. Use them to identify questions to investigate. Comparing accident rates would require comparable figures for the number of hikers or trips through each section. Read these maps alongside the latest trail restrictions and access notices.
Turn what you find into specific questions
First, break your route into sections and note where you see cliff symbols or struggle to place the trail in relation to the cliff. For each source, also write down the publisher, title, years or period covered, and the date you checked it. This is our editorial team's way of keeping track of what may need a follow-up.
Write down the questions that would help you revise your plan. Are any sections subject to access restrictions? Does the trail mentioned in the notice match your planned descent? Are there warnings about rain? The map distance to a cliff alone cannot settle whether a section is passable.
When using an incident map, look up each mark in the legend, then read any notes for the sections on your route. If you find only older information, leave the question open and look for a newer notice from the trail manager or another responsible authority. Having read an old source tells you nothing about the latest conditions on its own.
Finally, share the intended route, sources and open questions with your group. Apply the same checks to alternatives and revise the plan as needed. This approach helps the whole group make decisions from the same information. Its effect on accident rates has not been measured here. There is no need to approach a dangerous slope to see what the symbol looks like on the ground.
From spotting a symbol to checking records and trail conditions
A rock cliff symbol shows a steep rocky slope. It cannot tell you how safe a trail is or how likely an accident is. Map rules for drawn width and feature placement cannot be used to set a safe distance on the ground.
Before setting out, research your planned route and how you would turn back. Check the legend and the period covered by incident maps, then look up the latest restrictions and trail conditions. Share what you know and what still needs checking with your group, and use each source for the information it can provide.
References and sources
- Geospatial Information Authority of Japan (GSI): 2013 specifications for 1:25,000 topographic maps, including the March 30, 2026 revision, Article 8 and rock cliff symbol 111
- Japan Sport Council: Safe and Enjoyable Mountaineering, a manual for high school mountaineering instructors, Part 2, Chapter 1, printed p. 26
- Saitama Prefecture: Safe Hiking Maps for Chichibu-Tama-Kai National Park (Mount Ryokami and Mount Kumotori)
- Saitama Prefectural Police: Mount Ryokami Mountain Incident Hazard Map (2023–2025), p. 1