
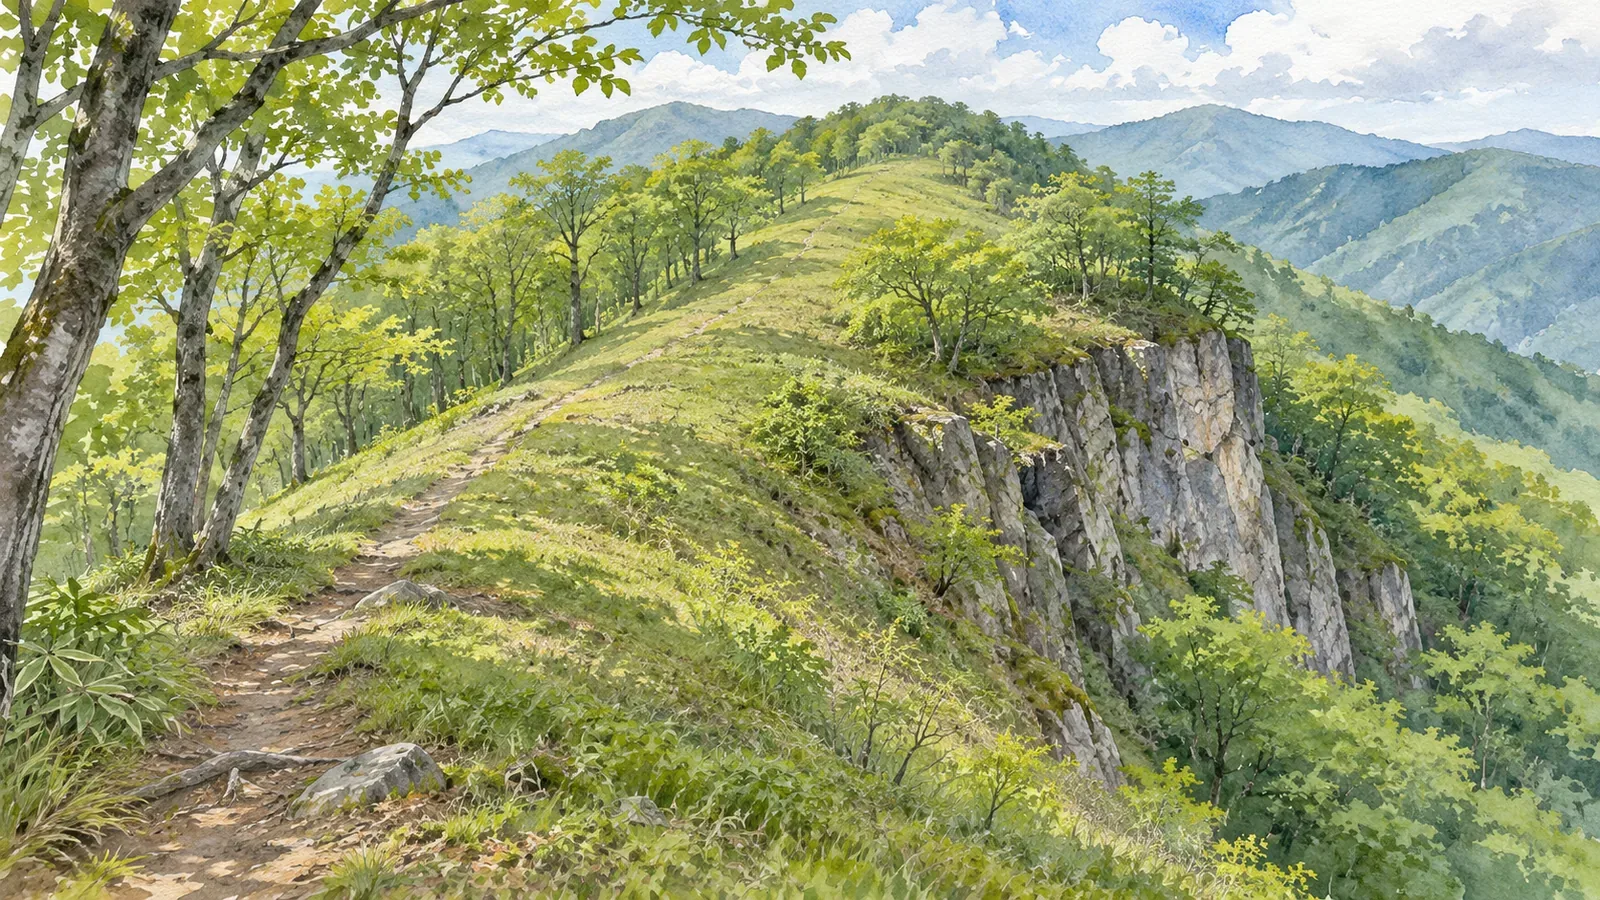
When a string of short strokes overlies a long, narrow bulge in the contours, read the ridge and the steep rock slope separately. We consulted the Geospatial Information Authority of Japan’s teaching materials and specifications for 1:25,000 maps, including the March 30, 2026 revision, on October 28, 2026. Here’s how to read the two layers together.
Check the ridge shape and the rock-cliff symbol separately
The Geospatial Information Authority of Japan’s map-reading material traces ridges by looking for contours that bulge toward lower elevations. Valleys point the opposite way. Check which side is higher and see where the shape continues. If a landform looks long and narrow, check separately for a trail.
The agency uses the rock-cliff symbol for a steep slope made of rock. A ridge tells you how high ground connects, while the cliff symbol tells you about the slope. Both can appear in the same place. After finding the ridge, look at the symbols around it.
In Map Reading for Safe Mountain Hiking, the agency describes a kiretto as a sharp notch in a ridge and compares a topographic map with 3D aerial imagery. The example shows how abrupt the terrain can be along a ridge.
We suggest keeping separate notes on ridges you trace from contours and where the map shows rock cliffs. Use the method to review the terrain around your planned trail and identify anything that still needs checking. Keep the review centered on the route you already plan to take.
The short strokes show the slope direction
Japan’s 1:25,000 topographic map specifications show a rock cliff as the projection of the steep slope seen straight from above. The short strokes point in the direction of steepest descent. They describe the slope, so counting them tells you nothing about how many side ridges branch off.
Where the projected width of a cliff would be less than 1.0 mm on the map, the specifications call for a width of 1.0 mm. The symbol can therefore look wider than the mapped width of the slope. It also gives no measure of how much room there is to walk.
The usual criteria are a cliff approximately 5 m or more in height and about 2 cm or more long on the map. Smaller cliffs may be shown when needed. These dimensions govern what appears on the map. Individual cliffs vary in size, and a map can leave some small ones out.
Inside the rock-cliff symbol, the usual practice is to show index contours and omit the intervening ordinary contours. If you can’t see the thin contours inside the symbol, read the surrounding contours together with the slope shown by the symbol to understand the relief.
In your notes, write “short strokes show slope direction” and “the symbol has a minimum plotted width,” separately from any dimensions. This helps prevent misreading. The number and spacing of the strokes tell you nothing about climbing difficulty, the stability of the rock or the number of holds.
Relate the symbol to the terrain in the Mount Iwadono example
The agency’s rock-cliff page pairs an image from GSI Maps with a photograph of the cliffs at Mount Iwadono in Otsuki, Yamanashi Prefecture. A red box marks part of the cliff symbol. Look at the shape inside the box first, then distinguish the contours continuing outside it from the symbol.
In the example, look separately for the regular short strokes of the rock-cliff symbol and the curving contours around it. The photo shows the cliffs the agency identified as Mount Iwadono. Use it to see their form. Measuring the whole area inside the box precisely or locating today’s trail takes other information.
Make two checks in the exercise: can you describe the symbol and can you tell which elevations are higher or lower around it? Seeing the symbol is one step. Finding which side of the rock the planned trail takes is another. Keep the map scale, legend and trail line on your list.
The example uses the published map image. The article includes no field survey or check of current access at Mount Iwadono. If you plan to visit, consult the current official trail and closure information separately, and use it to guide your trip.
Make three entries for terrain, symbols and the planned trail
Before you go, start with “terrain shape.” Use contour elevations and the direction of the bulges to see whether the trail follows the ridge or moves along a slope beside it. Then add “rock cliffs.” Record where the symbol starts and ends and where it appears in relation to the trail.
In the third entry, record what needs further checking. The trail might come close to the cliff symbol, the image may make the lines hard to tell apart, or you may be unable to find current access information. Leave these points open until you can verify them. Being on a ridge or outside the mapped symbol tells you little about safe passage.
The specifications also let cartographers move a feature the minimum necessary amount if the shift is unavoidable. This rule governs symbol placement. Use other information to assess phone location errors or decide how far to stay from a cliff. The edge of the symbol does not establish a safe distance.
Map Reading for Safe Mountain Hiking compares topographic maps with 3D aerial photographs. If you add a second view, use it to see how the same features connect. Visibility and conditions when the photo was taken can differ from the footing and vegetation on the day of your hike.
If the terrain around you differs from the map, stop where your footing is secure and check your location, the planned trail and whether the information you have is current. Avoid walking toward the slope just to find the cliff shown on the map. Use what you read on the map as one part of deciding whether to continue.
In brief: trace the ridge and read the rock-cliff symbol alongside it
Follow the length of the ridge using the contour shapes and elevations. Read the rock-cliff symbol as a steep slope made of rock. Its short strokes show slope direction. Counting them won’t tell you how many side ridges branch off, and the drawn width gives no measure of room to walk.
Organize what you know about the planned trail into terrain shape, rock-cliff symbols and points that need checking. Whether a symbol is present or absent, verify access and safety separately. Bring what you’ve learned from the map together with current information and checks on the ground.
References and sources
- Geospatial Information Authority of Japan, teaching materials on identifying ridges and valleys from a map
- Geospatial Information Authority of Japan, Map Symbol: Rock Cliff, explanation, symbol and Mount Iwadono example
- Geospatial Information Authority of Japan, 2013 Specifications for 1:25,000 Topographic Maps, article 8 and item 111, including the March 30, 2026 revision
- Geospatial Information Authority of Japan, Map Reading for Safe Mountain Hiking, PDF pp. 1 and 3, description and comparison of a sharp notch in a ridge