
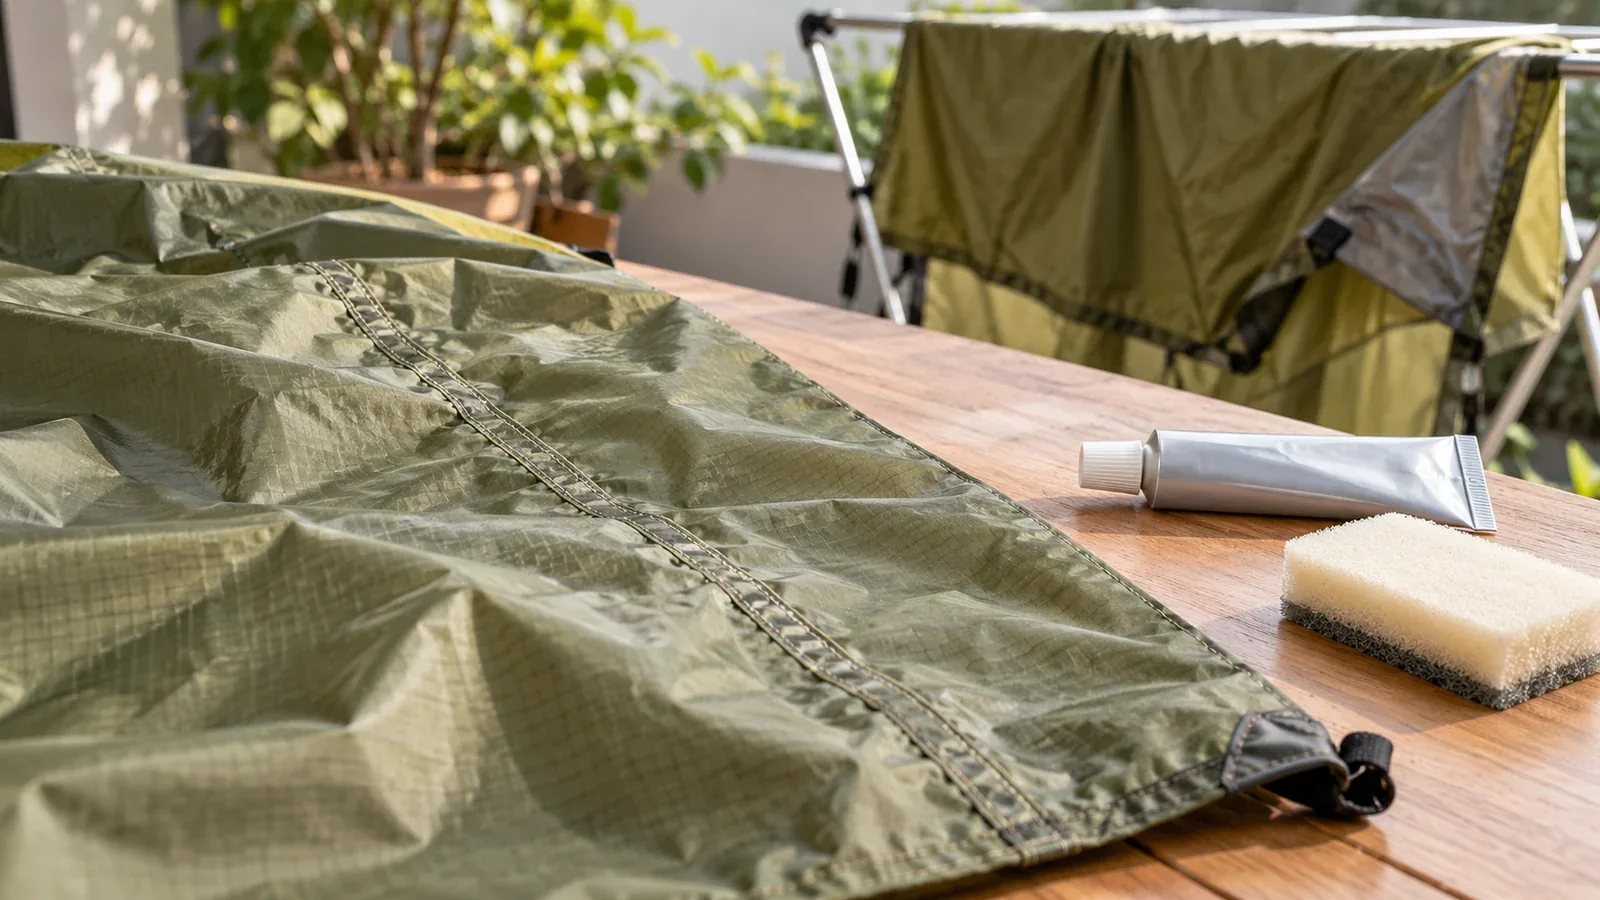
Spread out your tent to dry as soon as you get home. Storing it damp can cause mold and damage the waterproof coating or seam tape. If a taped or sealed seam has deteriorated, water may seep in on your next trip.
This guide covers drying your tent at home, deciding whether damaged seam tape can be repaired, and carrying out the repair. The aim is to know what to check and what to do before your next trip.
Drying your tent after a trip
Why you should never pack away a damp tent
Moisture and heat can cause hydrolysis, which degrades waterproof coatings such as polyurethane. Stickiness or a flaking coating is a sign to inspect the fabric. Seam tape can also lift or peel after prolonged damp storage.
Dry the rainfly, inner tent, groundsheet, and poles. Check both sides of the groundsheet in particular, since the side in contact with the ground tends to retain mud and moisture.
Drying steps
- Spread everything out as soon as you get home. Even gear that looks dry can retain condensation or moisture. Leave the pieces spread out in a well-ventilated place until completely dry.
- Keep the tent out of direct sun. Ultraviolet light degrades tent materials. Choose a shady, well-ventilated spot. Dry the tent indoors in bad weather.
- Dry the inner tent and rainfly separately. The surfaces that touch stay damp if you leave them stacked. Wipe mud and moisture off the stakes and poles before drying them.
- Put everything away once it is completely dry. Seams, corners, and areas around buckles take longer to dry. Feel them for any lingering dampness.
Once everything is dry, check the poles for bends or damage before returning them to their bag. Follow the manufacturer's packing instructions and avoid forcing the tent into the bag.
How to spot deteriorating seam tape
Signs of deterioration
Seam tape is applied over stitching to keep water from entering. On tents with taped seams, look for the following signs of deterioration along the rainfly and floor seams.
- The edges of the tape have lifted or curled back.
- The tape is wrinkled, raised, or bubbled.
- The tape is cracked or partially missing.
- The tape or surrounding fabric feels sticky, or the coating is flaking.
Whether a repair is possible depends on the extent of the damage and the condition of the fabric. If the surrounding fabric is sound and only part of a seam has deteriorated, the manufacturer's repair method may be enough. If peeling is widespread or the coating is breaking down, consult the manufacturer before removing any tape.
Getting into the habit of checking before rain
Spread out the rainfly and inspect the seams while drying the tent after your hike or before a trip when rain is forecast. Shine a light on the straight seams, the corners, and the curves around the entrances.
How to repair seams
What you need
- A seam sealer or repair material compatible with the tent's waterproof treatment
- Any tools specified by the tent manufacturer for the repair
- A brush or other applicator specified in the product instructions
- Cleaning supplies specified in the instructions
- A dry cloth
Select a repair product for the type of waterproof treatment, as well as the fabric, such as nylon or polyester. Silicone and polyurethane coatings need compatible products, so consult the tent manufacturer's guidance. Use an iron or alcohol only when the relevant instructions specify it.
Using liquid seam sealer
- Clean the area to be repaired. Remove mud and dust using the specified method and let the area dry completely.
- Check how far the damage extends. Leave any firmly attached tape in place and check the surrounding fabric and coating for deterioration.
- Apply the product to the specified area. Work somewhere well ventilated and follow the product instructions.
- Leave the repair undisturbed. Keep it ventilated until the sealer cures. Avoid touching the treated area or letting the fabric fold onto itself.
- Fold the tent only after the sealer has fully cured. Allow the full curing time specified by the product.
Checking the repair
Inspect the seam once the sealer has cured. If needed, follow the manufacturer's instructions to pitch the tent and gently spray the repaired area with water, then check for seepage inside. Let the tent dry completely again before putting it away.
Storing a tent for the longer term
Follow the tent manufacturer's storage instructions. If recommended for long-term storage, keep the dry tent in a roomy, breathable bag and avoid compressing it tightly.
Choose a cool, dry place out of direct sunlight. Prolonged dampness, heat, and humidity accelerate the deterioration of waterproof coatings.
Inspect the seam tape when drying the tent after a hike, before the season starts, and before trips when you expect rain. If a repair is needed, start early to allow time for curing and drying.
What to do next
Spread out your rainfly and inspect it along the seams. If the tent was stored damp for a long time, also check the waterproof coating on the floor and groundsheet. If you are unsure which repair method or products to use, ask the manufacturer or an outdoor specialist. You can find outdoor shops through Nordwand's partner directory.