
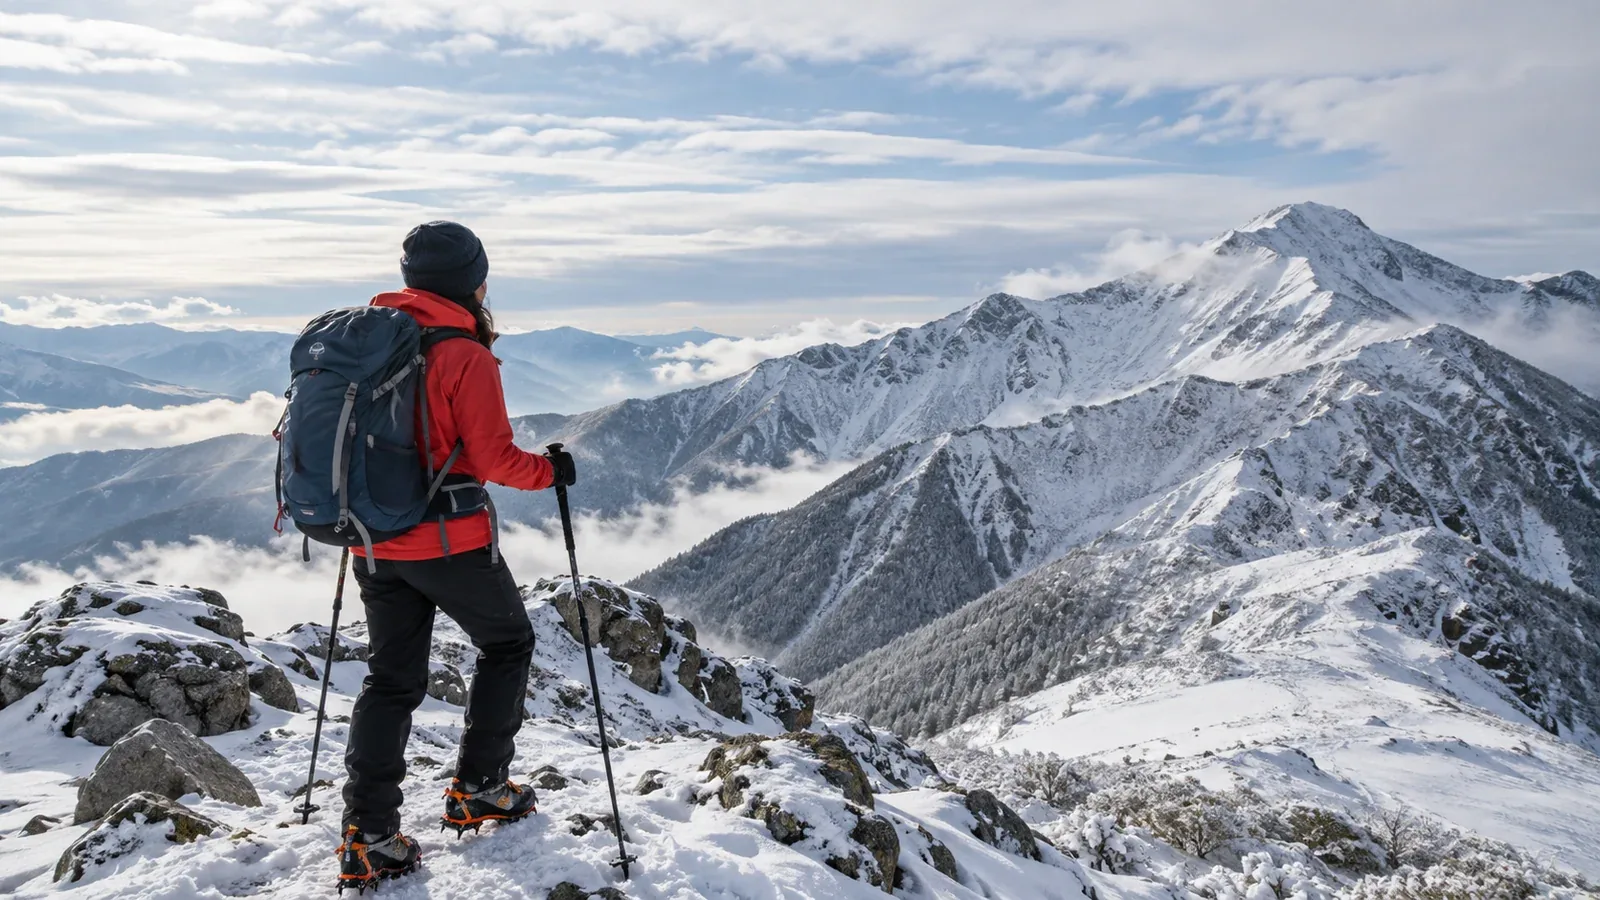
A town can be dry while snow is falling on the mountain, and an apparently clear morning can follow a night that left ice on the trail. Before setting out, check what is forecast to fall and what is already on the ground.
This guide explains what to look for in snow forecasts, which conditions require winter equipment and skills, and when to choose a lower, sheltered route or postpone.
Why the town forecast can differ from the mountain
Air temperature often falls with height. A rough estimate of 0.6°C per 100 m would put a 2,000 m summit about 6°C below a 1,000 m trailhead at a comparable time. If it is 10°C at that trailhead, the estimate is about 4°C at the summit. Actual temperatures and precipitation type depend on the atmosphere and terrain.
A ridge can be in cloud and wind while the valley is clear, and snow that fell earlier can still cover shaded ground. Check the forecast for each elevation and time you will use, along with recent trail information.
Where to check for snow
Combine a mountain forecast with regional weather information and observations from the route.
A mountain forecast at your elevation
Check summit and ridge temperatures, wind, visibility, expected precipitation and its type. Where available, compare the freezing level and any forecast rain-to-snow transition with the heights you plan to cross.
Freezing level, snow falling and snow on the ground
The freezing level is the altitude where the air reaches 0°C. Snow can fall below it because flakes take time to melt. The altitude above which snow remains on the ground can differ, and shade, terrain and previous weather can leave patches or ice below it. Compare the forecast with reports of the ground conditions.
Japan Meteorological Agency snow information
The Japan Meteorological Agency (JMA) provides regional forecasts and warnings and a short-term snow map. Its snow-depth and snowfall estimates and six-hour forecast use roughly 5 km grid cells, so use them for regional context. Check mountain forecasts and local reports for specific ridges, trails and access roads.
How to assess the possibility of snow or ice
Check temperature and precipitation, recent weather and the latest observations for the route.
1. Temperatures near freezing when precipitation is forecast
Snow can reach the ground at air temperatures above 0°C. The precipitation type depends on the temperature and moisture through the air below the cloud, as well as precipitation intensity. Check the forecast type and freezing level instead of applying a single summit-temperature cutoff.
2. Season, elevation and the route’s terrain
Across Japan, the timing of snow depends on region, elevation, aspect and recent weather. Keep these three situations in mind.
- Late autumn. High ridges can get early snow, and shaded paths or boardwalks can be icy when the trailhead is dry.
- Winter. Snow and ice can reach lower elevations, and wind can redistribute snow into drifts or wind-loaded slopes.
- Spring. Old snow can remain in gullies and on shaded slopes. It can refreeze overnight and soften during the day.
These are patterns to check against current conditions. Look up the actual sections you plan to use, including any steep traverses on the return.
3. Observations from the evening before and the morning of the hike
Check notices from the trail or park manager, the local authority and mountain huts with recent observations. Look for the report’s date, elevation and exact route. Check approach roads and closures separately.
Equipment for conditions you are trained to handle
Choose equipment for the expected terrain, weather and group’s skills. If the route needs winter mountaineering or avalanche skills the group lacks, choose a different route or postpone.
Waterproof and windproof outer layers
Snow can melt on clothing and leave inner layers wet. Use a waterproof jacket and trousers suitable for movement, and keep spare layers dry. Put on weather protection before reaching an exposed section.
Insulation for movement and stops
Carry dry insulation you can add when stopping or delayed. Choose layers for the expected cold, wind and activity, and keep them accessible before you need them.
Gloves, hat and neck protection
Carry warm gloves and protection for your head and neck. A spare dry pair of gloves and a wind- or waterproof outer pair may help in wet snow, depending on the conditions.
Foot traction and winter skills
Microspikes can improve grip on gentle, well-defined trails with compact snow or thin ice. Steep hard snow or ice, where a slip could have serious consequences, calls for compatible boots, appropriate crampons and an ice axe, and practice using them. Deep snow is a separate travel problem. In avalanche terrain, check the local avalanche forecast where available, get training and carry the appropriate rescue equipment. Choose terrain outside avalanche paths and runout zones if you cannot assess the risk.
Headlamp and spare power
Poor visibility, navigation and changing snow conditions can slow the group. Carry a working headlamp and spare power, along with an offline map, a paper map and compass. Allow time to turn around while you can still see and move safely.
How to decide whether to go, change the route or turn back
Decide before committing to steep or exposed terrain. Mark safe places to reassess and a known route back.
- When planning. Check elevation-specific snow, ice, wind, visibility and any avalanche concerns. Choose a lower or more sheltered route, or postpone, if the conditions exceed the group’s equipment or skills.
- On the morning. Check new warnings, snow or ice reports and access notices. If you cannot confirm the condition of a critical section, take the alternative.
- On the trail. Reassess at a sheltered point before exposed ground. If ice, worsening snowfall, poor visibility or cold threatens a safe return, turn back by a known, safe route while you can.
Snow can increase the risk of falls, disorientation and cold exposure. If you cannot assess the conditions, a suitable skills course or a qualified guide can help you plan an outing within your abilities.
Put it into practice
Mark the first section of your planned route where snow or ice would change the decision. Compare the JMA regional snow information with a mountain forecast and the latest local report, then agree on a safer alternative. You can exchange recent observations in Nordwand’s Base Camp or ask a qualified guide for help planning.
Sources
- Japan Meteorological Agency: short-term snow, snow warnings and regional conditions
- UK Met Office: mountain forecasts and precipitation type
- Nagano Prefectural Police and Mountaineering Scotland: winter conditions and equipment
- Japan Avalanche Network, Avalanche Canada, US CDC and Japan National Police Agency: avalanche education, cold exposure and mountain incident statistics
References and sources
- Japan Meteorological Agency: short-term snow forecast map
- Japan Meteorological Agency: analysed snow depth and snowfall and short-term forecasts
- Japan Meteorological Agency: heavy snow and blizzard information
- Japan Meteorological Agency: weather warnings and advisories
- UK Met Office: guide to mountain forecasts
- UK Met Office: snow and freezing level
- Nagano Prefectural Police: winter equipment and mountain incident advisory
- Mountaineering Scotland: choosing between microspikes and crampons
- Japan Avalanche Network: avalanche information and education
- Avalanche Canada: avalanche education and companion rescue resources
- US Centers for Disease Control and Prevention: preventing hypothermia
- Japan National Police Agency: mountain incident statistics