
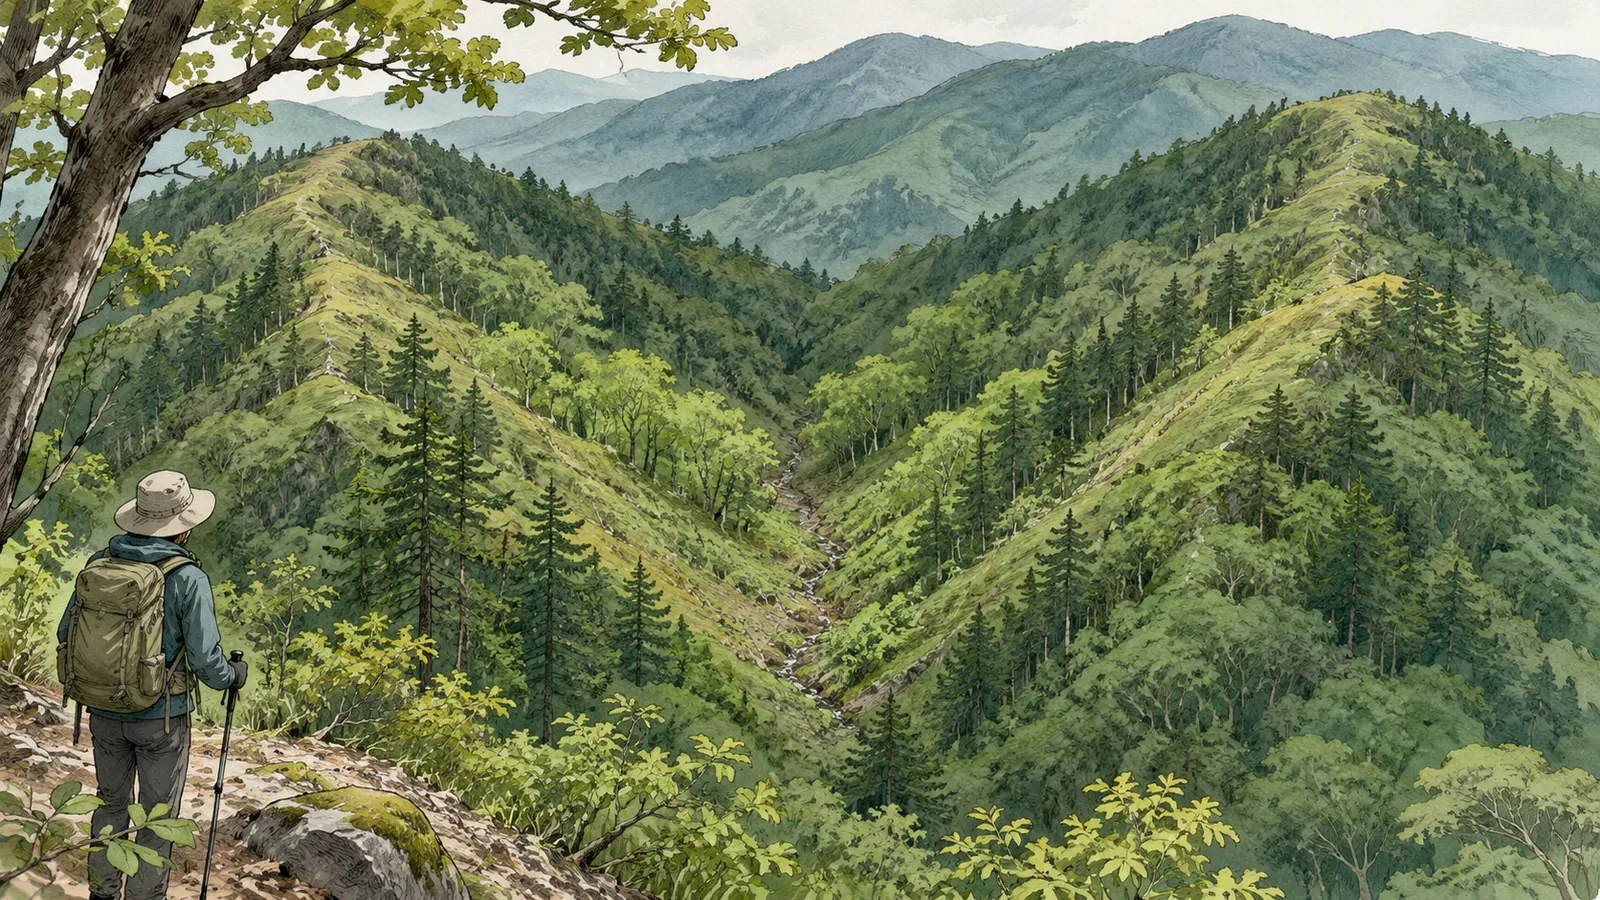
To spot a possible valley, read the ridges on both sides and check which direction the ground rises and falls. Using GSI diagrams, an orienteering teaching manual and a Nagano Prefecture safety bulletin consulted on October 28, 2026, we explain how to mark a small indentation between side ridges on paper. This is a desk exercise devised by the editors. Assessing the safety of an actual route is a separate task.
Find the higher ground on either side first
Looking for one thin valley line straight away can make it hard to see how it fits the surrounding terrain. Start with the main ridge and follow the ridges branching off to either side. Then see if the ground between them is lower. Here, a side ridge is a ridge that branches off a larger one. The term does not imply a particular width or length.
In its guide to reading ridges and valleys, GSI starts by checking contour elevations to establish where the ground is higher or lower, then shows how to draw the ridgelines. In the diagrams, a ridge stands higher than the land around it and a valley lies lower. Check the elevation labels to find the direction of rising ground before relying on the shape of the curves.
The same guide shows that a ridge makes the contours bulge toward lower ground, and a valley does the reverse. Look for a contour that bends toward higher ground between the two bulges. This lets you read the side ridges and the valley between them as one landform. A bend in one contour is only a clue. Check whether the same relationship continues on contours above and below it.
The red lines in the diagram show some of the ridges
In the GSI diagrams, red lines show examples of ridges branching off high on the mountain. A note explains that some ridgelines are left out. Where the diagram shows no red line, go back to the original contours and elevations before adding your own. Mark a possible ridge or valley only when you can explain what in the map suggests it.
On paper, choose one contour and follow it with your finger through the bulge on the left, the dip in the middle and the bulge on the right. Look for the same pattern on the contour one interval higher and one interval lower. We suggest this exercise as a way to work with the diagrams. Three lines alone cannot resolve every landform or reconstruct details absent from the map.
If you can trace the possible ridges but lose the central indentation farther up, note “possible small valley, upper connection unclear.” Leave the gap open. Drawing a straight line through it would invent a stream course, and a saddle at its head is not a given. Keep identifying the terrain separate from choosing a hiking trail so that your sketch does not turn into directions.
Distinguish a small reentrant from the main valley
The Japan Orienteering Association manual distinguishes large features such as ridges and valleys that can be read as lines or areas from small spurs and reentrants used as control locations. It describes a reentrant as a small depression open on one side and notes that telling it apart from a small enclosed depression can be difficult in the field. Two features can look like valleys yet differ in size and how they connect with the terrain around them.
Those competition terms do not give fixed dimensions that can be carried over to GSI maps. The manual also includes off-trail exercises for competitors. For this exercise, stay with paper or screen and look only at which larger valley the small indentation appears to join.
The manual also has instructors draw attention to the size and width of ridges and valleys and to changes in slope. Try describing the relationship instead of counting valleys: “The left ridge branches off the main one, the right ridge is a short spur, and the indentation between them looks shallow.” This is practice in describing what the map shows. It gives no measurement of the valley’s actual depth or how easy it would be to cross.
Compare shaded relief and record any doubts
GSI’s shaded relief map simulates light coming from the northwest using elevation data. It helps distinguish ridges and valleys. The dark parts are simulated shading rather than shadows on the ground. When comparing two ridges and a possible valley with the same area on the shaded relief map, use more than the darkness of the shading to identify the valley.
GSI also notes that a step-like feature can appear where different elevation datasets meet. If you cannot tell whether a line comes from the terrain, the rendering or the data, leave it unconfirmed. Even if the shaded relief seems clear, go back to the original contours and elevations and check that the raised sides and low middle still fit together.
In Nagano Prefecture’s March 29, 2023 mountain bulletin, the prefectural police mountain safety division warns that ridges can branch into small side ridges heading down into valleys. The ridge may turn sharply, and a side ridge can be mistaken for the main ridge during a descent. The bulletin is a dated safety notice. You still need to check whether a particular ridge is accessible today, and a ridgeline on the map does not establish a trail you can follow.
Finish by noting on one page where the possible valley sits relative to the intended trail, which elevations you used, what you could confirm on another layer, and what you could not read. Stay on the trail to check these points in the field, without descending into the valley or switching to a side ridge. Stop somewhere stable to compare the map. Resolve uncertainty before continuing into unfamiliar terrain.
Read a small valley in relation to both sides
To find a small valley between side ridges, first identify the bulges on each side and look for lower ground between them. Check which way the terrain rises, whether the pattern continues across several contours and how large each feature is. Then compare another layer, such as shaded relief.
Where the example diagram leaves a line out, return to the original contours and leave unclear sections open. The exercise gives you specific features to check on the map or from the trail. Access and safe passage still need to be verified separately.
References and sources
- Geospatial Information Authority of Japan (GSI): Reading Ridges and Valleys on a Map (two teaching diagrams)
- Japan Orienteering Association: Orienteering Instruction Manual, Navigation Techniques (pp. 3 and 15)
- GSI: Shaded Relief Map
- Nagano Prefecture: Sanpo Shimazaki’s Mountain Bulletin No. 296 (March 29, 2023, advice from the prefectural police mountain safety division)