
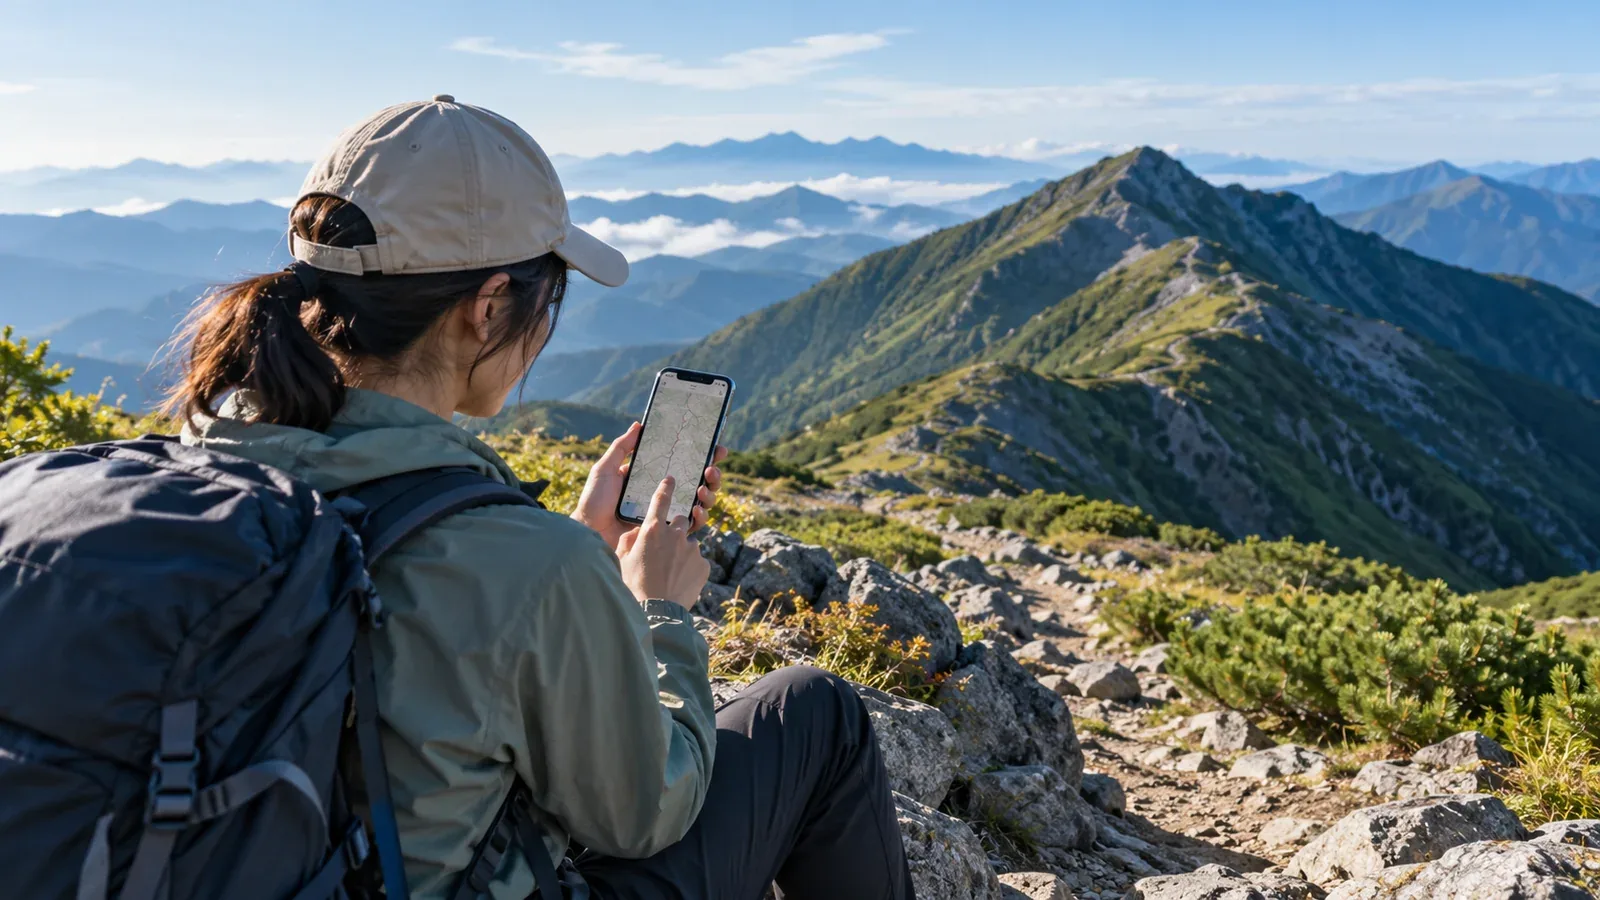
Some hikers want a map and GPS to check their position. Others want to record a walk or share plans with friends. Start with the features you will actually use to narrow down your choice.
This guide explains what to look for in maps, route planning, weather and safety features, and trip sharing. It also shows how to test an app before leaving.
Work out what you want the app to do
Think about the features you need and whether you can use them easily on the trail. Start with three questions.
1. Navigation or trip logging? For navigation, check that you can open the map and plan offline. For logging, check the export formats and who can see your photos and tracks.
2. Solo or group hikes? Check whether everyone can open the same maps and plans, and whether you can send the itinerary to someone without the app. Review who can see your location, what is shared and what appears when you lose service.
3. What areas do you hike in? Check coverage for places you visit often, and see how clearly the map shows contours, junctions and usable paths. Check coverage for any overseas destinations, too.
Features to compare
Once you know your needs, compare the following features.
Offline maps and GPS accuracy
A map and the routes you need may be viewable out of mobile coverage if you save them to your device first. Getting a GPS position and sending that position to someone else are separate functions. On the device you will use, check the following.
- Whether maps, routes and plans can all be downloaded ahead of time
- What area each download covers and how much space it takes
- The contour interval and how easy the terrain is to read
- Recording intervals and power-saving settings, and how they affect the position display or track
Accuracy depends on device settings and satellite reception. Your position can drift in valleys or where little sky is visible. Test battery use at the brightness and recording settings you expect, and carry a paper map, compass and backup power.
Route planning
Use these features to put together a trip before you leave.
- Can you search for existing routes and save them?
- Can you draw your own route?
- Are estimated walking times displayed?
- Can you share the plan with family or friends?
Apps calculate walking times in different ways. Adjust the estimate to your group’s pace, including breaks, loads and trail conditions, and set a turnaround time.
Safety and weather
- Can the app prepare and submit a hiking notification to the relevant authority?
- Can you check forecasts and alerts for the area? Check the Japan Meteorological Agency’s forecasts, warnings and advisories separately as well.
- Can you send your location in an emergency? Find out what connection it needs, who receives it and when.
Some designated areas and trails require a hiking notification. Authorities such as Nagano Prefecture list services they accept. Saving a plan in an app does not file it. Check the methods accepted by the relevant authority and confirm that submission is complete.
Community and trip sharing
- Can you share tracks, photos and comments with other hikers?
- Can you look up reports for clues about snow or trail conditions?
- Can you find hiking partners or plan group trips?
When reading other hikers’ reports, check the date and season. Snow, closures and opening hours change. Read the latest notices from hut staff or site managers.
Comparing free and paid plans
Offline map coverage and download limits, track export and location sharing differ by plan. Enter your destination and check whether the features you need are available.
Here are some reasons to consider a paid plan.
- The maps included in the free plan do not cover the area you need.
- Limits on the number of tracks or how long they are kept get in the way.
- A feature you need requires a subscription. For hiking notifications, also check other submission methods offered by the relevant authority.
Prices and free allowances can change. Check the app’s official website or its in-app plan details.
Using more than one app
You might use a dedicated app for maps and GPS and another for finding hiking partners or sharing tracks. If both record your GPS track, test battery drain and how easy it is to switch between them.
Here are some ways to combine apps.
- Choose your main map app for navigation and share trip reports in a separate app.
- Switch map apps according to coverage, for example between Japan and overseas.
- Find partners in a community app and use a different map app during the hike.
Choose the map app you will use on the trail and practice in a local park. Know how to check your position and junctions with a paper map and compass if your phone becomes unusable.
Three checks before you rely on an app
Once you have chosen an app, try these three things before heading into the mountains.
- Check offline downloads. Save the area and route, turn on airplane mode with Wi-Fi off, and check that the plan and maps at the scales you need still open.
- Check GPS and the position display. In a safe outdoor location, check location permissions. See whether your position still appears without data and whether it matches a landmark on the map.
- Check battery use. Take a walk with your usual screen brightness and recording settings. See how quickly the battery drops and test power-saving mode and your backup power.
Next steps
Decide whether position checks, planning with others or trip records matter most. Install your candidates and test the maps, GPS and battery in a safe local park. If you are looking for people to hike with, explore Nordwand’s Base Camp and communities.
References and sources
- YAMAP Help Center: Quick start guide
- YAMAP Help Center: Guide for recipients of location updates
- Nagano Prefecture: Submitting a hiking plan
- National Police Agency: Summer mountain accident prevention guidance
- Apple Support: Privacy and Location Services
- Android Help: Manage location settings
- Japan Meteorological Agency: Weather forecasts
- Japan Meteorological Agency: Weather warnings and advisories