
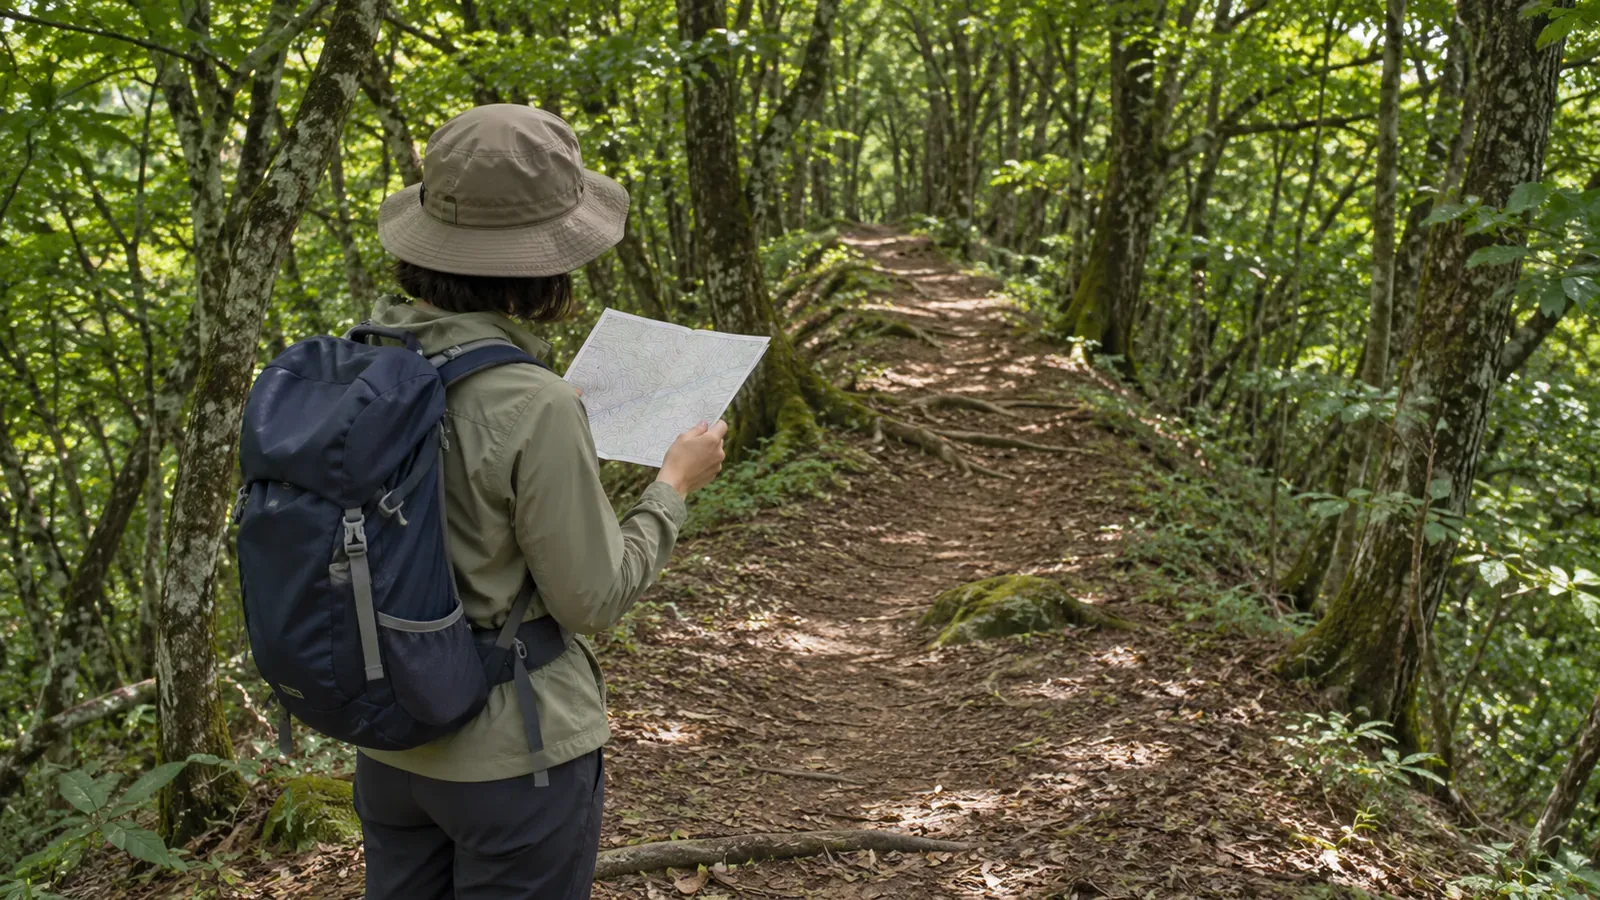
On a wooded ridge, trees may hide distant peaks and the surrounding ridgelines. Before leaving, plan what to look for nearby. A feeling that you’re on the ridge gives you little to go on. Check the range of places where you could be and the direction the trail continues as separate questions.
Check your position and direction separately
Basic Map Reading, Compass and GPS: How to Avoid Getting Lost, from the Japanese Alpine Club’s Tokyo Tama branch, starts by checking your position. It then has you read the direction ahead, expected climbs and descents, terrain and landmarks. Confirm where you are, then anticipate what you should see next.
In Staying on Route with a Compass and Map, the Japan Orienteering Association uses direction and how the route relates to the terrain. The aim is to stay on a route you’ve already identified. Finding north with a compass leaves your position on the map to be determined.
We suggest two entries for your notes: “where I can confirm I am” and “which way the trail continues.” If you write that an eastbound ridge trail follows a confirmed junction, record separately how you identified that junction.
This article covers the stretches where you cannot see distant features. In those stretches, plan what to look for in the nearby terrain and in the record of your route. Leave unseen peaks out of the comparison until you have evidence of where they are.
Choose nearby features you can match to the terrain
The association’s Different Ways to Establish Your Position describes using nearby, conspicuous features that can reliably be matched to the map. Among terrain features, it points to differences in direction and slope, distinct peaks and saddles, ridge and valley junctions, and distinctive bends.
A tree or a stretch that feels flat could turn up almost anywhere. Look for details you can connect to the map you’re using. Finding a mark on a tree or traces of people passing is insufficient to establish your exact position on the map.
To tell ridges from valleys, the Geospatial Information Authority of Japan’s lesson looks for contours bulging toward lower ground on a ridge and turning the opposite way in a valley. Check the curves and elevations and note which side of the trail the feature sits on, and whether it changes direction with the trail. Verify the presence of any trail independently of the landform.
The Japanese Alpine Club course lists flat ground, especially in woods, and places with poor visibility as conditions where it’s easy to make a navigation error. That is a lesson from the course, separate from accident statistics for individual places. When reviewing a section with few obvious features, look for useful checks before and after it.
If you can’t pinpoint your location, narrow it to the area you can identify
The Japan Orienteering Association describes location as a point, a line or an area. If you know for certain you’re on a distinct trail, identifying that trail as a line can be enough on some stretches. At the turn where you leave a main ridgeline to descend, the guide calls for identifying the precise junction.
This works when you know for sure that you’re on the trail. If you’re unsure whether you’re still on it, being somewhere on a ridge doesn’t establish your location along a known line. And knowing the line you’re on can still leave the turning point uncertain.
Imagine a known trail from confirmed junction A to the next peak, B. If your exact location between A and B is unclear, keep the section marked in your notes and leave the precise point open. A and B are labels for the exercise.
The association also explains how you can use the things you’ve seen along the way to work out your position. In your notes, pair a confirmed place with changes of direction and terrain you expect after passing it. That lets you reconstruct the basis for your judgment. Time elapsed alone gives no precise position.
Avoid deciding to turn because it’s the scheduled time if you aren’t sure you’ve reached the junction. Use the section you’ve narrowed down to check whether you have enough evidence to identify the turn. Continuing is no guarantee that you’ll come across the expected feature.
Plan where to stop and what to check before setting off again
The Japanese Alpine Club materials list summits, changes in trail direction, marked changes in gradient, ridge junctions and valley confluences as places to check your position. They also suggest using a compass to check your direction after a break. Include checkpoints with no distant view.
The orienteering association’s guide explains how to read the direction of a line such as a ridge or trail from the map and check it with a compass. It also describes orienting the map so it aligns with the ground. Practice these skills in advance with the map and compass you’ll carry.
Check how the map and compass work together, including magnetic north lines. Practice in a course or with someone familiar with their use, since reading through the map-orientation steps once gives only a starting point. Keep checking your direction and confirming your position as separate steps.
For each checkpoint, we suggest noting the evidence for your location, the direction the trail takes, the next nearby feature to check, and anything you haven’t confirmed. At a rest stop, use the notes to check which direction you plan to take when you get moving again. Completing the entries leaves the decision about whether it’s safe to continue to separate checks.
To consult the map on the trail, stop where your footing is stable and others can pass. If the features don’t match, avoid going onto another ridge or off the trail to test your guess. If you’re unsure of the way back, a straight line to a map mark gives you no reliable route. Review what you know and which questions remain.
In brief: use nearby features and your record of the route
When distant peaks are hidden, combine nearby terrain you can match to the map, points you’ve confirmed and the directions or changes that come afterward. Work out where you are first, then read what lies ahead.
When you can’t name an exact point, record the section you can identify and what remains unknown. Knowing you’re on the trail and identifying the junction where you need to turn are separate checks. A matching direction alone can’t tell you your position on a wooded ridge.
References and sources
- Japanese Alpine Club, Tokyo Tama Branch, Masayuki Kondo, Basic Map Reading, Compass and GPS: How to Avoid Getting Lost, September 28, 2024, p. 25
- Japan Orienteering Association, Different Ways to Establish Your Position, pocket guide
- Japan Orienteering Association, Staying on Route with a Compass and Map, pocket guide
- Geospatial Information Authority of Japan, teaching materials on identifying ridges and valleys from a map