
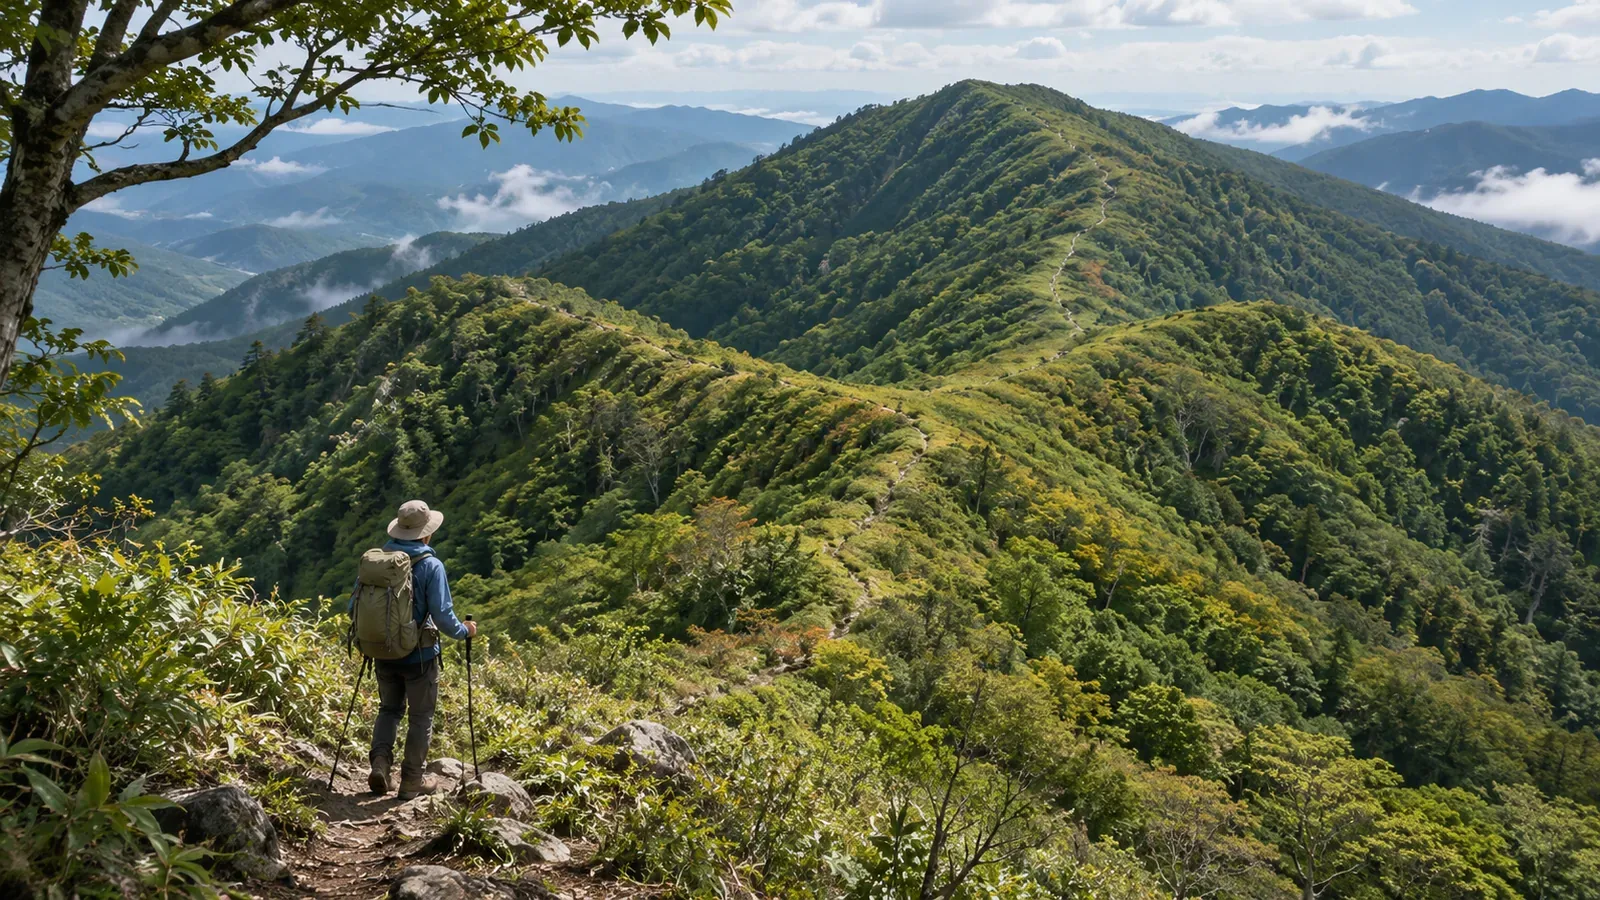
You came through here on the way up, yet on the way back a path you don’t recognize comes into view. If you’ll pass a ridge junction both ways, record on the map which direction you came from and which way you left. We consulted training materials and a firsthand trail maintenance report on October 28, 2026 to put together a way to read the same spot from both approaches.
Read the junction again from the other approach
The Japanese Alpine Club’s map-reading course describes a ridge as high ground between valleys. Ridges often extend from a summit or small rise toward the foot of the mountain and branch along the way. The notes call the place where one ridge splits from another a junction. This helps you read how the landforms connect independently of how the paths look.
The Japan Sport Council’s instructor’s textbook explains that ridges branch downhill and that following a planned route takes more attention on descent than ascent. The options you have to distinguish at a junction change when you approach it from below or above.
The view and layout at each junction depend on the terrain. Check separately how the ridges connect, how the trails connect and which way you’re facing. Recognizing the place you passed on the ascent is one check. Choosing the branch for the return is another.
Trail crews also noticed paths that only came into view on the way back
In a maintenance report published on August 24, 2026, the Hiroshima Bay Trail crew described an outing toward Mount Oshikibata. As they retraced the route downhill, they saw paths leading in the opposite direction that they hadn’t noticed on the ascent. The writer guessed that they might lead to power lines or pylons. The account comes from an outing along the same route in both directions.
The paths’ purpose and management remain uncertain, and the report gives no count of the ridges at that spot. It offers one example of how changing direction can bring paths into view that you didn’t notice on the way out. What you see at other junctions depends on the terrain.
The crew also discussed accounting for people walking the trail in the opposite direction during maintenance. That reflects the trail crew’s work. As a hiker, record each direction on your own map or notes and leave physical trail markers and tape to the people responsible for the trail.
The report describes the work on that day. For access or maintenance conditions as of October 2026, or for use as route directions, consult current information about the trail separately. The report is a starting point for thinking about how to check an out-and-back route.
Replace remembered turns with compass directions and two arrows
Try this exercise on paper. Draw a hypothetical ridge that forms a single line to the north and divides into southwest and southeast branches to the south. It’s a made-up landform. Leave paths and signs out of the exercise. Start by checking the connections with north at the top of the page.
Draw the first arrow coming up from the southwest to the junction and continuing north. Draw the return arrow from the north to the junction and down the southwest branch. The southeast branch is connected too, but you didn’t take it on the way up. “From the north, go back down the southwest branch” captures the return beyond a remembered turn to the right or left.
The directions are specific to the exercise. On your own map, check the actual compass directions and trail lines on the planned route. Trace the ridges and the mapped trails separately, then check how you leave the junction in each direction.
The Geospatial Information Authority of Japan’s teaching material explains that contours bulge toward lower elevations on a ridge and point the other way in a valley. The red ridge lines in the lesson show only a selection. Look beyond the most prominent lines before drawing conclusions about all the connections at a junction.
In the exercise, write down separately where you came from, which compass direction the return trail takes and whether it stays on the ridge. That gives you more to work with than “turn right on the way back.” It’s a way to keep the camera direction, the map orientation and your own direction separate while you identify the route.
Record where the photo was taken and which way the camera faced
If you take a photo, stop where your footing is stable and others can pass. After crossing the junction on the ascent, look back if you can do so safely to see the return approach. Add the camera position and direction to the map notes. Take the photo from the trail.
Record which way the camera faced. If you file a forward-facing picture and a picture taken while looking back as though they show the same direction, it’s hard to tell which branch you’re seeing. Match each picture’s direction to the outward or return arrow on the map.
The Japanese Alpine Club’s course covers checking your position and route and anticipating the terrain and features ahead. It lists ridge junctions and places where the route changes direction as checkpoints. Use photos to supplement the map as you confirm where you are and where you’re going.
If the view doesn’t match the photo, stop in a safe place and recheck your position and the notes on camera location and direction. Searching farther along for a place where you can take a similar picture can take you off route. Note when the original location or direction is uncertain, so you know how much the picture can tell you.
In brief: prepare two descriptions of the same junction
Along with remembering the view on the way out, draw arrows on the map for the two directions of travel. Distinguish how the ridges connect, how the paths connect and which way you’re going. You’ll then have what you need to describe the return branch in words.
Add the location and direction to each photo and match it to the arrows. The maintenance account shows how the view can differ by approach. Check access and visibility for your own route separately, and use the notes with the view to make a fresh check when you come back.
References and sources
- Japanese Alpine Club and Masayuki Kondo, Basic Map Reading, Compass and GPS: How to Avoid Getting Lost, course notes, September 28, 2024, pp. 3–4 and 25
- Japan Sport Council, Safe and Enjoyable Mountaineering: A Textbook for High School Mountaineering Instructors, Part 4, Chapter 1, introductory exercise, p. 132
- Hiroshima Bay Trail, August 22 maintenance outing and the view on the return: Miyajima Course 16, first half of Mount Oshikibata, published August 24, 2026
- Geospatial Information Authority of Japan, teaching materials on identifying ridges and valleys from a map, step 3