
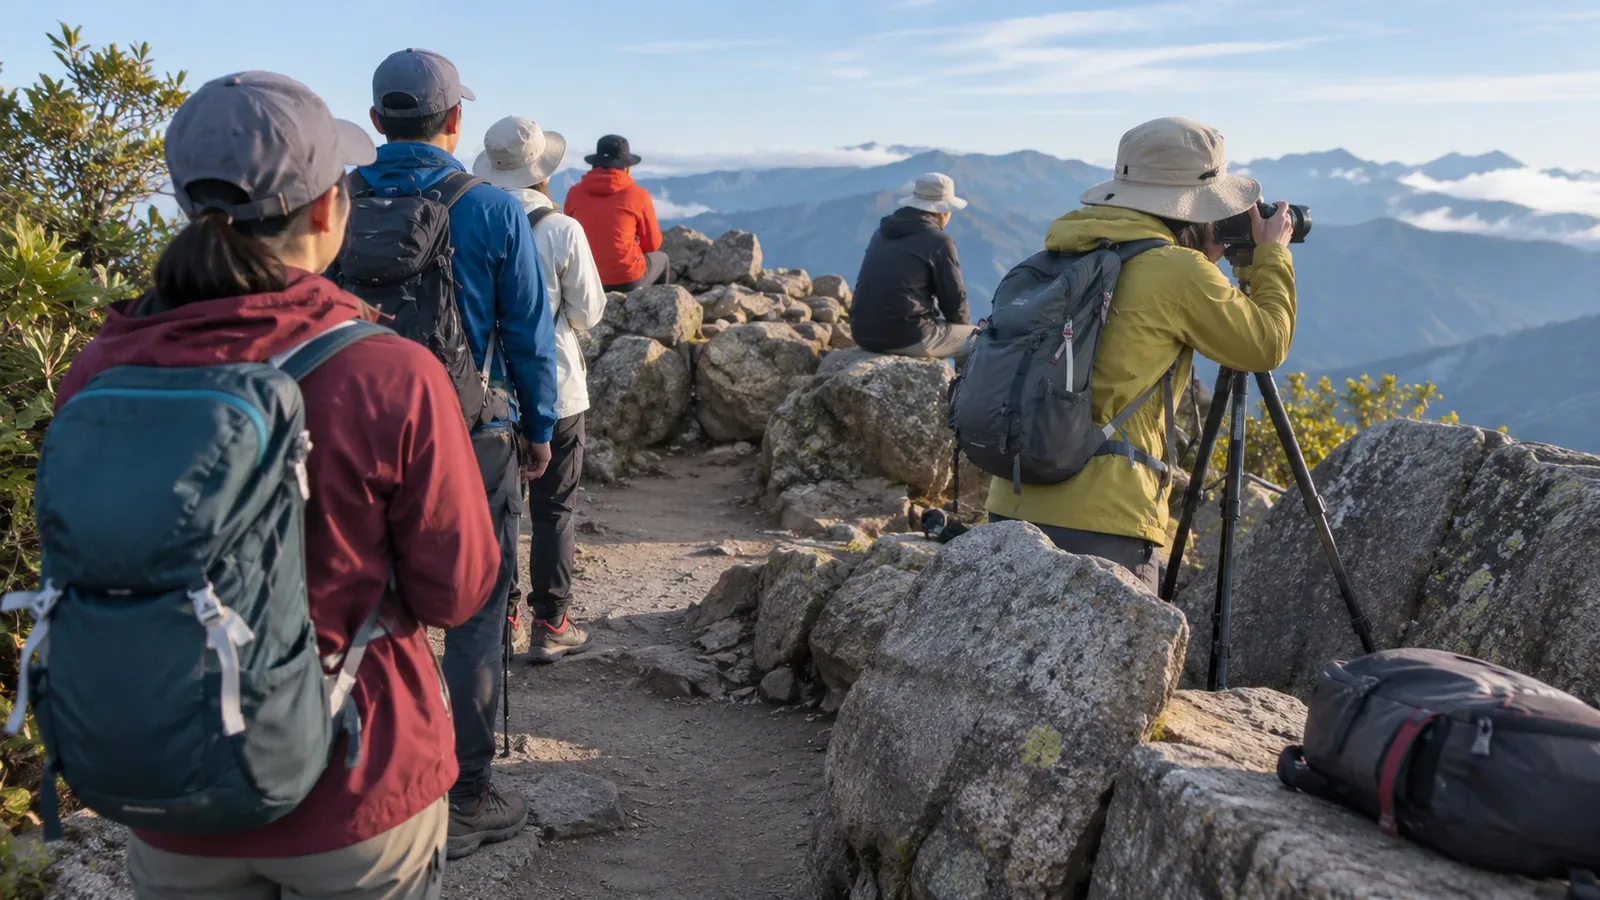
Some people want a photo with the summit sign, some come for the view and others need a rest. On a narrow summit, all of them share the same space. Take the picture you came for while leaving room for others to pass and take their own photos. Start by looking at the space and who is waiting, then take turns with a few words when needed.
See how people are using the whole summit
When you reach the summit, first look at the trail entrances, paths and places people are resting. Even an open-looking area can get busy where trails meet. Work out where the photographer, the people in the photo and the packs will go. Choose a spot that leaves paths clear.
If there’s a line at the sign, see how people are taking turns and wait. After taking your photo, move somewhere you can review it without blocking the path or the next photographer. For a group photo, decide where everyone will stand and who will take it. That way you won’t spend your turn looking for people.
People can still come up the trail when the summit looks empty. Look around and say “Go ahead” or “Can we go next?” if needed. Pick a place to wait where neither you nor your packs will block the path or sit too close to the edge. See which way the previous group will leave and make room for the next. Arranging poses and bags can take longer than expected once you’re at the sign. Get the camera ready and agree on the order while waiting, so it’s easy to let the next person know when you’re done.
Use less space and time for the shot
Choose one shot before raising the camera. Decide whether it’s a portrait by the sign or a view of the mountain range so you can settle on where to stand. Once you have the shots you need, tell the photographer you’re done, make room for the next group and look through them somewhere out of the way.
If your group is taking individual portraits, look around and let others take a turn partway through if people are waiting. If you ask another visitor to take a picture, make sure they’re happy to help, and clear the space afterwards. Respect the time and plans of anyone who helps. In a large group, one person can keep an eye on the line. If someone needs to walk between the photographer and the group, pause and let them through.
Keep out of closed areas and off plants while taking photos. Nagano Prefecture’s guidance for nature park visitors asks photographers to stay on the trail and outside restricted areas. Conditions vary by summit, so follow signs and local instructions and avoid making a new path just for a photo.
Allow room for tripods and packs
A tripod takes up room where the legs spread and where you set your camera bag. If a narrow summit is crowded, try a handheld shot or choose a quieter place or time. Keep the tripod clear of paths and other people’s resting spaces.
The tripod division of the Japan Photo and Imaging Accessories Association says disputes over space are more likely at popular photo spots and asks people to take turns. Equipment takes up more room than a person standing alone. Check any local notices on tripod use. Before setting up, check that you’re clear of paths and resting areas. Pack up after the shot so the next person can use the space.
A pack left behind can still block the path after you move away. Take your belongings with you, and check that poles and straps aren’t in anyone’s way. The U.S. National Park Service’s photography guidance also says to watch your step, look around and stay away from drop-offs. When making room for others, stay away from the edge and talk to each other so everyone can move safely.
Change the shot when it’s crowded
If there’s a line at the summit sign, count waiting time as part of the hike. If it’s almost time to start down, consider taking one group photo instead of individual portraits, photographing the sign from farther away or skipping the photo. You can record reaching the summit in your trip notes.
If people resting nearby are in the background, check whether you’re including them. If faces are clearly visible, change position or angle or wait until the view is clear. Before sharing, check whether anyone outside your group is in the photo. If you crop a picture meant to show the footing or path, explain what’s outside the frame when that context matters. If someone asks you to take their photo, check what they want and how to use their camera before agreeing.
Once you’ve finished, check the weather, how you’re feeling and your plans for getting back, then start down. The U.S. National Park Service’s planning guide also suggests checking your abilities, how long the outing will take and the day’s conditions. Finish the photo session if repeated attempts would leave you short of time. You can look for other things to photograph somewhere safe to stop. Leave room for the people sharing the summit to enjoy their turn.
Share time and space on the summit
Before taking a photo, check the paths, people waiting and resting places, then decide on your shot and the order. When you’re done, move your gear too and review the pictures somewhere that keeps the way clear.
Tripods and group shots can take up more space and time, so change the plan when it’s crowded. Follow local guidance and speak up when a brief exchange will help people take turns safely.