
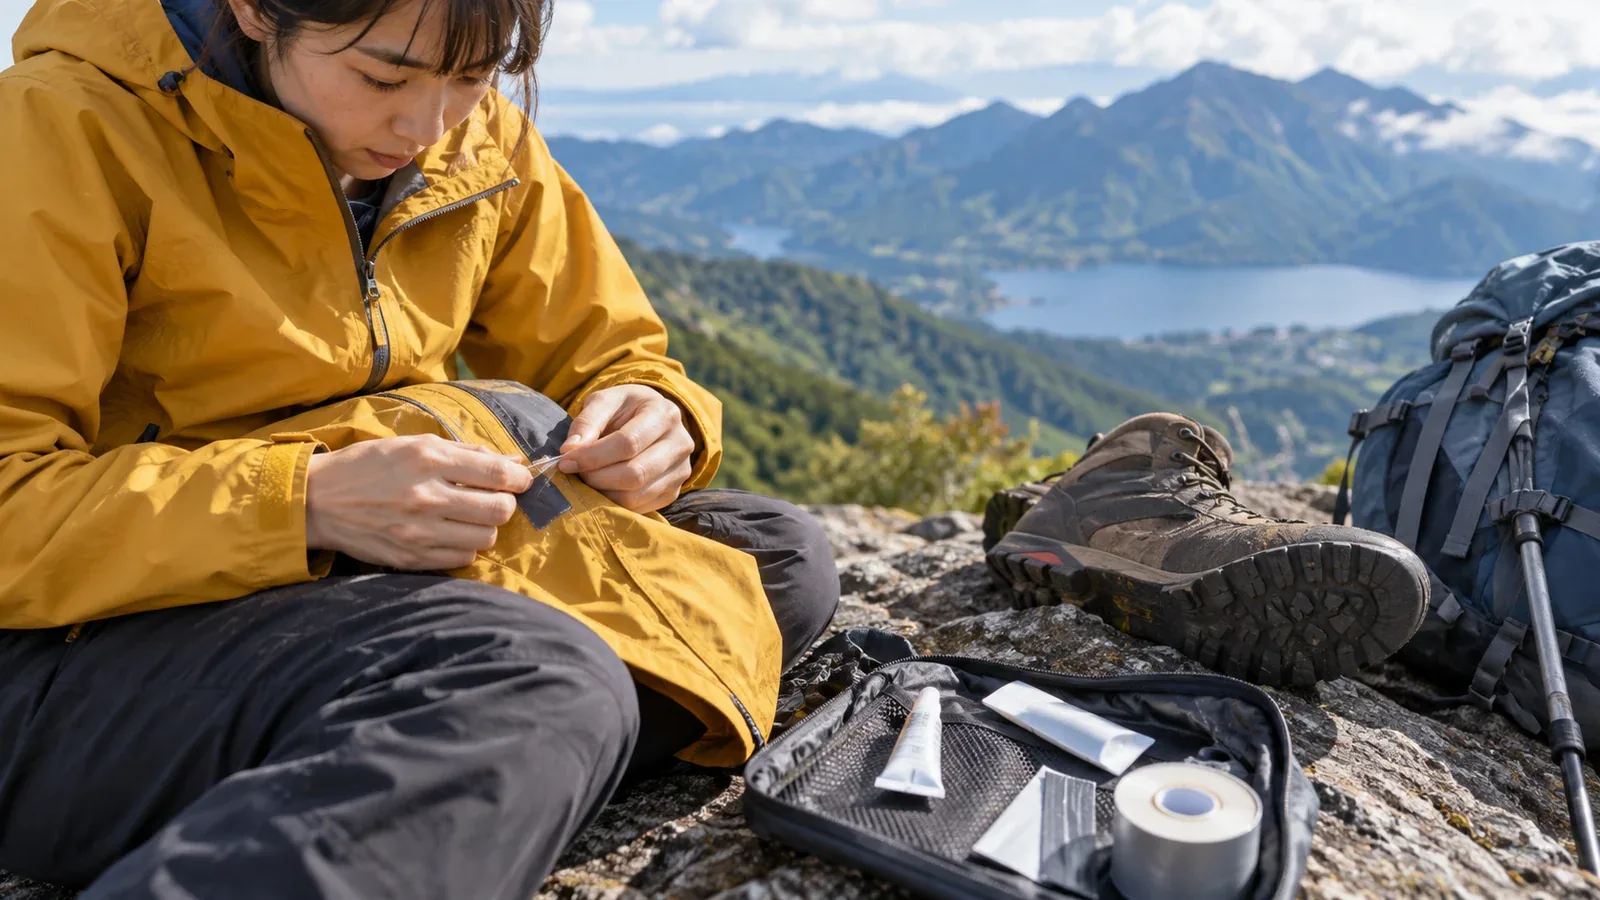
When hiking gear breaks, the first decision is whether to fix it yourself or send it in. Shipping, cost, time until your next trip, and how strong it will be afterward all matter. The right choice depends on what broke and how badly.
This guide shows how to tell which damage needs professional attention and which you can handle yourself, with steps for different types of equipment. It covers what to do after a temporary field repair as well as how to catch damage before a failure.
Damage to take to the manufacturer
If a safety-critical part is damaged, stop using it. Check the manufacturer's retirement criteria and contact its authorized service channel.
Damage to harnesses or climbing equipment. Stop using the equipment if load-bearing stitching frays, a buckle cracks, or webbing wears. Avoid resewing, gluing, or loading it to judge its strength yourself. Follow the manufacturer's inspection and retirement criteria.
Broken tent poles or deformed frames. If you have a compatible repair sleeve, follow the manual to secure the damaged section temporarily. When you get home, ask the manufacturer about compatible replacement parts or repair before using it again.
Torn crampon straps or deformed fittings. Stop using crampons with damaged bindings. Avoid securing them with tape or bending fittings back. Check approved spare parts and retirement criteria. If you have no replacement in the field, stay out of terrain that needs those crampons and adapt the plan to the conditions.
Widespread seam tape peeling on a waterproof jacket. Ask the manufacturer for advice if the seam tape is peeling over a large area or the seam itself is coming apart. Even for local lifting, check the instructions and warranty before using repair material or heat.
Checks and minor repairs you can do at home
Small damage to a part that does not bear a load, such as a hole in the outer fabric, may be repairable using a manufacturer-approved method. The examples below show what you can address and when to stop and ask for help.
Small holes and tears in jackets and trousers
What you need: A patch compatible with the fabric and coating, the specified cleaning supplies, and scissors if needed.
- Clean the area according to the product instructions and let it dry completely.
- Choose a patch large enough to extend around the tear. Round off the corners if trimming the patch to size.
- Bring the edges of the tear together, apply the patch, and press it down from the center toward the edges.
- Follow the patch instructions for how long to wait before using or washing the item. For example, some GEAR AID patches need 24 hours before washing.
Follow the garment and patch instructions for which side to patch and the size of repair they allow. For a large tear or damage to a load-bearing or waterproofing seam, consult the manufacturer before relying on a patch.
Seam tape lifting in one area
Even when only an edge has lifted, whether heat or adhesive will work depends on the fabric and tape. The length of the loose section alone cannot determine the method.
- Check the extent of lifting and look for a peeling or sticky coating around it. Do not pull off firmly attached tape.
- If the manufacturer gives a procedure for users, follow it and use the specified repair material.
- If no such procedure exists or the damage is spreading, contact the manufacturer's repair service.
Apply heat only if both the garment and the repair product instructions allow it. A care label that permits ironing does not establish that heat can be used for seam tape repair.
Backpack zipper pulls and sliders
The pull is the part you hold. The slider brings the teeth or coil together. What you can replace and how depends on which part has broken.
- Identify whether the pull, slider, teeth, or coil has failed.
- If the pull is designed to be replaceable and the manufacturer lists a compatible part, follow the replacement instructions.
- For damage to the slider, teeth, or coil, or fraying at the stitching, contact a repair service. Avoid forcing the zipper or squeezing the slider with pliers.
A separating boot sole
If a sole lifts or separates, stop hiking in those boots and consult the manufacturer or a boot repair specialist. A small separation on the outside can conceal damage to the bond or midsole.
- Record where the sole has separated, cracked, or crumbled, and take photos of the bottom and sides.
- Provide the model number and ask whether the sole can be reattached or replaced.
- Wear different boots until the repair is complete. Avoid taking the damaged pair on another hike with only a temporary adhesive repair.
If polyurethane has deteriorated and the sole is crumbling or cracked, adding adhesive will not restore the strength of the material. Ask whether the boot can be resoled and replace it if repair is not possible.
How to arrange a manufacturer repair
Check how to submit the item, get a quote, and confirm the turnaround so you know whether the repair can be done before your next trip.
Find the repair service on the official website. Provide the product name and model, purchase date, condition, and requested repair as needed. Photos can help, although some manufacturers need to inspect the item before giving a quote.
Turnaround and cost depend on demand, parts availability, the manufacturer, and the work needed. Arrange replacement gear if your next hike is soon, and check the terms to see whether the damage is covered by warranty.
Weighing repair and replacement
Before comparing prices, check whether the repair can reliably restore the function and safety you need. Then consider the quote, turnaround, and remaining usable life after repair.
Ask the manufacturer whether deteriorating soles or widespread seam tape damage can be repaired. Water failing to bead after washing does not by itself indicate membrane damage. If a compatible zipper pull or patch for a small hole restores function, you can keep using the gear you have.
Keep a repair history so you know how often an item has been repaired and how long you have used it. Recording its condition alongside your hiking log also helps you decide when to replace it.
What to do next
Photograph the damaged area and work out whether it affects safety. If in doubt, stop using the gear and ask the manufacturer or dealer. For a minor repair you can do yourself, follow the product's method and pre-trip checks. Nordwand's partner directory can help you find an outdoor retailer.