
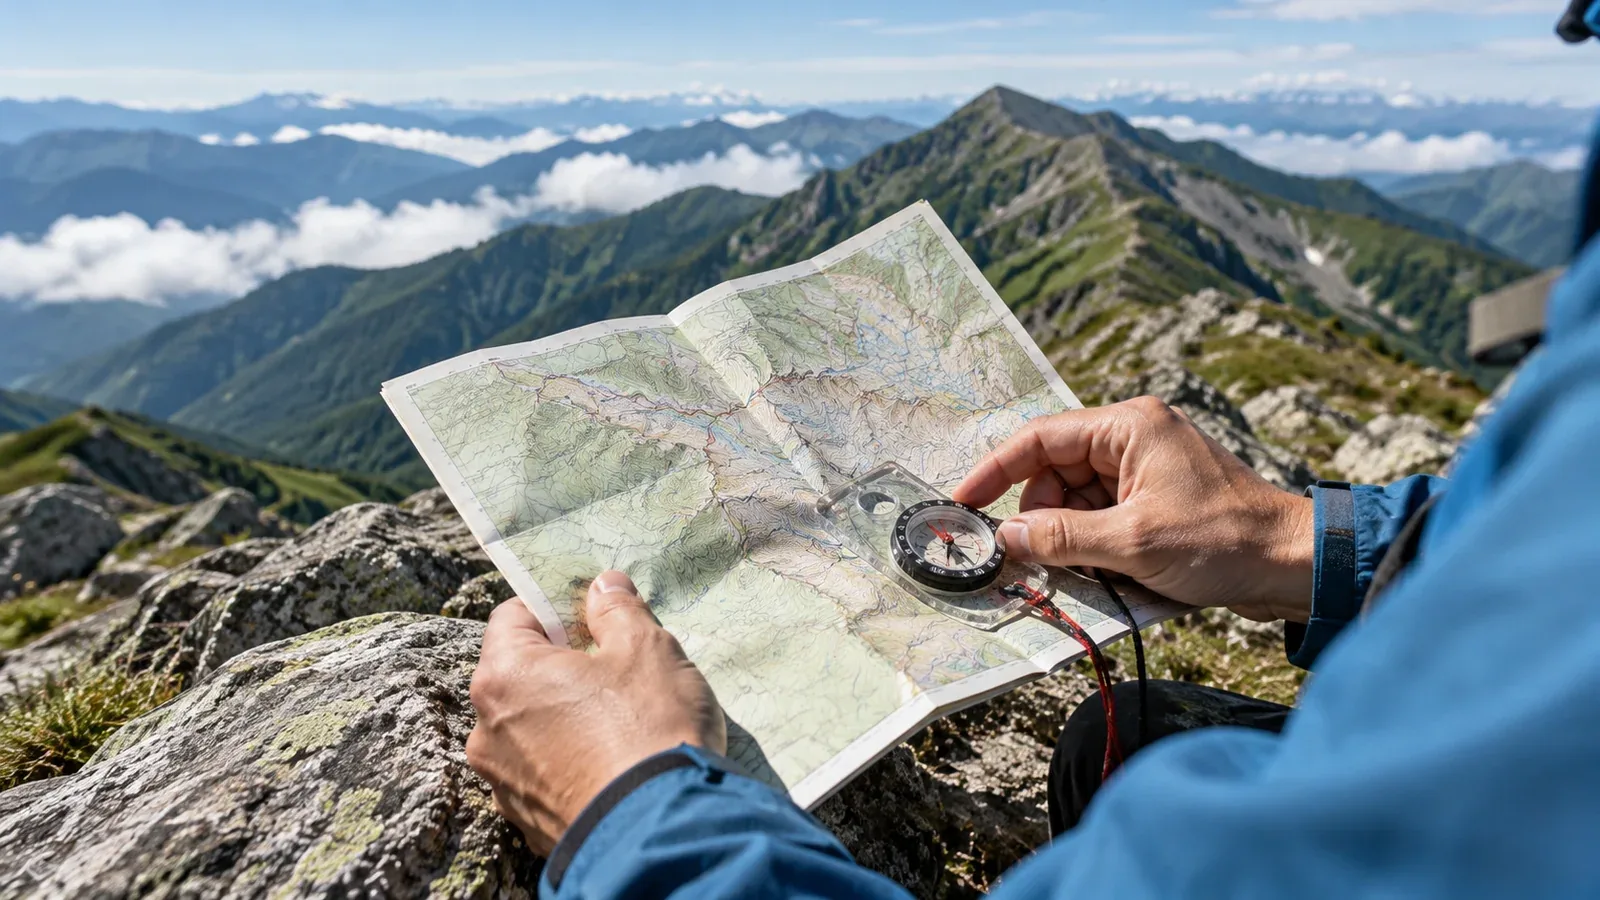
A hiking app can put your GPS position on a map. Carrying a paper map and compass and knowing how to use them gives you a view of the whole route and a way to check your position and direction if the phone fails.
A phone can stop working when its battery dies, it gets damaged, or temperatures affect it. Without downloaded maps, you may lose the map when you lose reception. A paper map and magnetic compass work without power or a connection. Keep the map dry and use the compass away from magnets, metal and other sources of interference.
This guide explains why paper is useful, which map to choose, how to use it with a compass, and when to use the phone.
What a paper map adds
A paper map helps when planning a route and matching the map to the terrain on the move.
Spread out a map and you can see how ridges connect, where valleys run and where spurs branch off. Study the overall route before you start and remember the key junctions and changes in terrain. That makes them easier to recognise on the ground.
With practice, you can compare direction and terrain without waiting for a phone to start or a map to load. Check where you are as you pass junctions and other landmarks, before visibility drops, so it is easier to keep track.
Choosing a hiking map
Topographic maps
The Geospatial Information Authority of Japan (GSI) covers the country with its 1:25,000 maps. They are useful for reading contours, ridges and valleys. At 1:50,000 you can see a wider area on a sheet of the same size, while 1:25,000 can make smaller features easier to read.
Buy paper maps from a map retailer or print a map from GSI Maps. After printing, check the scale and make sure the entire route and the surrounding area you need are on the sheet.
Area trail maps
Trail maps such as Shobunsha’s Yama to Kogen Chizu series show estimated walking times, places to take care and mountain huts. Scale and contour legibility vary by product. Compare a trail map with a topographic map to practise reading both.
Keeping the map dry
Water can ruin a paper map. Choose a waterproof map or carry it in a waterproof pouch or resealable bag. For a map you print yourself, consider waterproof paper or lamination.
Choosing and using a compass
What to look for
A baseplate compass has a clear plate, a magnetic needle and a rotating bearing scale. It works well with paper maps. Silva and Suunto are two makers.
Check these three points when choosing one.
- Clear plate and legible markings. You need to see the map through the plate and read the scale easily.
- Rotating housing. The bearing scale should turn smoothly. Check whether it has declination adjustment and how it works.
- Needle balanced for the area. Manufacturers divide regions differently. Choose a model the maker specifies for Japan or one with a global needle.
Compass and map basics
A compass helps you read a direction from the map or narrow down your location from landmarks. The examples below use a map marked with magnetic north lines and a compass with declination adjustment set to zero. Use GSI data or another trusted source for the local lines. Apply the correction only once, on the map in this example.
Finding a direction to travel (bearing)
- Line up the edge of the baseplate between your location on the map and your next target. Point the direction-of-travel arrow toward the target.
- Hold the plate still and turn the housing so its north arrow and lines are parallel to the map's magnetic north lines, pointing toward magnetic north.
- Hold the compass level and turn your body until the north end of the needle lines up with the north arrow in the housing. The arrow on the plate now points toward the target. Check the terrain and choose a safe way to get there.
Estimating your location (resection)
- Pick two or three landmarks in different directions, such as summits, that you can identify on the ground and on the map.
- Measure the magnetic bearing to each feature and reverse it by 180 degrees. Align to the map's magnetic north lines and draw the resulting line back from each feature.
- Your approximate location is where the lines meet. Cross-check with other features, such as the direction of a trail or slope, or the location of a valley.
Practise several times in good weather at a safe spot with clear views where you know your location.
Using a phone alongside paper
GPS lets a phone display your position on a map. Download the area you need before leaving and check that it displays without reception. Prepare the paper map and compass so you can use them independently.
Here is one way to use both on the trail.
- Routine walking. Use the app to check your position and estimated walking time. Keep the paper map in a waterproof bag within reach.
- Junctions and indistinct ridges. Stop in a safe place and compare the paper map with the terrain to check your route.
- Saving battery. Use paper and compass and keep screen time short. Airplane mode is an option when you do not need a connection. Turn connectivity back on if you need to contact someone or call for help.
There is no universal battery percentage at which to switch. Allow for trip length, cold, spare power and planned check-ins so you have enough charge when you need it.
Magnetic declination is the angle between true and magnetic north. It varies by place and time. Check what north means on your map and when the map was made. For local values, use the margin of a GSI topographic map, the magnetic north lines on GSI Maps, or GSI geomagnetic data.
Practising until it becomes familiar
Practise on a safe route you know well so you can make decisions with the map and compass when you need them.
On a local trail, compare the paper map with the terrain as you go. At a junction, stop, orient the map and work out your position. Then compare it with the app to check your answer.
Mountaineering clubs and guides also teach map reading. If you look for a guide on Nordwand, tell them where you want to go and that you would like to learn map and compass skills.
Before your next hike
Once you have a GSI topographic map and a baseplate compass, open the map before setting out on your next low-elevation hike. Locate the trailhead, destination and main junctions. You can also ask a guide on Nordwand about learning map reading.
References
- GSI: 1:25,000 topographic maps
- GSI: how to buy maps
- GSI: printing GSI Maps
- GSI: magnetic declination and magnetic north lines
- GSI: finding geomagnetic values
- Shobunsha: Yama to Kogen Chizu map series
- Suunto: compass needle balancing zones
- Mountaineering Scotland: planning and following a route with a map and compass
- Mountaineering Scotland: finding your position from visible features
- U.S. National Park Service: hiking preparation and safety