
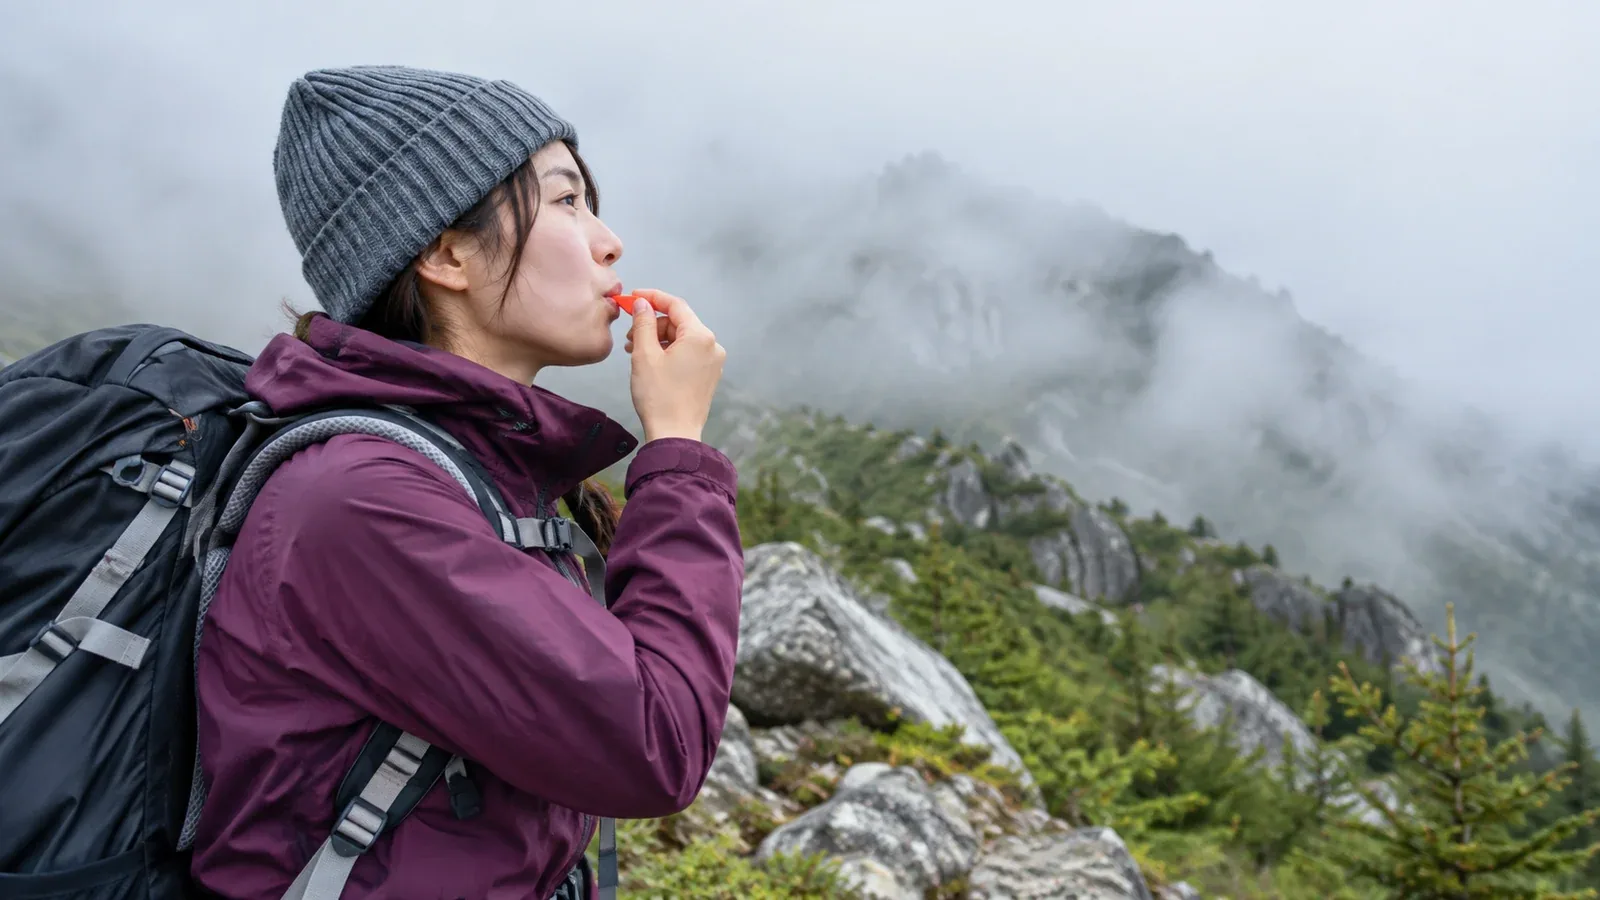
A whistle at the bottom of your pack is hard to reach when you need it. It runs without batteries and can alert people or search teams nearby, even when fog or trees make it difficult to see one another.
Here’s how it helps, what to look for in the materials, design and sound, where to carry it and how to use it.
How a whistle helps people find you
Wind, rain, terrain and background noise affect how far voices and whistles carry. Using a whistle instead of calling out repeatedly can help you save energy while sending a signal.
A whistle needs no batteries and makes a clear, brief sound. If you’re in trouble and can make a call, contact emergency services first. Use the whistle when you can’t call or to help a nearby search team locate you.
Materials and design
Hiking whistles generally come in plastic or metal. Both have trade-offs.
Plastic models made of materials like polycarbonate can be lightweight. A pealess design has no moving ball that can get stuck when wet or frozen. For rain or winter use, check how the whistle drains and what the manufacturer says about use in the cold.
Metal models made of materials like aluminum or brass can be sturdy, though exposed metal can feel cold against your lips. A light plastic pealess whistle is a good starting point for comparing attachment options and how easily each model sounds.
What to look for in the sound specs
Some manufacturers give sound levels in decibels (dB). Values measured at different distances or under different conditions aren’t directly comparable. Look for an emergency whistle you can sound clearly with little effort.
Some models have more than one sound chamber. Pitch alone doesn’t tell you how far the whistle will carry. Check its intended use and drainage design too. Test it away from people’s ears.
Where to carry your whistle
Keep it attached where you can reach it, even if an injury makes it hard to move. The bottom of your pack is too far away.
Here are a few options.
- Backpack shoulder-strap pocket: Check whether you can reach and take out the whistle with one hand while wearing the pack.
- Jacket chest pocket or zipper pull: If your whistle has a loop, you can secure it with a short cord.
- Around the neck: This keeps it within reach even when you take your backpack off. Choose a breakaway lanyard in case it snags.
Shorten or secure any extra cord so it doesn’t snag on rocks or branches and the whistle doesn’t swing freely.
When and how to use your whistle
If an injury or another problem makes it unsafe to descend, call for help early if you can get through. In Japan, dial 110 or 119 and give your location and details of any injuries. If you’re lost, stop, check your position and avoid wandering. Follow the dispatcher’s instructions after calling and use your whistle if needed to help rescuers locate you.
Distress patterns vary by region. Fukushima Prefectural Police explain the following signal for people unable to call for help in the mountains of Japan. Before leaving, check the guidance for your destination.
- Blow once about every 10 seconds, six times in all, to make one set.
- Between sets, wait one minute before repeating the same pattern.
- If you hear a search team calling or whistling, respond with your whistle so they can locate you.
- In the pauses, save your energy for when you need it.
Sound can echo off the terrain. At night or in fog, a headlamp or other light can also help show your position.
Whistle checklist
Use these points to compare whistles for hiking.
- Pealess design, with no moving ball
- Lightweight material suited to the season
- A loop or clip to attach it within reach
- A clear sound without much effort
- A size and shape that fit comfortably against your lips
Price alone tells you little about ease of use. Check the weight and shape at an outdoor shop and look for a model that fits the gear you already use.
Check your setup before you leave
Make sure your whistle is attached within reach and easy to sound. If replacing it, check how it’ll attach before buying. Give it a short test somewhere you won’t startle anyone, so you know how to use it when it matters. Use Nordwand’s partner-shop search to find an outdoor retailer nearby.