
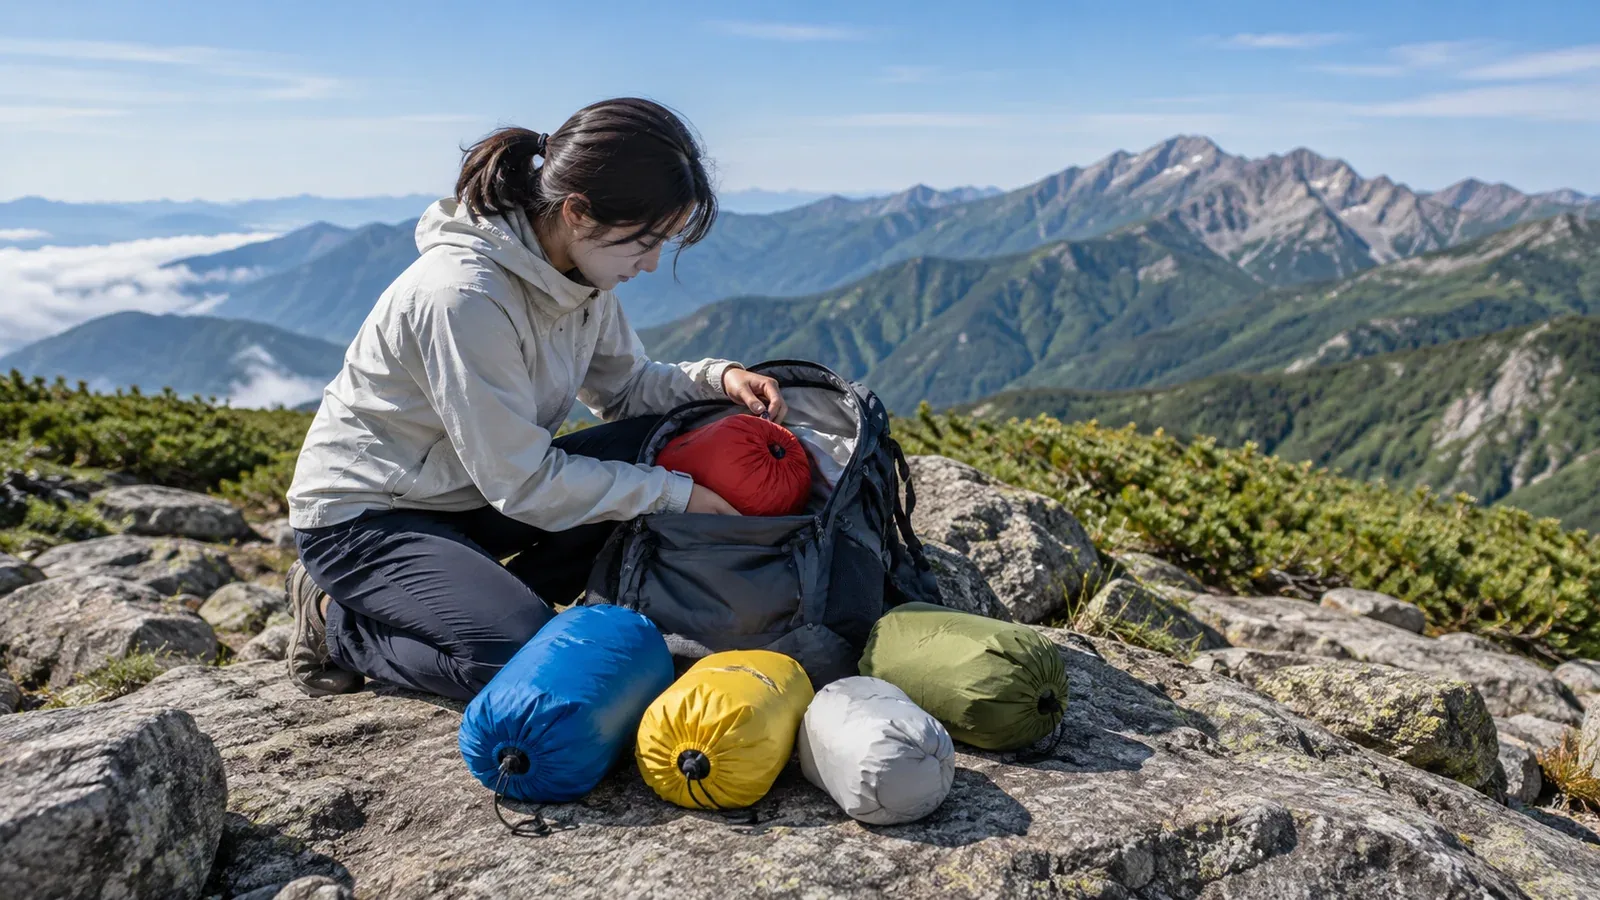
A stuff sack groups things inside your backpack. Assigning colours or other markers to the contents helps you find the right bag when you open your pack.
It’s easy to start using coloured bags and then forget which colour means what. Here’s how to set up a system, group your gear, choose bags and put it all into practice.
Why colour coding works and when it falls short
In good light, colours can help distinguish bags of the same size and shape. In the dark or when colours are similar, add labels or tags you can recognise by touch.
Choose a colour for each purpose and keep the assignments consistent so you can tell what’s inside without opening the bags. Tell your companions how to identify the first-aid kit and where it is.
If colours alone become hard to tell apart, use fewer categories or add labels and tags with distinct shapes.
Decide what goes together
Before assigning colours, decide which items belong together. Here’s one way to group them.
Five groups by purpose
- Food and trail snacks: Snacks, emergency food and seasonings. Try orange or yellow.
- Clothes and warm layers: A spare midlayer, gloves and a hat. Try blue.
- Rain gear: A rain jacket, rain trousers and gaiters. Try bright green.
- Hygiene and first aid: Medicines, plasters, sunscreen and a toothbrush. Try red.
- Electronics and communications: A power bank, headlamp and cables. Try grey.
That’s one example. Merge or split groups to fit what you carry. You could keep electronics separate from your map and compass or give the first-aid kit a bag of its own so it’s easy to reach.
How to decide which items go together
- Pack by how often you need things. You might use both your snacks and your map often but keep them separate by purpose, in two positions that are easy to reach.
- Choose water protection for gear that must stay dry. Protect spare warm clothing, electronics and paper maps with bags suited to the likely exposure.
- Mark the first-aid bag and give it a fixed spot. “Red bag in the top zipped pocket” is easy to explain to someone else.
Materials, shapes and sizes
When choosing bags, look at the material, shape and capacity.
Materials
Water-repellent nylon bags are often light and useful for organising clothes and small items. Water can enter through seams or openings. Give anything that needs to stay dry separate protection.
Dry bags keep water out with waterproof fabric, sealed seams and closures such as roll tops. Check that the bag suits your intended use and close it as directed. Water can seep through a roll top if the bag goes underwater, so keep it out of the water.
Mesh bags let you see the contents. Water passes through, so use them to sort food or toiletries, or put them inside a dry bag when needed.
Shapes and capacity
Many stuff sacks are long and cylindrical, so they fit into gaps in a pack. Use these sizes as a starting point.
- 1–3 L: Small items like first-aid gear or electronics.
- 5–8 L: Spare clothes or food for the day.
- 10–15 L: Bulky clothes or a compact sleeping bag. Packed sleeping bag sizes vary widely.
These are rough guides. Put your own kit in the bag and see whether it closes easily and fits your pack. Leave enough space to roll down a roll top.
Set up your colour system
Try the following steps before your first trip with the system.
- Lay out your gear. Put it on a table or the floor so you can see what you actually use.
- Choose three to five categories. Start with the five groups above and combine or split them to fit what you carry.
- Assign a colour to each category. Pick distinct colours and label important items such as first aid as well.
- Write down which colour goes with each group. Keep the list in a note on your phone so you can stick to the scheme when replacing a bag.
- Try the bags you already have and buy more if needed. Shades vary by maker and look different under different lighting. Use tags when colours are hard to tell apart.
- Check the contents after each trip and replace what you used. Look for expired or missing first-aid items so your kit is easier to check before the next outing.
Common snags
Too many bags look alike. Colours can look similar in a dim tent or in the early morning, even if their names differ. Use similar shades for the same group and add a sewn tag or waterproof marker symbol as needed.
Balance weight and water protection. Each extra sack adds weight. Instead of putting everything in a separate dry bag, use one larger dry bag or pack liner for the gear you want to keep dry. Even on a day hike, decide according to the chance of rain and the consequences of wet gear.
Revise the system for a different kind of trip. Overnight equipment may call for more categories than day hiking. Update your notes and keep the colours or markers you already recognise where possible.
Try it with the gear you have
Lay out your gear and sort it into roughly three to five groups. Try it first with the bags you own, and make a note showing the colour, label and position at a glance. If you want to see colours and fabrics in person, find an outdoor retailer through Nordwand’s partner-shop search.