
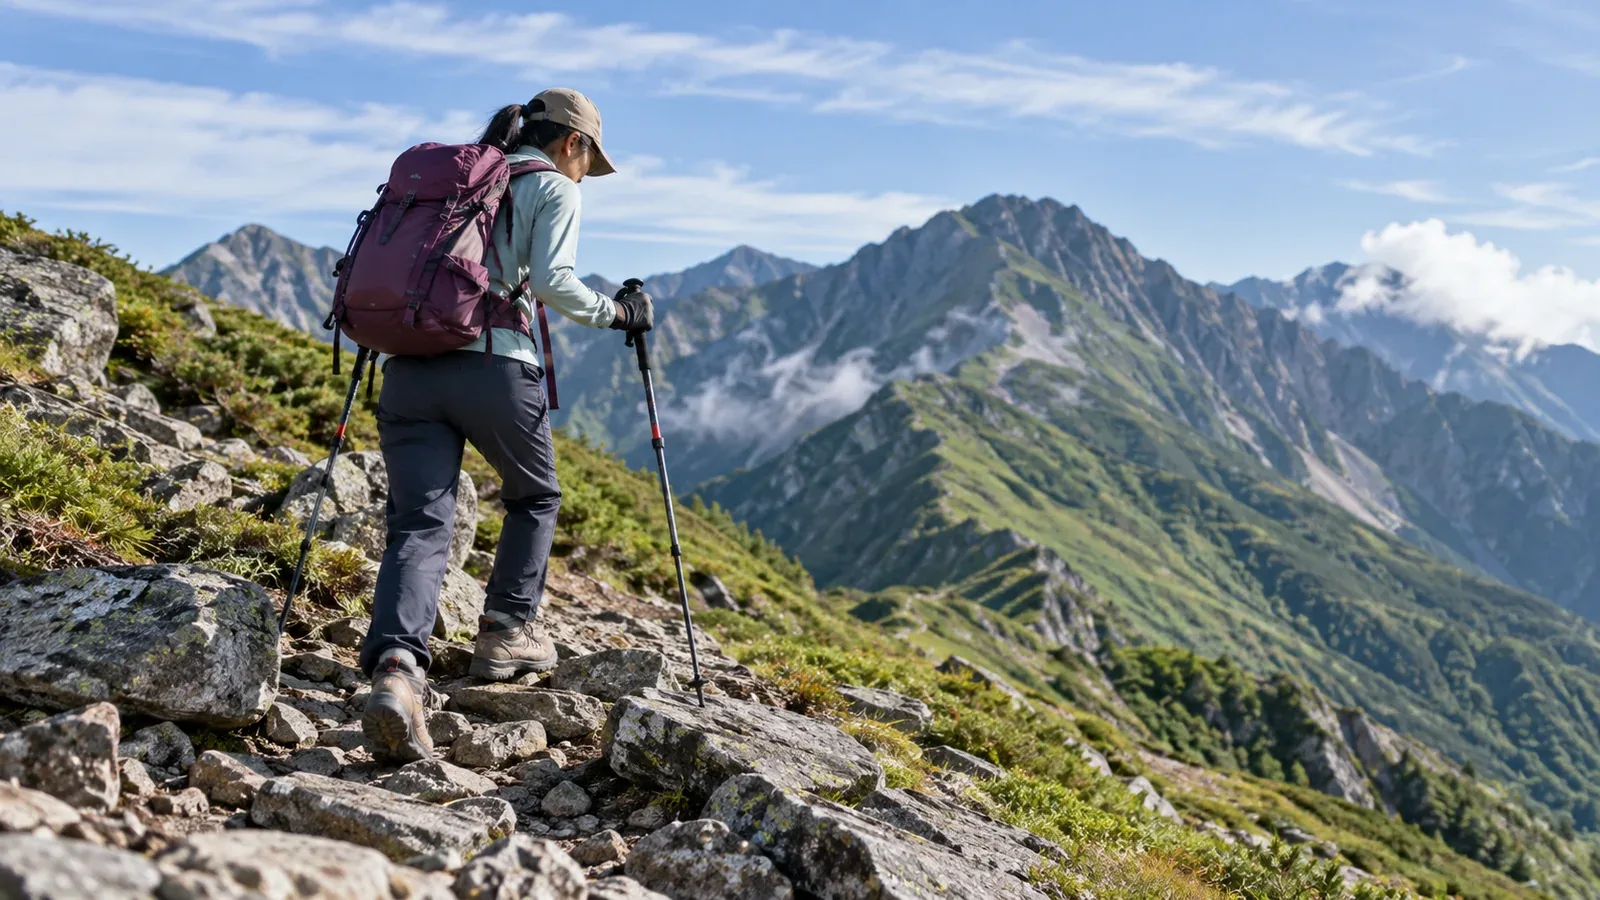
Before setting out, check your pole length, rubber caps and baskets. Poles that don’t suit your stride can be awkward to use, and any tip can slip on wet rock or boardwalks. In huts and similar spaces, carry or stow poles so they won’t damage the floor.
Here’s how to adjust your poles, which settings suit different slopes and when to use or remove rubber caps. Once you’re familiar with the options, you can make adjustments as the terrain changes.
Start with your elbow angle
For a pole with a straight grip, stand on level ground and plant the tip next to your foot. Start with a length that puts your elbow at about 90 degrees while holding the grip. Models such as T-grip poles may have different fitting guidance, so check the manual.
That’s a starting point. The length you want can change on climbs and descents. Grip size, hand size and wrist straps can also affect how the pole feels, so try your setup on flat ground before you go.
Stay within the manufacturer’s range and don’t extend the pole past the STOP mark or other limit. After each adjustment, close the lock and press lightly to check that the shaft stays in place.
Adjust for climbs and descents
Shorter on climbs, longer on descents
On a climb, slightly shorter poles make it easier to plant the tips ahead without shrugging your shoulders or reaching far forward.
On a descent, slightly longer poles make it easier to plant the tips farther down the slope before stepping. Watch your footing and avoid putting your full weight on a pole where it could slip.
The amount of adjustment depends on the slope and your build. Try it somewhere safe and find a length that lets you plant the tips without raising your shoulders or fully extending your arms.
Adjust each pole separately on a traverse
When traversing a slope, a shorter uphill pole and a longer downhill pole can help account for the difference in ground height. If you want to try this on a long traverse, adjust the poles where you can stop safely. A short traverse may not call for a change.
Use the grip extension for a quick change
If your poles have a grip extension below the handle, holding that lower section on a climb shortens the distance from your hand to the tip without changing the shaft length.
Follow the manufacturer’s instructions for wrist straps. Before a rocky step, ladder or other passage where you need both hands, stop somewhere safe and stow your poles.
When to use rubber caps
What tip caps do
A rubber cap covers the metal or carbide tip. The surface and local rules determine when to use it.
- Soften contact and muffle noise on pavement.
- Reduce damage to boardwalks, plants and indoor floors.
- Cover the metal tip to limit wear and scratches in storage.
When to keep the caps on
Use caps where local trail or building rules require them. Common situations include the following.
- In huts and on buses, cover the tips, collapse the poles and put them away.
- On pavement and boardwalks, use caps appropriate for the surface and the poles.
- On trails, follow any signs requiring caps to protect plants.
Rubber caps can work on dirt trails too. Either rubber or metal can slip on wet rock and roots. Test the contact at a safe spot and pay attention to your footing.
When to use exposed tips
Where both the maker’s instructions and local rules allow, you can remove the caps in situations like these.
- On soft dirt, an exposed tip may dig in more easily.
- On snow, a compatible snow basket helps stop the pole from sinking too deep.
- Tips can slip on rock. Stow the poles before any section where you need both hands, whatever tips you use.
Keep removed caps in a pocket so you don’t lose them. Put them back on where needed before entering a hut or stepping onto a boardwalk.
Loose caps and signs of wear
Caps can work loose as you walk, and it’s easy to miss a lost cap in mud or snow. Check they’re secure and replace them if they crack or no longer fit snugly. Buy spares that match the make and model of your poles.
Choosing snow and trekking baskets
The basket is the disc near the tip. It limits how deeply the pole sinks into snow or mud.
Snow baskets are usually wider than trekking baskets to limit sinking into snow. Traction on hard snow or ice is a separate consideration.
Trekking baskets are relatively small and suit dirt and muddy trails. Names and sizes vary by manufacturer.
Some baskets screw on and others push into place. Check compatibility and install them as instructed. If a basket gets in the way on rocky ground, check whether your model permits removal, then take it off and stow it at a safe stop.
Check your poles before the hike
Set a comfortable length on level ground and write it down. Check the caps and baskets you’ll bring and practise putting them on and taking them off. You can also ask other hikers how they use their poles in the Nordwand community.