
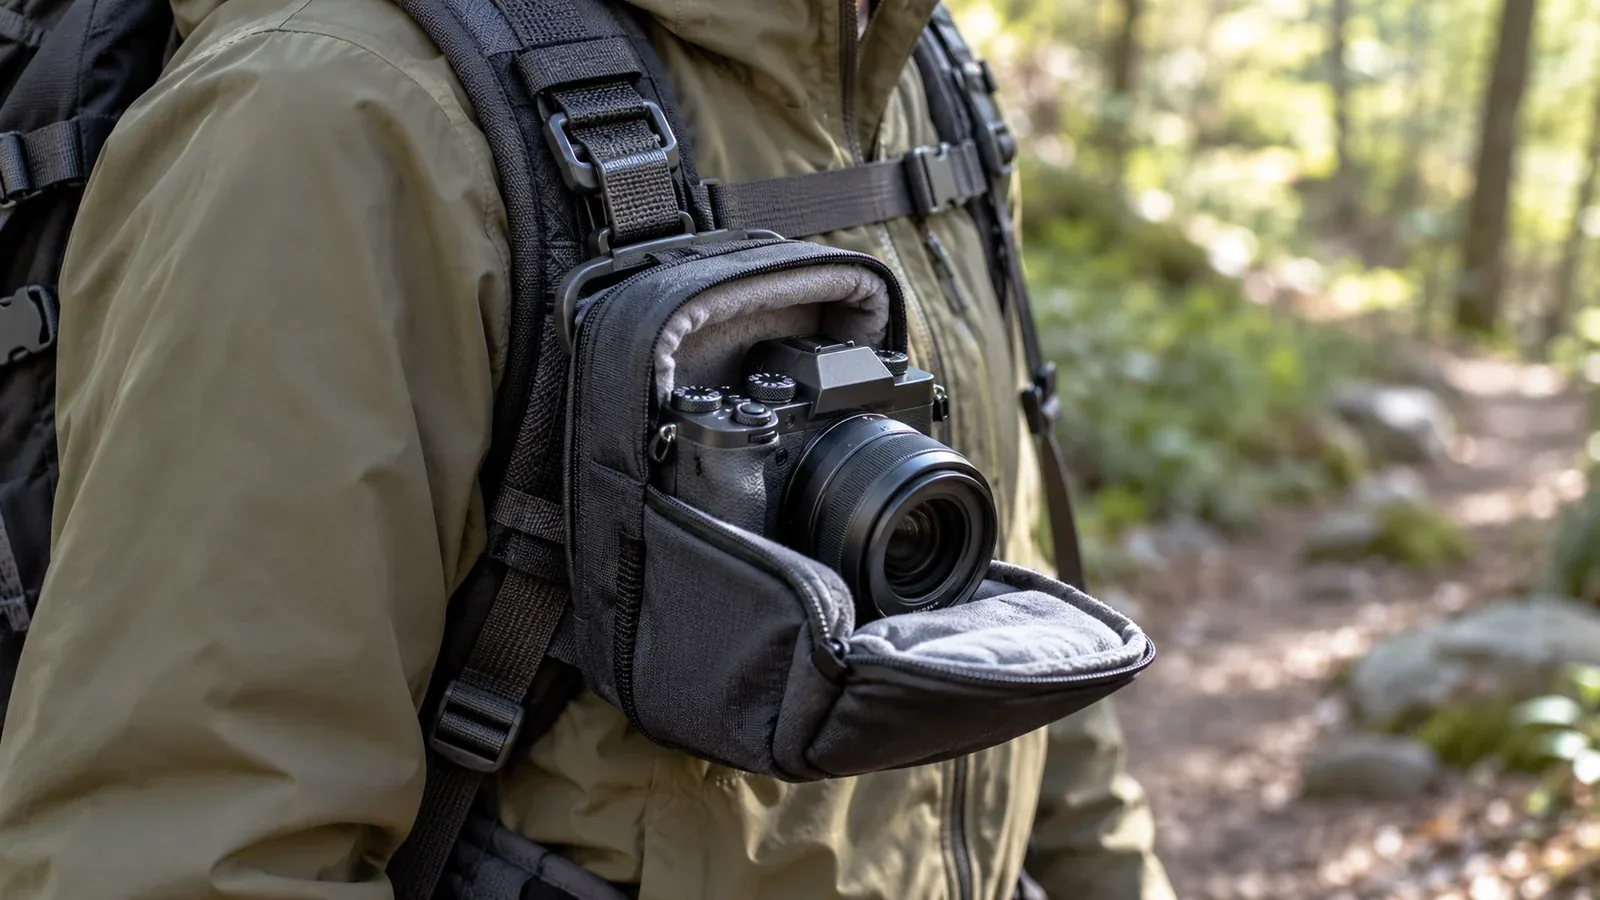
On a hike, you want to reach your camera when a shot comes up and keep it from swinging or getting wet as you walk. A neck strap gives you quick access but lets the camera swing on rocky ground. Keeping it inside your pack offers more protection and means stopping to take it out each time.
Your main choices are straps and cases, with different designs within each category. Compare how each works, where it’s practical and what can go wrong, then match your setup to the trail and how often you shoot.
Types of straps and mounts
Neck strap
A neck strap hangs the camera in front of your chest, ready to raise to your eye. But leaning forward can swing it into rock or a tree. Carrying heavy gear this way for a long time can also strain your neck.
It can work on gentle paths and short outings with frequent photo stops. It’s less practical on a long traverse or a route that requires both hands.
Crossbody sling
This strap runs diagonally from one shoulder to the opposite hip. The camera sits at your side, leaving the front of your chest clear. How much it swings depends on the adjustment and any stabiliser. With your backpack on, check where the straps overlap and where the camera rests.
Backpack shoulder-strap clip
The clip attaches to your backpack’s shoulder strap and accepts a plate fixed to the camera. Fitted correctly, it helps limit movement, while leaving the camera exposed. Check the shoulder strap’s width and thickness against the clip’s specs, and practise operating the lock somewhere safe.
Types of cases
Belt pouch
A soft or semi-rigid pouch attaches to a belt. For a compact or small mirrorless camera, check the dimensions with the intended lens fitted. Keep the pouch closed as you walk and open it only to take out the camera. Check that it doesn’t get in the way of your pack’s hip belt.
An easy-access backpack pocket
A compact camera can go in the lid pocket or a closable outer pocket. A padded insert cushions minor knocks. Stop somewhere safe to take it out. In rain or rocky terrain, transfer it to the main compartment.
Padded insert with dividers
A padded camera insert fits inside your pack. Dividers help organise an interchangeable-lens camera and extra lenses. The insert adds weight, so consider the length and difficulty of the route.
Match the setup to the terrain and trip
Different trips call for different setups. Use these examples to decide.
Maintained trails and forest walks: A crossbody sling or belt pouch is convenient here. If you shoot frequently, pick a setup that limits swinging and lets you get the camera out after stopping somewhere safe.
Rocky sections or routes with chains: Before a section where you’ll need both hands, stop somewhere safe and put the camera inside your pack. That keeps swinging or exposed equipment from restricting your movement or view or striking rock.
Rain or strong winds: Carry the camera in the main compartment and protect it with a dry bag or another cover suited to the conditions. Splash resistance varies by product. Take the camera out in a place where you can stop safely and get out of the rain.
Long traverses and overnight camping: Weigh the body, lenses, case and strap together. A clip takes the weight off your neck, but puts it on a shoulder strap. Try the setup before deciding how much equipment to take.
Common problems and how to avoid them
Check strap length before setting off: A strap adjusted over a thin shirt may be awkward over a winter jacket. Adjust it while wearing the layers you’ll take.
Check that the quick-release plate seats and locks: Before leaving, confirm that the plate is fully inserted and the lock is engaged. If you use a safety tether, choose a short one suited to the camera and secure it so it can’t catch on rock or branches or restrict your movement.
Protect soft cases from pressure: Padding can cushion minor knocks, but strong pressure still reaches the camera. Pack it away from hard or heavy items and fill empty space with clothing.
Check the camera plate for play: Tighten the plate that screws into the tripod socket as the manufacturer instructs. Before setting off and at safe rest stops, check for looseness or movement.
Make it work with your backpack
Choose cases and straps to fit the pack you already use. Some pouches attach to external loops or MOLLE webbing. For a clip, check that the shoulder strap’s width and thickness are within spec and that the clip doesn’t slide once fitted.
Look at your pack first to avoid buying an attachment that won’t fit it. If possible, bring your backpack to the shop and try the setup there.
Try the setup before your hike
List the terrain you usually walk on and how often you want to shoot. Try the camera with your own backpack. Check that you can take it out and put it away at a stop and that your hands stay free once it’s packed. Search Nordwand’s partner shops to find an outdoor retailer where you can see the gear.