
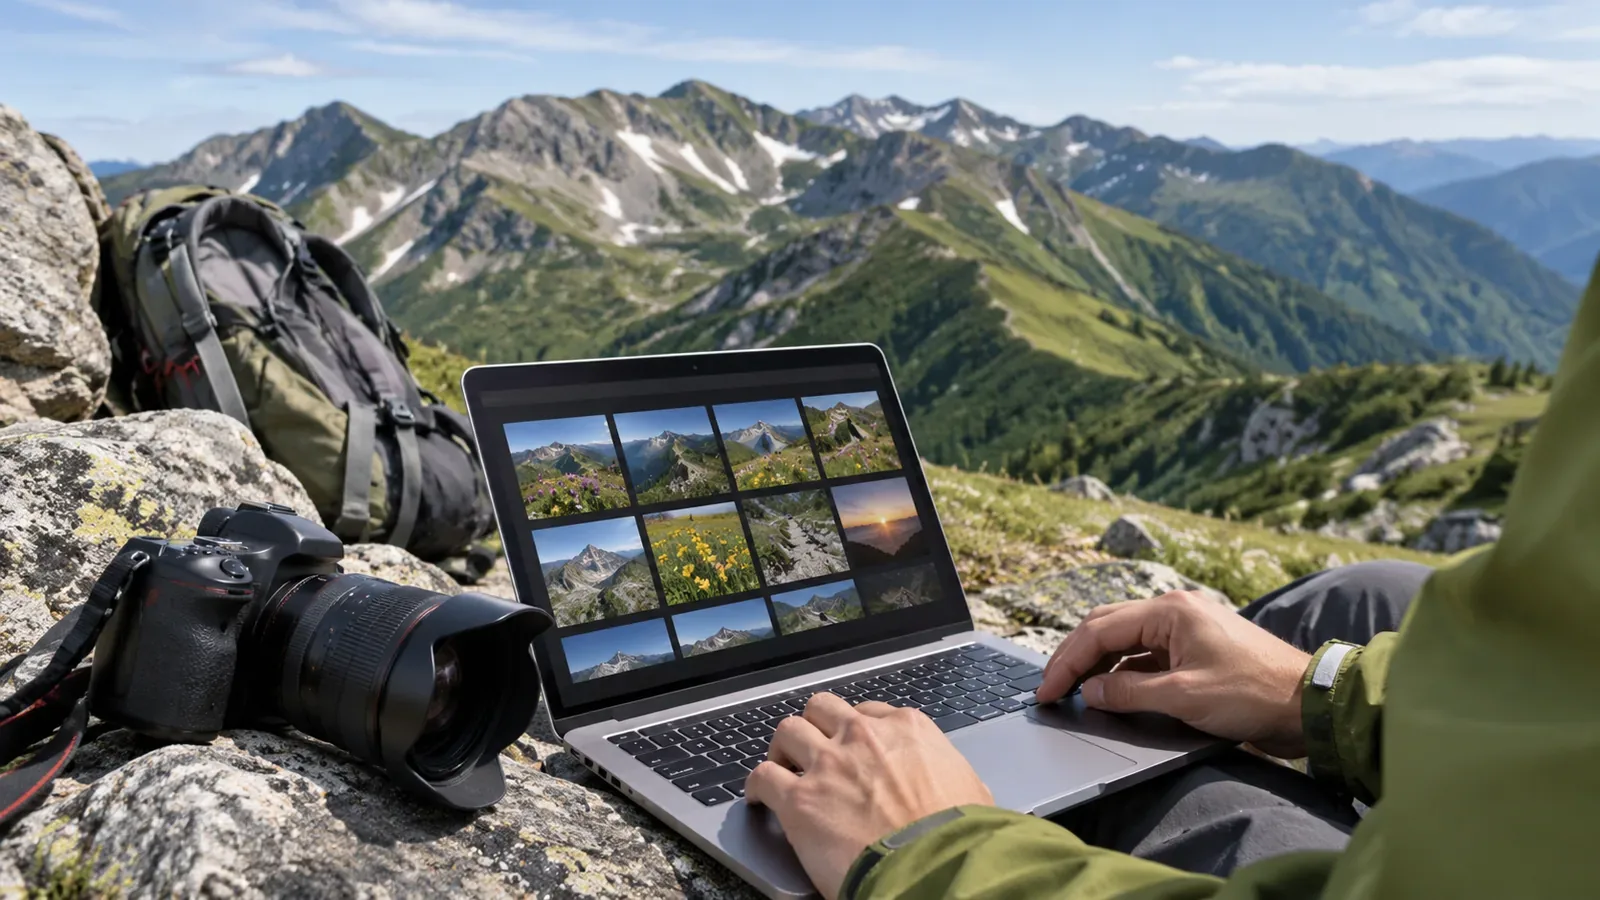
It helps to think of hiking photos in three groups as soon as you take them: originals, copies for your hiking companions and copies for public sharing.Planning to check location data and who appears before posting makes it easier to choose public photos. This article draws on manufacturer and public-agency guides to explain the approach and how to try it after a hike.
Decide how much information to pass on
What matters when choosing photos for the group or the public is how much information they contain. Your hiking companions already know the outing. Choose pictures of the trailhead, a rest stop, faces or gear that the people involved are comfortable sharing. A public post can reach strangers, so be selective about how easily someone can identify the place, who appears and when you post. These are the editors' suggestions, based on the sources below.
A shared photo can carry additional data with the image. Apple's iPhone guide explains that sharing photos and videos can share metadata such as location and date and time. A companion may also forward a picture to someone else.A manageable approach is to keep the untouched originals private and make separate copies from them for the group and the public.
Location data travels differently depending on how you share
According to Google Photos Help for iPhone and iPad, the camera can save a photo's location, you can add one by hand, or Google Photos can estimate it from clues such as landmarks. Google Photos can change or remove estimated and manually added locations. Locations the camera automatically added cannot be updated or removed there.
Location sharing also depends on the method. In Google Photos, you can choose whether to share locations in each shared album, link or conversation. Partner Sharing includes location details. Older settings can have exceptions, so check what the recipient can see. If you share outside Google Photos, for example by downloading and emailing a photo, edits made in Google Photos do not apply and the original location saved by the device can appear.Hiding the location in the app and removing it from the file you send are different actions.The editors suggest sending a test copy through the same method you will use to post, to another device of your own or to a family member, and checking whether the location is visible.
Google also notes that recipients may infer the location from landmarks even if it is hidden. A summit sign, distinctive ridge or hut sign can identify a place without location metadata. When choosing public photos, consider what the image itself shows.
In Photos on iPhone, Apple's guide describes tapping Share, opening Options and turning off Location. This applies when sending a photo. To control location for future photos, check Camera's permission under Settings, Privacy & Security and Location Services. Treat the sharing option and capture setting separately and check the guide for your OS version.
The Google Photos map shows photos with a location set, and you can also add a place manually later. Photos without a location at the time of capture can still be organized on a map later. If you need it for your own record, keep the location with the original and check sharing options for the public copy. For places you do not want recorded at all, such as your home, review your camera settings before shooting.
Correct shooting times make sorting easier
Photos for the group are easier to revisit in chronological order, and the time can help you choose what to publish. Sorting depends on the time and date being recorded correctly.
Nikon's Z f guide instructs you to set the time zone, date and time before use so they are saved correctly. If the t icon flashes on the shooting display, the internal clock has reset. Set the date and time again to avoid incorrect timestamps. The clock runs on a separate battery. The guide says it takes about two days to charge fully and powers the clock for about one month.
The Canon EOS Kiss X10i manual says the date and time are saved with the photo. The setting may reset if the camera is stored without its battery, if the battery runs out or if the camera is left below freezing for a long time. The guide says to check the date and time after changing the area or time difference. The daylight saving setting can also shift the time by an hour. Both guides apply to particular models, so consult your camera's manual.
Before leaving, photograph the same accurately set reference clock with each camera. Back home, you can roughly compare the files' timestamps with it. Taking the photo and reading the clock are separate moments, so this cannot establish agreement to the second. If you adjust a clock during the hike, note when you did so and handle the timestamps before and after separately.
Three folders to try after a hike and checks before posting
The editors suggest the following workflow. First put every imported shot in an originals folder without editing or deleting anything. Make a folder for companions, copy files from the originals and select them in chronological order. You can keep imperfect shots as a shared record. Finally make a public folder, select a smaller set from the group copies and check the following four points.
First, check whether location data remains in the method you will use to post. Second, decide whether recognizable details such as a summit sign are appropriate to share. Third, see whether companions or other hikers can be identified by their faces, and ask companions before publishing photos of them. Fourth, choose whether to post on the day of the hike or later, according to the people involved and the circumstances.
Include the prefecture in the folder name as well as the date and mountain. The Geospatial Information Authority of Japan's list of major mountains contains repeated names such as Asahi-dake, Komagatake and Nantai-san with different prefectures or elevations. Some notes record elevations revised after a survey point changed or record changes in names. On GSI Maps, you can check a point's elevation and coordinates in degrees, minutes and seconds or in decimal degrees. Before adding coordinates to a public caption, consider whether you are introducing a trailhead or revealing someone's home area or a protected place.
Summary: keep the originals and check each way of sharing
Keep the originals and make separate copies for the group and the public. Since a location shown in an app can differ from what is in the file, test the actual method you will use to post. Check before leaving whether a camera clock has reset to make later sorting easier. Including the prefecture in folder names and checking recognizable details and companions' permission before posting is a workable starting point. For settings and steps, consult the official guide for your particular device or app.
References and sources
- Apple: Share photos and videos on iPhone
- Apple: About Privacy and Location Services in iOS, iPadOS and watchOS
- Google Photos: Understand, find and edit your photos' locations (iPhone and iPad)
- Nikon Z f Guide: Setting the Date and Time
- Canon EOS Kiss X10i Advanced User Guide: Date, Time and Zone
- Geospatial Information Authority of Japan: Elevations of Japan's Major Mountains
- Geospatial Information Authority of Japan: Find the Elevation of a Location