
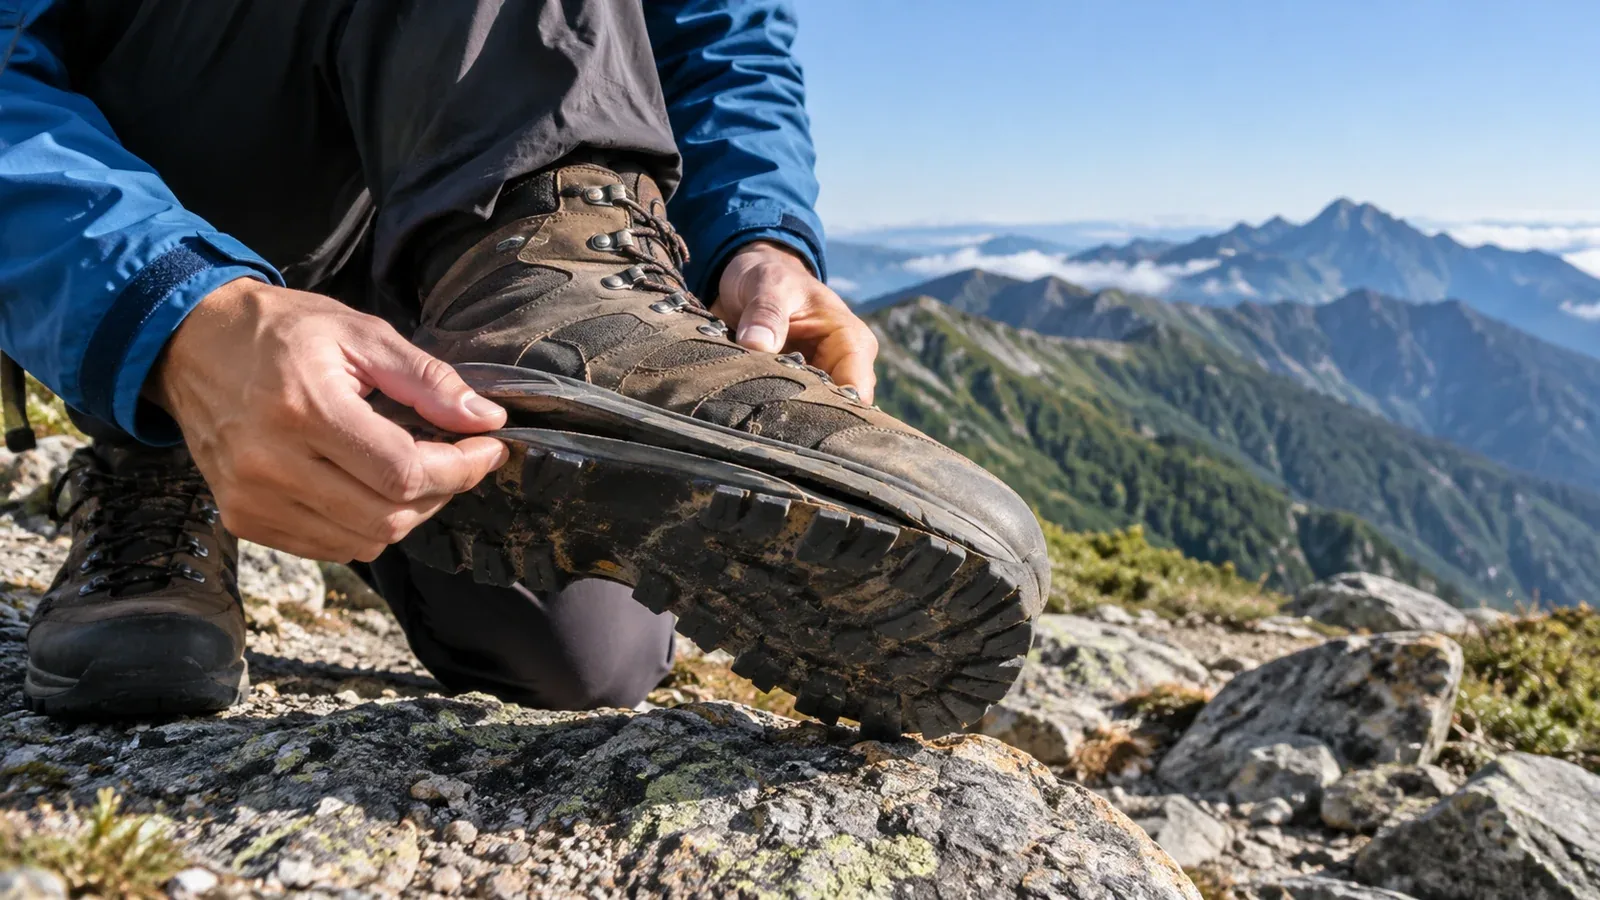
A sole that comes loose on the trail can make your footing unstable. Even when the boots look clean, check them before setting out if they have been stored for a long time or started to feel different.
Hiking boots wear down with use and can also deteriorate in storage. The polyurethane (PU) used in some midsoles can break down through hydrolysis as it ages and is exposed to moisture. It may crack or crumble. Check boots even if you've rarely worn them.
Here is how to inspect the soles before hiking and decide whether to replace the boots.
How soles come loose, even when they look fine
Sole construction varies by model. In boots made from bonded layers, the ground-contacting outsole can separate from the midsole, or the sole can pull away from the upper.
Intact tread tells you little about the condition of the adhesive or the inside of the sole. If the sole lifts or comes off on a descent, you can lose grip, trip, or fall.
Materials, temperature, and humidity affect how fast boots age. Before hiking in a pair that has spent a long time in storage, or when the manufacturer recommends inspection, ask the manufacturer or a specialist shop to look at them.
Five checks before a hike
Check these areas well before your trip so there is time to deal with any problems you find.
1. Look at the joins around the sole
Look around the edge of the sole, including the heel, toe, and inner arch. Check for gaps, lifting, or peeling.
2. Notice changes when walking
If there is no obvious damage, take a few steps on safe, flat ground. If the boot feels unusually unstable or the sole compresses on one side, have the boots inspected before hiking in them.
3. Look at the midsole
If you can see the midsole, look for cracks, crumbling, or missing pieces. The appearance of a crack alone does not tell you the cause. If you see a change that concerns you, set the boots aside and have them inspected.
4. Check the tread for wear
Look for flattened or worn-down lugs on the outsole. Wear can vary from left to right and between the heel and forefoot.
5. Check upper seams and joins
Look for loose stitching or tears and check whether the side rubber or upper is lifting from its join. The condition of the upper as well as the sole affects whether repairs are possible.
Deciding between repairs and replacement
If anything concerns you, consult the manufacturer's repair service or a footwear specialist. Whether the sole can be replaced depends on boot construction, parts availability, and the condition of the whole boot, including the upper.
Have the boots checked and ask about repairs or replacement before hiking if any of these apply.
- The midsole is cracking or crumbling.
- There is visible lifting or separation at a sole join.
- The outsole lugs are heavily worn.
- The boots were stored for a long time, or the manufacturer's recommended inspection is due.
- The manufacturer or repair shop has advised that resoling would be difficult.
Judge the boots by their condition and the inspection results as well as their age. If you see a separating or crumbling sole, use a different pair for the hike.
If a sole comes loose on the trail
If the sole starts to feel wrong, stop somewhere safe and inspect it.
If it is coming loose, end the hike. Assess your footing and the trail and choose a safe way back. Tape may hold the sole temporarily, but it does not restore its grip or strength. If you can't move safely, stop and call for rescue.
Shoe repair products vary in their preparation and cure times. Plan your return without relying on glue in the field, then consult the manufacturer or a repair shop afterward.
Store boots to help them last
Limiting what speeds up deterioration can help prolong the life of the soles.
After a hike, follow the manufacturer's cleaning instructions, remove the mud, and let the boots dry all the way through in a shaded, ventilated place. Store them somewhere away from heat and humidity. Inspect boots that have been stored for a long time before your next hike.
What to do next
Run through the five checks with time to spare before your next hike. If you find a problem, set the boots aside and consult a repair service. For a replacement pair, you can use Nordwand's partner shop search to find a nearby outdoor store and try the boots on.