
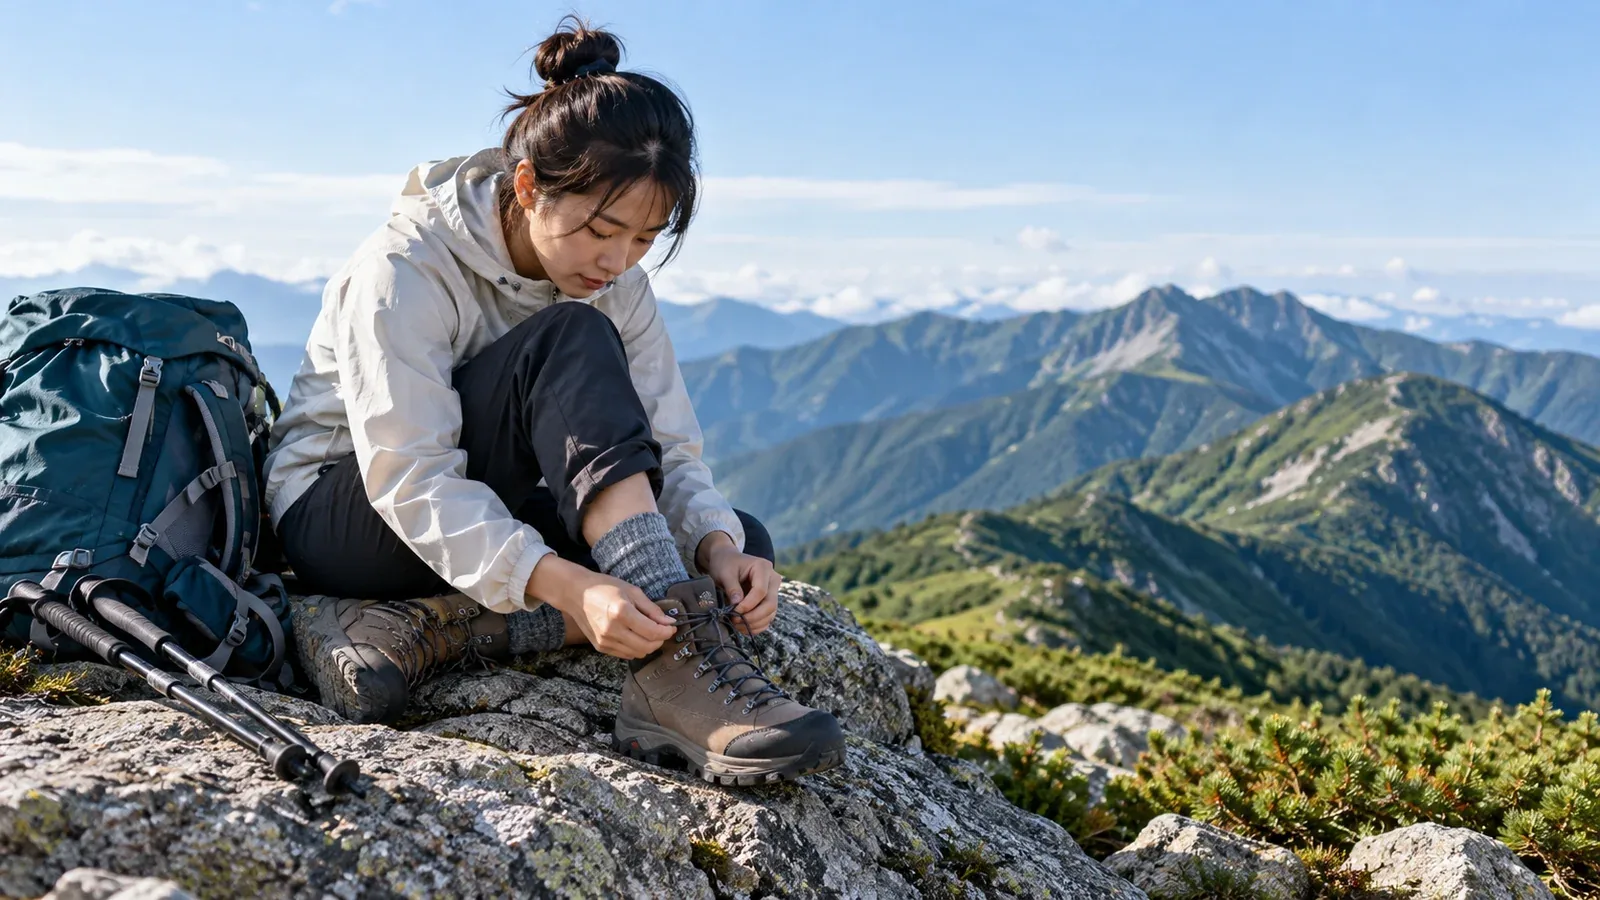
Shopping for hiking boots for the first time can be overwhelming, with so many models and such a range of prices. Choosing by price or looks alone can leave you with sore feet or toes that hit the front on long descents. For your first pair, focus on fit and sole stiffness.
This guide gives you practical ways to assess both. You can use the same checks with any pair you try on.
Try boots on even if they're your usual size
Your everyday shoe size is a starting point. When choosing hiking boots, check toe room and width in particular.
First, check the space between your toes and the front. Some manufacturers suggest about 1 cm with your hiking socks on. Toes that repeatedly hit the front on descents can become sore or bruise under the nails. Check the space and try walking downhill with your heel secured.
Next, check width. Foot widths vary from person to person, and each model has its own shape. If the shoe presses on the little toe or the base of your big toe, try different widths or shapes before going up in length.
Three checks when trying boots on
- Heel hold: lace the boots up and walk a few steps. Check that your heels don't repeatedly lift or rub.
- Toe room: if there's a fitting ramp, walk down it slowly and make sure your toes don't hit the front.
- Pressure at the sides: with the laces tied, check for strong pressure on your little toe and the base of your big toe. Avoid a pair that hurts as soon as you walk.
Bring the socks you plan to hike in. Sock thickness changes how much room there is inside the boot. Walk in both boots to check both feet.
Choose stiffness for the route
Use the terrain and the load you'll carry to decide how much sole flex and lateral stability you need. These are broad categories. Names and stiffness vary by maker and model.
- Lightweight hiking shoes: often relatively flexible and suitable for maintained trails with a light load.
- Trekking boots: come in various degrees of stiffness. Some suit uneven trails or trips with a heavier load.
- Mountaineering boots: include stiffer models for technical terrain such as rocky ridges and winter mountains. If using crampons, check the manufacturer's compatibility guidance.
On maintained trails with a light load, try a more flexible pair first. In rocky terrain or with a heavy pack, give more weight to sole and lateral stability. Walk in the boots to judge how they feel as well as looking at cuff height.
How to compare sole stiffness in the shop
Hold the toe and heel and gently flex each pair to compare.
- A shoe that flexes smoothly at the forefoot can feel easier on level trails.
- A stiffer sole may feel more stable over uneven terrain or when carrying a pack.
- An almost rigid sole may be designed for technical use.
The flex test helps compare models. Tell the shop staff about the trail surface and the load, and verify the fit in person. Elevation alone is too little to go on.
Three common first-pair mistakes
1. Trying boots on only in the morning
Your feet may swell after walking for a long time. If possible, try boots on in the afternoon. Walk around in both boots for a while and check for pain or pressure.
2. Leaving your usual insoles out of the fitting
If you use particular insoles, bring them. Changing the insole changes the depth and fit inside the boot. Keep the standard insoles if they feel comfortable. If something feels off, talk to the staff and try walking with the insoles you'll actually use.
3. Wearing new boots for the first time on a long hike
Start indoors or on short walks near home and check for rubbing. If you feel pain or strong pressure, stop wearing the boots and speak to the shop. Before buying, ask whether they accept returns or exchanges after outdoor use.
Price and materials
Hiking boot prices vary with their purpose, materials, and model. Set a budget, then check fit, grip, and the features you need for your terrain alongside the price.
Compare shoes with and without a waterproof-breathable membrane. Waterproofing can help on trails with wet grass or rain. In hot weather or on dry trails, compare ventilation as well and choose for your trip.
Models and prices change. Look up current information from the manufacturer or outdoor shop.
Getting help from a boot fitter
Use the fit and stiffness checks, then try boots on with a specialist if you can. Feet vary, including flat arches, bunions, and differences in width from one foot to the other.
Tell the staff which route you want to do, whether it's a day hike or an overnight trip, and how much you expect to carry. That helps them narrow the choices. Trying boots on in person is a good way to avoid a poor fit for any pair.
What to do next
Take your hiking socks to an outdoor shop and try several pairs. Check that the heel stays in place, your toes clear the front on a descent, and the sides don't pinch. Tell the staff about the route and your pack weight to narrow the stiffness options. You can also ask local hikers about gear in Nordwand's Base Camp.