
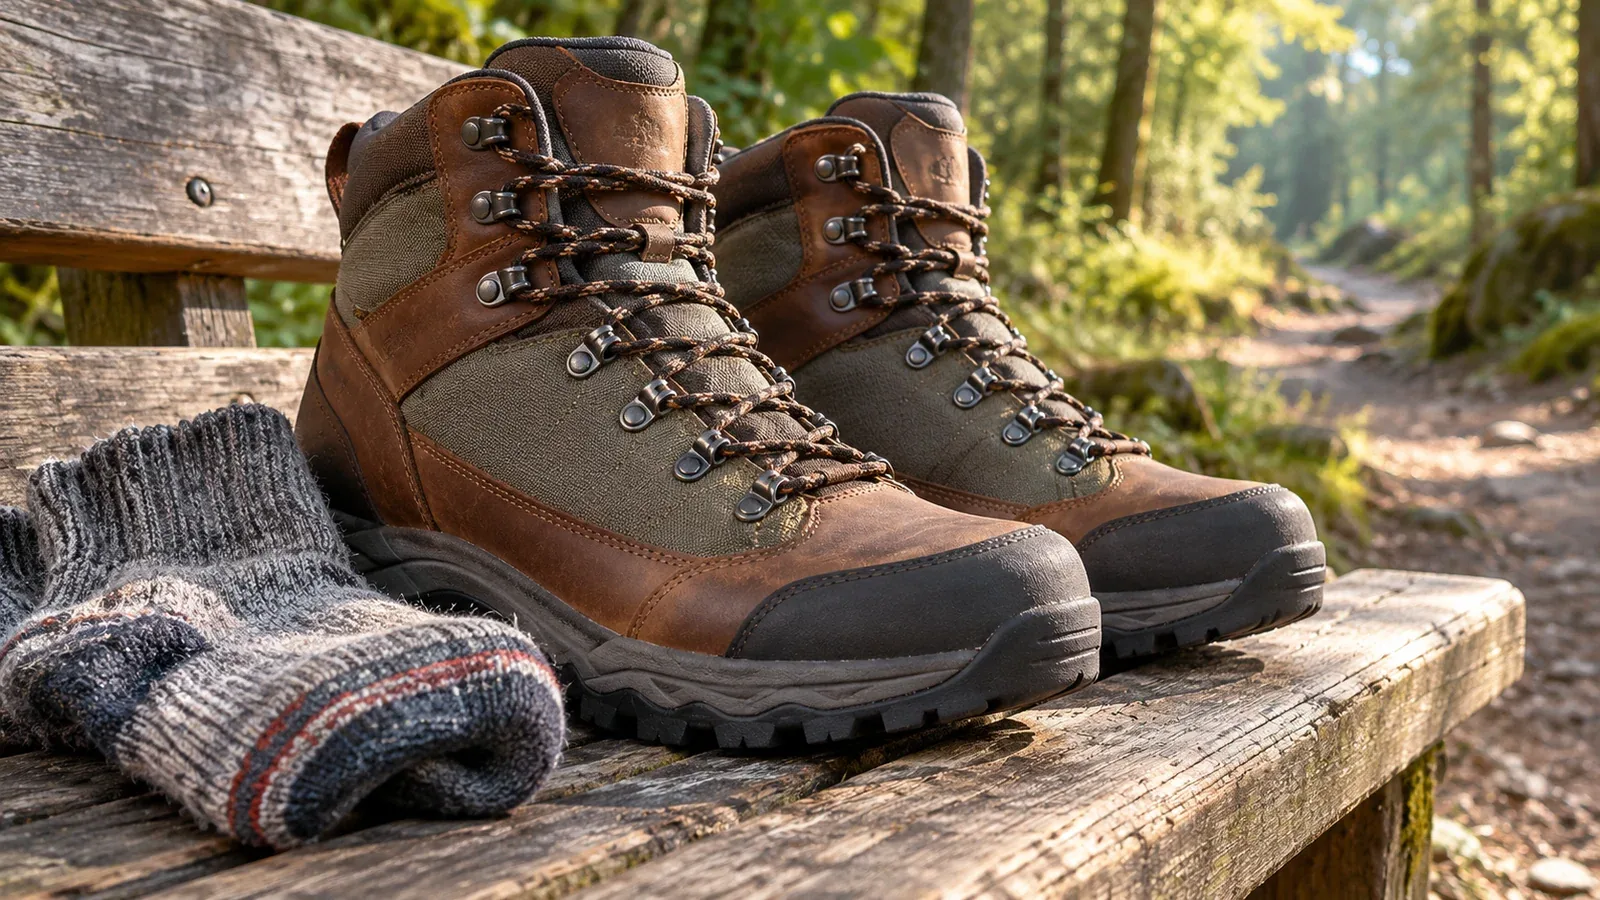
If your first outing in new boots is a long hike, you might only notice rubbing once you reach a descent or slope. Blisters and peeling skin can also develop if the boot size or shape is wrong or if your foot slides inside.
Breaking boots in means starting with short walks, checking how stiff the boots are and where they press, and gradually doing more as long as you stay comfortable. Materials and construction vary. Use pain-free, rub-free walking as your measure of progress.
This guide describes each step from purchase to your first full hike and what to check along the way.
First, check the fit
A boot that is the wrong size or built on a shape that doesn't suit your foot can still cause blisters even after breaking it in. Make these checks in the shop or at home.
- Heel hold: lace the boots and walk a few steps. Check that your heels don't repeatedly lift or rub.
- Toe room: if there's a fitting ramp, walk down it slowly. Check that your toes clear the front.
- Pressure at the sides: make sure the base of your little toe isn't being squeezed. Pain there may mean the boot shape is too narrow.
Pain or strong pressure during a fitting calls for a fit check. Work out whether the boots simply feel new or don't fit your feet before taking the next step.
Stage 1: Get a feel for the boots indoors
Put on the socks you plan to hike in and walk around indoors briefly. Check for pressure or rubbing at the heel, instep, and sides.
Sock thickness and insoles affect room inside the boots. Try both boots with the combination you'll use on the trail.
Check for two things at this stage.
- Pain over a bone: soreness around the ankle bones, edge of the heel, or base of the little toe can point to a fit issue that won't improve with use. Ask a specialist shop to check the fit again.
- Surface rubbing: stop walking and check your laces and socks for creases. If the same place still rubs after adjusting, check the fit before moving on.
Stage 2: Take a short, flat walk
If the boots feel fine indoors, go out for a short walk on flat ground. Start with up to 30 minutes, for example, and gradually walk longer if there's no pain or rubbing. Check return and exchange conditions before wearing them outdoors.
Here are three details to check on these walks.
Check the lacing: seat the heel at the back and tighten the laces without squeezing the toes. If the heel keeps lifting, adjust the laces. If it still lifts, check the fit.
Note any red spots: if you notice redness, warmth, or tingling, stop and look for the source of friction. Soft padding may reduce friction. If rubbing keeps recurring in one spot, check the fit.
Watch your footing on wet surfaces: if you go out in rain, avoid slippery spots. There is no need to deliberately wet the boots to break them in. If they get wet, follow the maker's instructions for drying them.
Stage 3: Try a short day hike on a low mountain
If walking on level ground is comfortable, choose a short route you can easily turn back on. Check especially whether your feet slide forward on descents or feel pinched at the sides on uneven ground.
A pack changes the load on your feet and the way the boots feel. Try the boots with the gear you need for that route.
Check the following before, during, and after the hike.
- Before you leave: look for holes or thin patches in your socks and wear in the heel of the insole.
- On the trail: if you feel heat or tingling, stop somewhere safe and check your laces, socks, and skin.
- After the hike: check the skin around your toes, heels, ankle bones, and the base of your little toes. Note any changes.
You're ready to consider a longer hike when a short route brings no pain or rubbing and your feet stay stable on descents. Check how your feet feel after walking, too.
First aid for blisters and when to reassess
If you notice a blister or chafing, stop somewhere safe and reduce rubbing and pressure on the skin.
Leave an intact blister intact and protect it with a clean, soft plaster or padded dressing. If it has burst, leave the skin in place, gently wash and dry the area, and cover it with a clean dressing. Seek medical advice for severe pain, spreading redness or warmth, or pus. On the mountain, assess how to return safely. Avoid the boots that caused the blister until it heals.
If blisters keep recurring in the same place, review these three things.
- Check the insoles: a replacement changes the room in the boot and the heel hold. Walk with the insole you'll use and check for pressure or sliding.
- Review sock material and thickness: sweat or rain can make rubbing more likely. Choose quick-drying socks and make sure there is enough room in the boot if you change thickness.
- Check the fit again: an outdoor or footwear specialist can assess your feet and help you decide whether a different boot would suit you better.
What to do next
Start by walking indoors for a short time with the boots and socks you'll wear on the mountain. If that feels fine, take a short walk on flat ground and check for rubbing or pain. In Nordwand's Base Camp or community, you can also ask people who use the same boots what they think. Before hiking, check official sources for weather, trailhead access, and restrictions.