
When considering gear from a Japanese 100-yen shop, ask what would happen if it broke in the mountains. A torn organiser is an inconvenience. Losing your light after dark is a different problem.
The examples below show where discount-shop items can be useful and where the consequences of failure mean you should look closely at what the product is designed to do.
Ask what would happen if it broke
Before taking a discount-shop item on a hike, ask yourself the following.
“If this breaks in the mountains, could it leave me unable to get back, injured or too cold?”
If the answer to any of those is yes, look for equipment with known performance in the conditions you expect. Check the label or manual for such details as water resistance, durability and battery life.
For accessories that wouldn’t affect a safe descent if they failed, discount shops can be useful. Start with small-item organisers and consumable supplies.
Where discount-shop items can help
Storage and packing
Zip-top food bags can separate trail snacks and tissues. For a phone, paper map or warm layers that need to stay dry, use a separate waterproof bag or other protection appropriate to the likely water exposure.
Compression bags can bundle clothes inside your pack. The bags and valves vary in durability, so pack the layers you intend to carry and try opening and closing the bag at home.
Small containers are handy for carrying a little seasoning. Use a container suitable for the contents, label it and check for leaks. For sunscreen and insect repellent, original or travel-size packaging lets you keep the product label and directions available.
Consumables and small accessories
Choose plasters and tape by intended use, adhesion and condition of the packaging. For blisters, take suitable pads or tape and test how to apply them and how they feel in your shoes before hiking.
Earplugs are a simple consumable for a night in a hut where other people might snore.
A folding umbrella can serve briefly on a calm trail where you don’t need both hands. Close and stow it on ridges or in strong wind, and carry rain gear appropriate to the trip.
Meal accessories and other small items
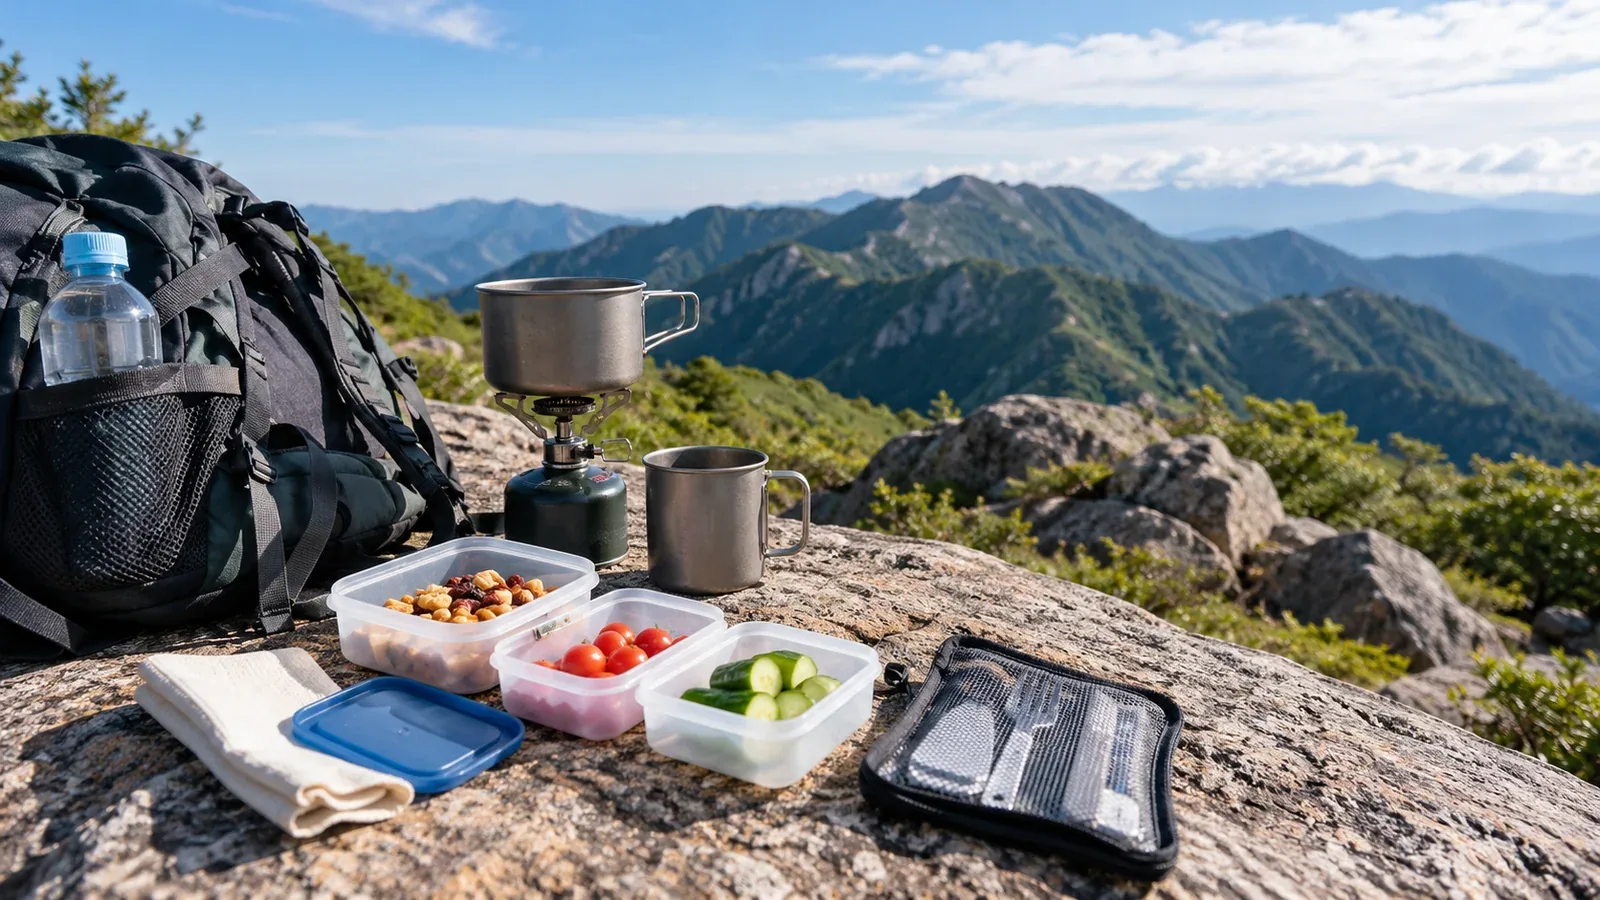
Chopsticks and lightweight spoons are useful at meals. Pack out what you use and bring reusable cutlery on future hikes when possible.
For an aluminised sheet intended for emergencies, check the dimensions, tear resistance and intended use. Bring warm layers and emergency shelter suited to the cold, rain and wind you might face while waiting for help.
Gear that calls for closer checks
Lighting
A headlamp keeps both hands free if you’re still out after sunset. Check how long it provides enough light to walk, how it handles rain and whether it’s easy to operate. Pack spare batteries or another light. Assess the product specs and turn it on before leaving.
Rainwear and wind protection
A thin poncho can work in a brief shower, but it may lack the coverage or durability for prolonged rain, wind and cold. Choose rainwear for the conditions you expect and check that you can move freely with it over your other layers.
Gloves and warm layers
For cold terrain such as an exposed ridge in autumn or winter, choose gloves with wind and moisture in mind. Thin cotton work gloves provide little warmth once wet. Add a windproof or waterproof outer glove or a dry spare if the conditions call for it.
Ropes, carabiners and attachments
Never use accessory carabiners or cords for climbing, belaying, abseiling or supporting a person’s weight. Use equipment designed for the job and verified against the applicable safety standards. Check the equipment type, compatibility and instructions as well as the standard markings.
Footwear and insoles
At any price, shoes need to fit your feet and the terrain. A different insole changes the space inside the shoe. Before using it on a long hike, take a short walk to check for heel lift, pressure on your toes or discomfort underfoot.
How to assess an item yourself
When you see a new item at a discount shop, try these checks.
- Think through the worst likely failure. Could it leave you unable to continue, cold, injured or lost?
- Check the materials and stitching. Look for loose seams and clear information on the material.
- Try it at home where you can do so safely. Open and close a bag, turn on a light or work the controls with gloves on. A home test cannot replace the standards required for safety equipment.
- Check product specifications for the performance you need. Look for relevant information such as waterproofing, runtime, intended use or the applicable standard.
These checks give you a basis for deciding whether a particular item suits the hike.
Think about the role of each item
Sort the contents of your pack into three groups: safety gear, trail essentials and accessories for comfort or organisation.
- Safety gear (rainwear, headlamp, warm layers, emergency gear): check that its specifications and condition suit the expected conditions.
- Trail essentials (map, compass, water bottle, food): bring what the route requires and plan for shortages or failures.
- Comfort and organisation (organisers, small containers, meal accessories): this is often where you can spend less.
Start with organisers and meal accessories if you want to reduce costs. For rainwear, lighting and warm layers, prioritise the performance required for the hike.
Review what you carry
Lay out your gear and group it by purpose. Check first any equipment whose suitability for the expected conditions you can’t confirm, regardless of what it cost. Nordwand hike logs and the partner-shop search can help as you review your kit.