
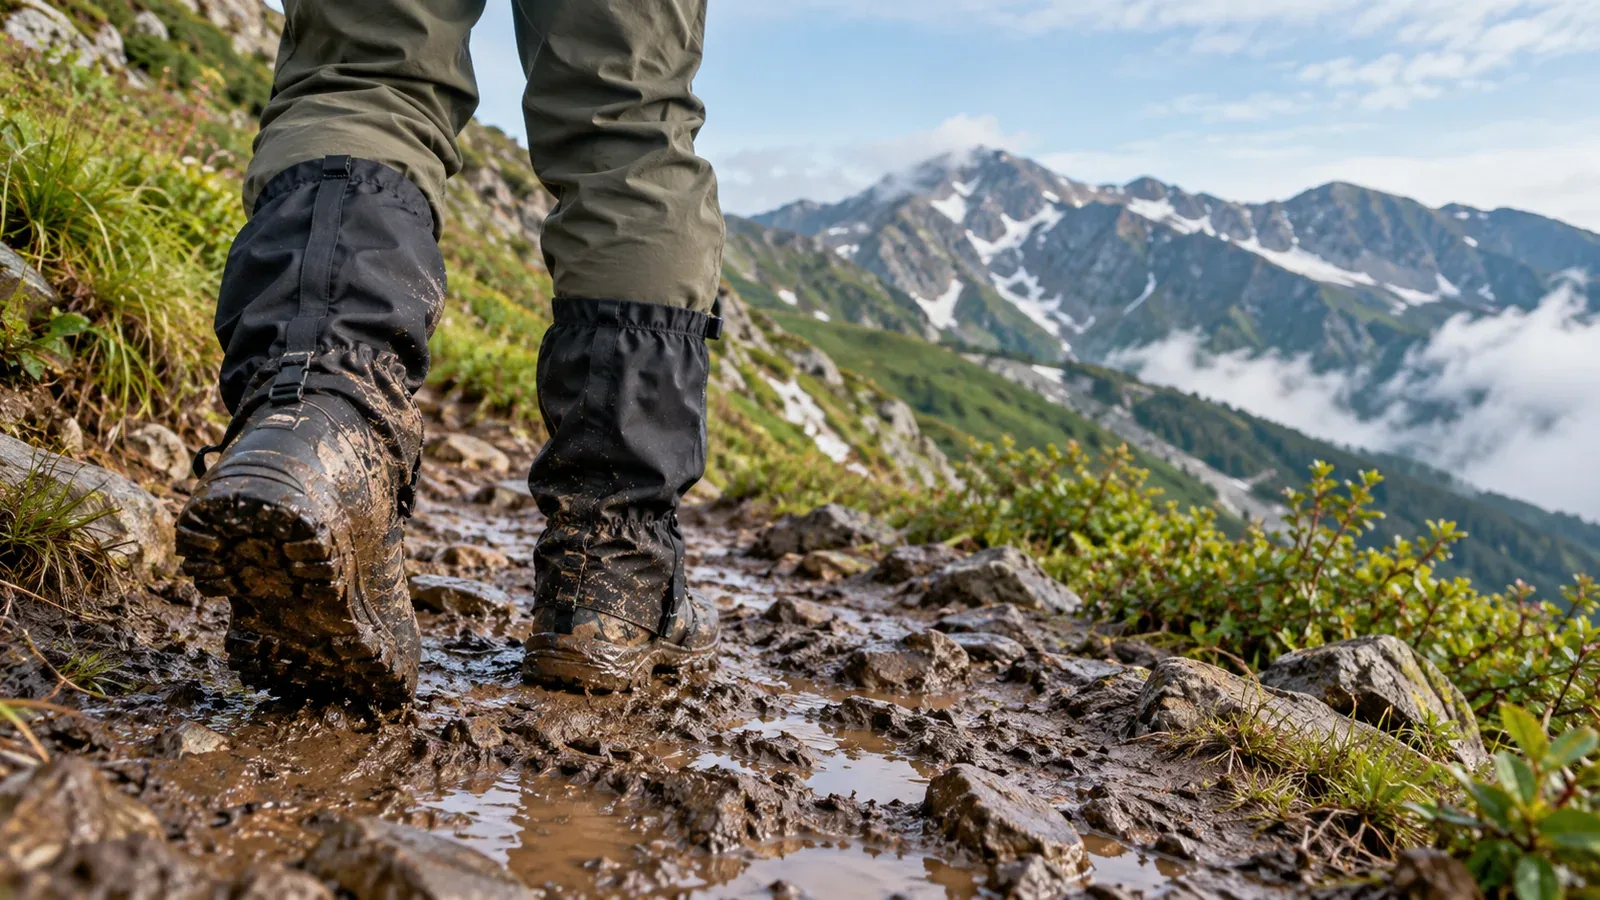
Gaiters cover the gap between your hiking footwear and trousers. You often notice the need for them only when sand or small stones get into a shoe, mud reaches your socks, or snow spills over the top of a boot.
Whether you need gaiters depends more on trail conditions, the season, and the shape of your footwear than on elevation or difficulty. Consider these three factors for the hikes you do. This guide takes you through mud, snow, and loose stones, then explains how to choose and fit gaiters.
When gaiters help on muddy trails
Even on low mountains, the rainy season or autumn rain can leave several centimeters of mud. In addition to getting the shoes dirty, mud and water can enter at the ankle opening or around the tongue, soaking your socks and making your feet cold.
Shoes with collars below the ankle let in mud and water more easily from above. Mid- and high-cut boots can also let water in, depending on the tongue construction, how they are laced, and the depth of the mud.
These examples can help you decide.
- Trails with recent rain and a lot of clay or volcanic soil, including parts of Okutama, Tanzawa, and mountains in Kyushu, can develop deep mud.
- Check photos and recent trip reports on trailhead boards or social media. If people report ankle-deep mud or long muddy stretches, gaiters can help.
- On gravelly or rocky ridges, you rarely need gaiters for mud.
For occasional shallow splashes, consider light, breathable short gaiters. On trails with long stretches of wet grass or deep mud, check the amount of coverage and water resistance. Compare how easy each model is to wash and dry.
When gaiters help in snow
Where snow comes above the tops of the boots, gaiters help keep your socks from getting wet as you walk. Their main purpose is to keep snow out of the boot opening. If you wear crampons, make sure the gaiters don't interfere with straps or hardware and that the crampons fit securely on the boots.
Even on low mountains in early spring or early winter, your foot can sink into heavy, wet snow and snow can enter at the top of the boot. Wet socks can leave your feet cold on a chilly ridge.
For deep snow, consider tall gaiters that reach just below the knee. Waterproof-breathable materials are designed to limit the entry of meltwater while allowing water vapor to escape. If the gaiters have instep straps, route them under the sole as directed by the maker to keep the gaiters in place.
For your first hike on snow, check the route difficulty and your skills before choosing gear if snow or ice is likely. Use the Japan Meteorological Agency’s snow outlook and local mountain reports to check snow depth and trail conditions.
When gaiters help on sand and loose stones
On low hills, in the countryside, and on loose volcanic terrain, sand and small stones can get into your shoes as you walk. They can hurt, wear holes in your socks, and contribute to chafing or blisters on longer walks.
For gravel, a snug fit that closes gaps matters more than waterproofing. Consider short gaiters that hug your shoes at the bottom edge. They can help on Mount Fuji's loose descents or the gravelly sections of Izu and Hakone.
Short gaiters can help if sand or pebbles enter low-cut trail-running shoes even on maintained trails. With high-cut boots on routes with little gravel, you're less likely to need them.
How to choose gaiter height and material
Here is how the options compare in common conditions.
- Mud and rain on low mountains: consider short gaiters for shallow mud. Look for ease of cleaning and drying, and check height and waterproofing for sustained wet conditions.
- Gravel and loose descents: consider short gaiters. Check for gaps at the shoe opening and lower edge.
- Spring mountains and lingering snow: consider tall gaiters where snow comes above the boot opening. Check waterproof breathability and how they attach.
- Deep winter snow and alpine terrain: consider tall gaiters. Check waterproofing and reinforcement, along with compatibility with your boots and crampons.
Before buying, check how the gaiter attaches and where any instep strap runs. Besides straps that pass beneath the sole, some designs hook onto the laces or fasten at the heel. Check fit with your usual footwear and confirm that gaiters won't interfere with the crampon attachment if you use crampons.
How to put on gaiters and avoid common mistakes
Here is an example for a typical front-opening gaiter. Follow the maker’s instructions for the sequence and fasteners on your model.
- Put on your socks and boots with the insoles in place, as usual.
- Lace up your boots first, then position the gaiter around the ankle.
- If it has an instep strap, route it beneath the sole as the maker specifies and adjust the length if needed. If it has a lace hook, attach it as directed.
- Close the zip or hook-and-loop fastening and arrange the top and trouser hem as directed for the model. Walk a few steps to check that the gaiter stays in place and doesn't dig in.
Three common mistakes to look out for.
- Closing a front-opening gaiter before tying the laces can make the laces harder to adjust.
- A loose or misplaced instep strap can let the gaiter shift and open gaps while you walk.
- Overlapping your trousers and gaiters in a way that doesn't suit the design can let rain or snow enter. Follow the maker's instructions for the top edge, and check crampon clearance if you use crampons.
Next steps
Check whether mud, gravel, or snow is most common where you hike, then choose the right height and material. Take your usual footwear when shopping to check that the gaiter covers the opening and its strap sits in the specified position. You can also use Nordwand's partner-store search to find an outdoor shop and ask for help while trying gaiters on.