
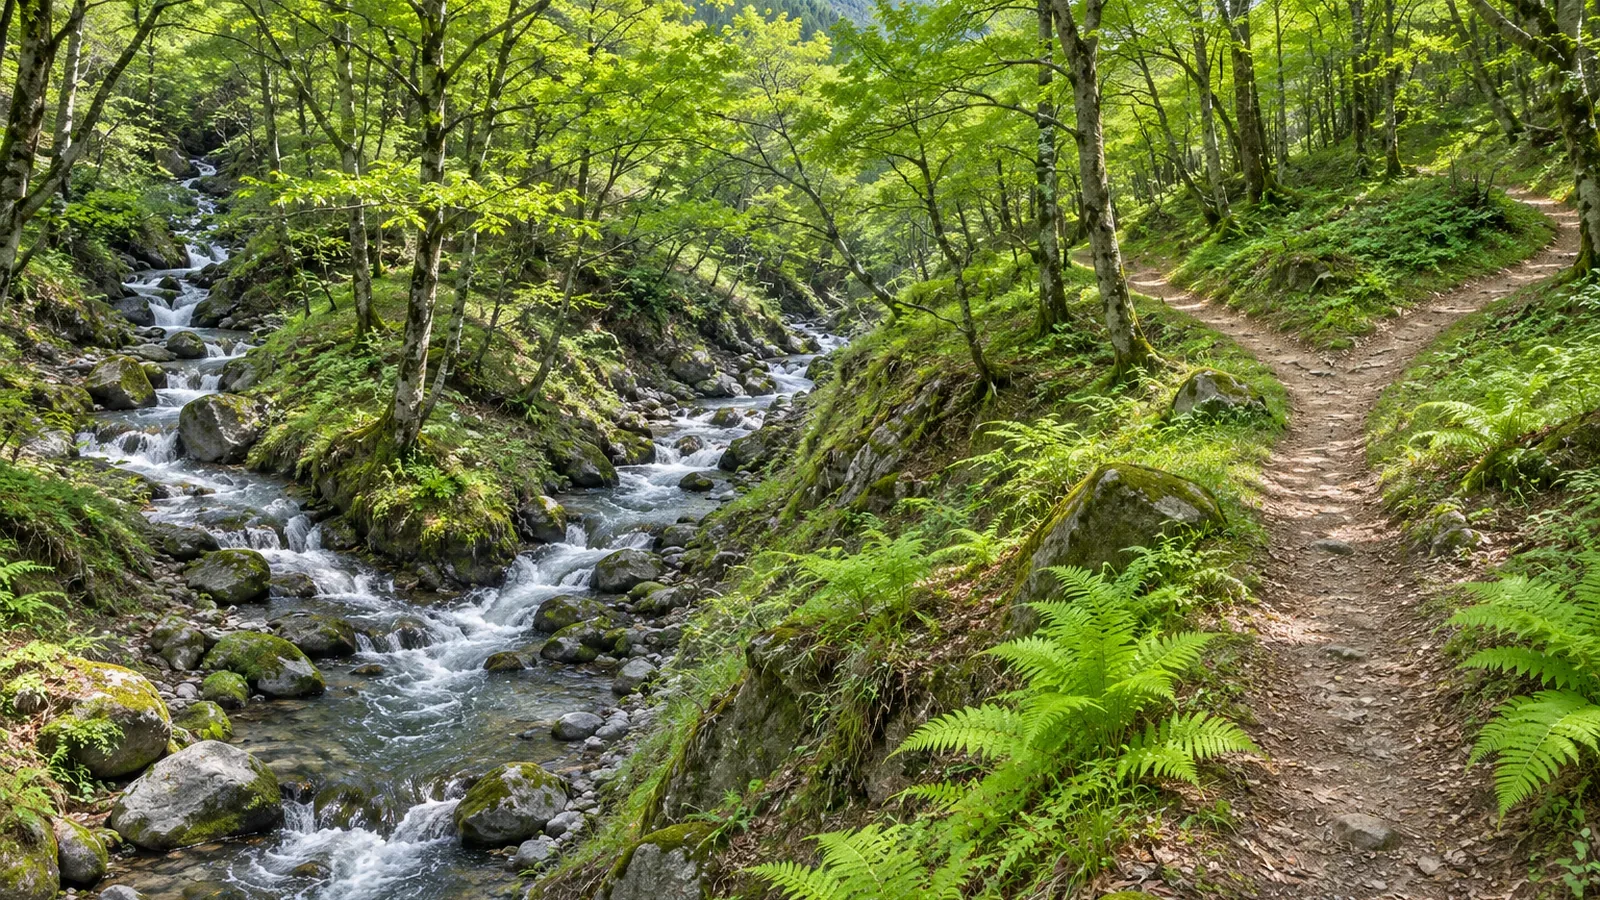
Before choosing a trail along a valley, identify where the streams come together and where the walking route forks. Based on primary documents from Japan’s Geospatial Information Authority (GSI) consulted on October 28, 2026, we explain the lines for footpaths and waterways and the difference between a crossing and a connection. The desk exercise and fictional route notes are our suggestions.
Start by telling the path lines from the water lines
When you see a Y on a valley map, check which features make up the shape. Use the legend to identify the line types, then look separately for confluences or splits in the streams and forks in the route you plan to walk. This article covers GSI’s 1:25,000 topographic maps. If you add a route from a hiking map or an app, check the legend for that layer as well.
In the GSI legend, black dashes indicate a footpath and blue lines indicate waterways. Color alone can be hard to use on a black-and-white printout or under a route overlay. Check whether the line is dashed or solid, single or double, and which symbols it joins in either direction. If you trace the lines by hand, leave enough of the original symbols visible to read them.
The display standards consulted on October 28, 2026, use the footpath symbol where a route’s centerline was recorded as less than 1 m wide. That is a mapping category, and it gives you no current measurement of the usable footing or its safety. If your map gives a different threshold, check the map type, its date and its legend before applying any width figures.
Follow the waterways first, then trace the walking route
The GSI display standards divide perennial rivers and streams into single-line and double-line categories. The single-line symbol is used where showing two banks would be difficult. The double-line symbol applies from 1 m in width, but a waterway under 5 m can be shown with a single line if two lines are difficult to draw. Treat these as symbols for tracing the waterway. They do not tell you that a single-line stream must be very narrow or that you can cross a double-line one.
The standards define the river centerline as the route that shows how waterways connect. Road symbols, by contrast, are placed at the road centerline. Keep the junctions you find while tracing the streams separate from the places where you have to choose a path. A stream name and a destination label printed near each other do not connect the paths on the map.
Before departure, trace only the waterways upstream and downstream, then follow only the roads and footpaths you plan to use. This is our suggested exercise based on the display standards. Make a separate note when a path passes near a confluence, when it crosses a stream and when it branches into another path. That helps you keep the different Y shapes straight.
A dashed line or an intersection can have several meanings
The intermittent-channel symbol uses dashes for sections that can run dry at certain times. These channels are drawn with one or two lines depending on the waterways they connect to. The map can also show sand or gravel in and around the channel where needed. Use the legend, the line pattern and the connected waterways to distinguish these dashes from a footpath.
Where a path crosses a stream, check it as a water crossing rather than a trail fork. Under the display standards, the road-bridge symbol can indicate a bridge over water, a grade-separated crossing or an elevated road section. The bridge portion of a footpath is drawn with a solid line as well. If the black dashes turn solid for a short stretch, look for a bridge or other symbols before deciding whether the path type changes.
Pay attention to gaps at crossings too. Under the same standards, when a single-line stream crosses a road or earthen embankment, an underground section less than 2 mm long on the map is omitted. A gap made for display reasons does not mark the end of the stream or the start of a path. The rule also does not establish that every gap contains an underground channel.
Even if you identify a bridge or a crossing on the map, you still need to check the bridge’s condition, the water level and whether you can pass on the day. Plan for the possibility that the marked crossing or bridge is unusable. This article explains how to distinguish map symbols. It does not provide instructions for assessing or attempting a ford.
In your junction notes, record where each line leads
Here is a fictional example. Two streams come together on the valley floor, and shortly before the confluence the hiking trail turns up the hillside. “Right at the stream junction” is ambiguous about whether to follow the right-hand stream or a path. Try “Our path leaves the valley before the confluence. Check which path continues toward the destination,” and match that line to the map in front of you. This is an example of a note, not directions for a real trail.
In another fictional example, a path crosses a stream and continues as one trail. Record it as a stream crossing and leave it out of your count of trail forks. If two paths diverge on a slope away from the water, that is a trail junction worth marking. The order of landmarks along the streams can differ from their order along the paths.
In your notes, record the surrounding terrain that helps identify the point, where the intended path leads, whether it crosses water, and anything you could not establish. “Connection unclear on the map” is a valid note. Leave the gap open instead of drawing a path you have imagined. In the field, stay on the trail when checking the map and stop somewhere stable. Resolve the uncertainty before continuing beyond the junction.
Trace the streams and paths separately, then compare
To distinguish a stream’s Y from a trail’s Y, consult the legend and look at what each line joins. Learn to recognize footpaths, single- and double-line waterways, intermittent channels and bridges, then trace the water and walking routes separately.
Before you leave, note where the path leads and what still needs to be checked. A path that passes close to a confluence and a path that forks there are different observations. Recording them separately tells you what to look for in the field. Confirm current conditions and whether the route is safe to use as a separate step.
References and sources
- Geospatial Information Authority of Japan (GSI): 2013 Topographic Map Display Standards at 1:25,000 (including the March 30, 2026 amendment, Articles 17, 19, 24 and 26)
- GSI: Map Symbols — Single-Line Rivers and Streams
- GSI: Map Symbols — Double-Line Rivers and Lakes
- GSI: Map Symbols — Intermittent Channels
- GSI: Guide to Map Symbols on 1:25,000 Topographic Maps