
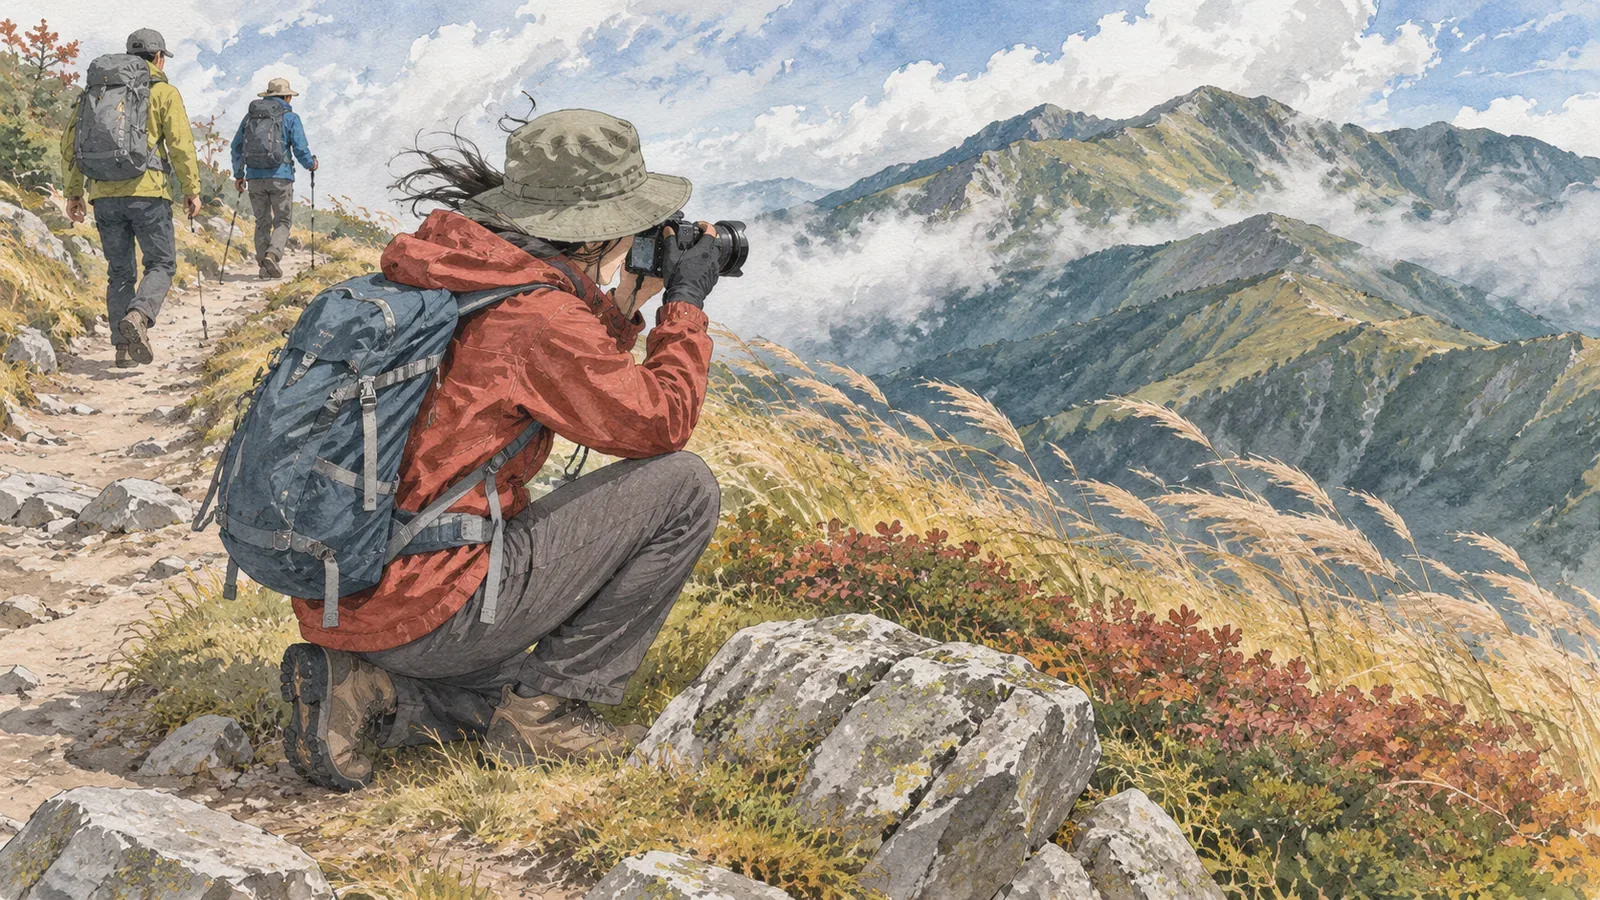
When a view opens up, it is tempting to point the camera at it right away. In windy places, though, your footing and gear need more attention than usual. Find somewhere you can safely stop walking, get into a stable position, then take the photo.
Choose where to stand before composing the shot
Where the trail edge drops into a steep slope or over a cliff, keep back from it when taking photos. The US National Park Service advises staying on trails and boardwalks, remaining on the safe side of railings and watching your footing. In Japan's mountains too, follow the rules at the site and pick a spot where both feet can rest securely. Even a seemingly flat spot can have loose rocks, wet surfaces or nearby drop-offs.
On busy trails and at narrow junctions, leave room for others to pass. If you cannot safely step aside, move on to a wider spot or skip the photo. While moving, look at your footing and surroundings and keep your eyes off the camera screen.
Taking a step backward while shooting puts your foot somewhere you have not checked. If you want a different composition, look away from the screen and check where you are going before moving. If you are with others, you can check one another's positions in advance. Give anyone nearby a heads-up before you move.
Watch for changes in the wind and skip the shot if needed
The Japan Meteorological Agency explains that average wind speed is measured over 10 minutes and momentary winds can be stronger. Even if it feels calm for a moment, allow for gusts and avoid taking photos where it is hard to steady yourself.
Depending on wind direction and terrain, moving a short distance may change how exposed you are. Keep off dangerous slopes when looking for shelter from the wind. Skip the shot if there is nowhere everyone can stand safely or you are struggling to stay steady.
An average wind speed alone cannot establish whether the spot is safe. Pack size, footing, fatigue and visibility all affect the decision. Compare the forecast you checked before leaving with current conditions and consider whether your itinerary itself needs changing.
Secure your camera and small items before using them
Check what strap or carrying method suits your camera or phone so you can take it out without easily dropping it. Put small items such as lens caps and gloves into an accessible pocket or pouch as soon as you take them off. Keep lightweight items out of the wind.
Before using a tripod or similar equipment, check local rules and whether others can pass, then set it up as directed by the manufacturer. Skip it if the wind makes it unstable, it gets in other people's way or you cannot retrieve it safely. Keep yourself out of dangerous positions when supporting your equipment.
If you drop something or the wind carries it away, resist chasing it onto a dangerous slope. Secure your own safety and that of your companions first, then decide from a safe position whether you can retrieve it. Preparing to keep items from falling makes the photo stop easier.
Agree on where your companions will wait
Before stopping for a photo, let the hikers in front of and behind you know and check whether everyone can wait somewhere safe. A person who separates from the group can lose sight of the others in fog or broken terrain. Count everyone and check your gear before setting off again.
If you combine a break with photography, check whether anyone is getting cold or needs rainwear or an extra layer. While the photographer is absorbed in the shot, those waiting may feel cold or tired. Keep the wait short. If anyone feels unwell, end the session and reassess the itinerary based on how the whole group is doing.
When sorting your photos at home, note where you took them and under what conditions to help plan next time. A spot that was safe this time may change with the season, weather or trail conditions. Make a fresh decision on site each time.
In short: take photos only where you can safely stop
In windy mountains, check your footing and surroundings and take photos from somewhere stable that leaves the trail clear. Secure the camera and small items and stay in touch with your companions. Skip the shot if you cannot keep your balance or would have to move into a dangerous position.