
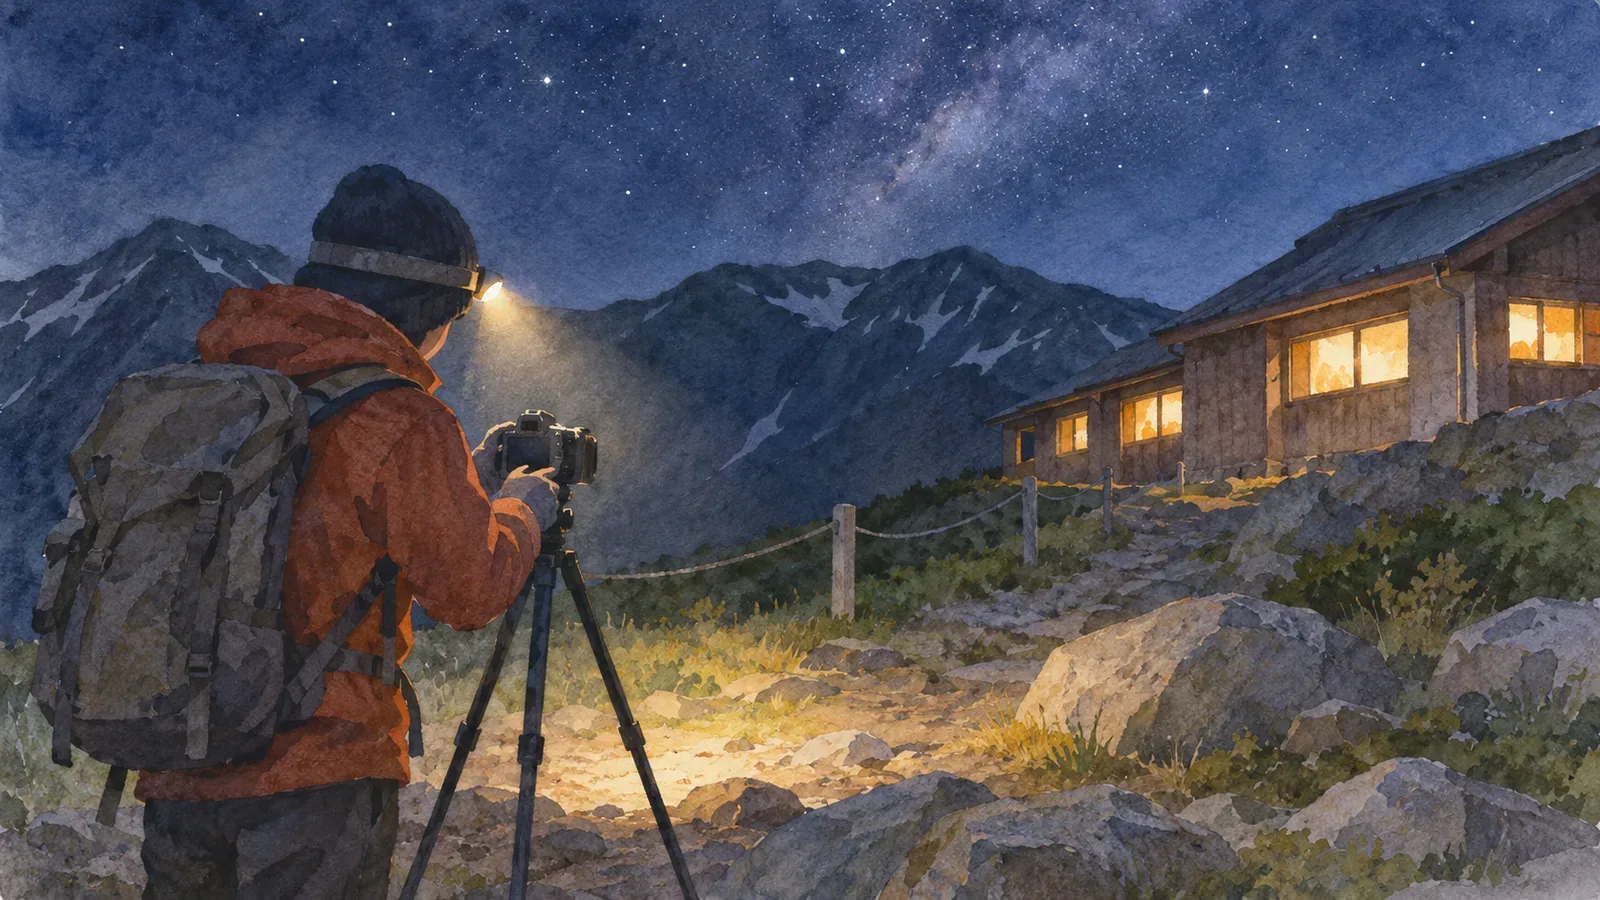
When photographing the stars or a scene before dawn, you may need light for the camera controls or your subject. That light can also reach a nearby tent, hut or another visitor. Look around before shooting, check the site rules and think separately about the light you need to move safely and the light you want for the photo.
Check the Site Rules Before You Shoot
If you want to photograph after dark, look up the guidance from your accommodation or the site manager. Huts and campsites differ in lights-out times, where you can go, and what’s allowed for overnight access and photography. If anything is unclear, ask staff during daylight and tell them where and when you plan to shoot.
The Oze Preservation Foundation notes that mountain huts in Oze have lights-out times and asks guests to be considerate in shared rooms. Check the actual time with your accommodation and finish getting ready while you can do so without disturbing anyone’s rest.
Check the route to your shooting spot in daylight. Find out which areas are open, what’s underfoot and where others need to walk. That way you aren’t looking for a new spot after dark. If the rules are unclear or the site doesn’t allow the shoot, skip it.
Check Where the Beam Goes
Before switching on a light, look at what lies beyond your subject. Even if you only intend to light the camera controls, lifting your head could direct the beam at a hut window or tent. Check the direction, keep it off people’s faces and sleeping areas, and switch off the photography light when you’re done.
Japan’s Ministry of the Environment recommends designing outdoor lighting, such as streetlights, to limit light spilling beyond the intended area. With a portable light, check whether the beam reaches past the spot you intend to light.
Before switching on a photography light, tell your companions and aim it where it won’t reach other visitors. If you can’t do that, shoot without the light or change your approach. Even if the area looks empty, people may be resting inside tents or behind hut windows.
Keep Enough Light to Walk Safely
Use enough light to see your footing and the route. When passing someone, point your light at the ground to keep it out of their eyes, say a word and move calmly past. Call off the shoot if you can’t get there and back safely.
When setting up, follow the site rules and keep tripod legs and bags out of the way. The Japan Photo and Video Accessory Association also advises keeping tripods out of narrow passages. In Oze, visitors are asked to keep tripods out of the wetlands. Wherever you are, stay on paths and within designated areas and check where equipment is allowed after dark.
If you can change your light’s colour or brightness, learn the controls before setting out. Knowing how to switch it on and off makes it easier to light only what you need. Follow the equipment instructions and bring spare power and warm layers to suit the route. Ibaraki Prefectural Police recommend carrying a headlamp or similar light and planning to descend before sunset. For night photography, choose a permitted spot near your accommodation that you can safely reach and return from.
Consider Wildlife and Other Photographers
The Ministry of the Environment’s guidelines call for attention to how outdoor lighting affects plants, animals and the brightness of the night sky in places that should stay dark, such as natural parks. When shooting, aim your light only where you need it and use it only for as long as necessary.
If other people are watching or photographing the sky, speak up before switching on a light and check where they are. See whether your screen or lamp shines in their direction, and adjust where or when you shoot if needed. Keep voices and other sounds low for people resting nearby.
When you finish, pack your gear, check for anything you’ve left behind and return along the designated path. If you share the photos later, take care with images that show your companions or other visitors. If the shot doesn’t work out, you can leave it there and remember the scene or write it down.
Know What Your Light Reaches
Before a night shoot, check the site rules and the route. Aim your light away from windows, tents and people’s faces. Keep the light you use for photography confined to the area and time you need.
Keep enough light to walk safely. If you can’t move safely while letting others rest, skip the shoot. Follow the site’s instructions.