
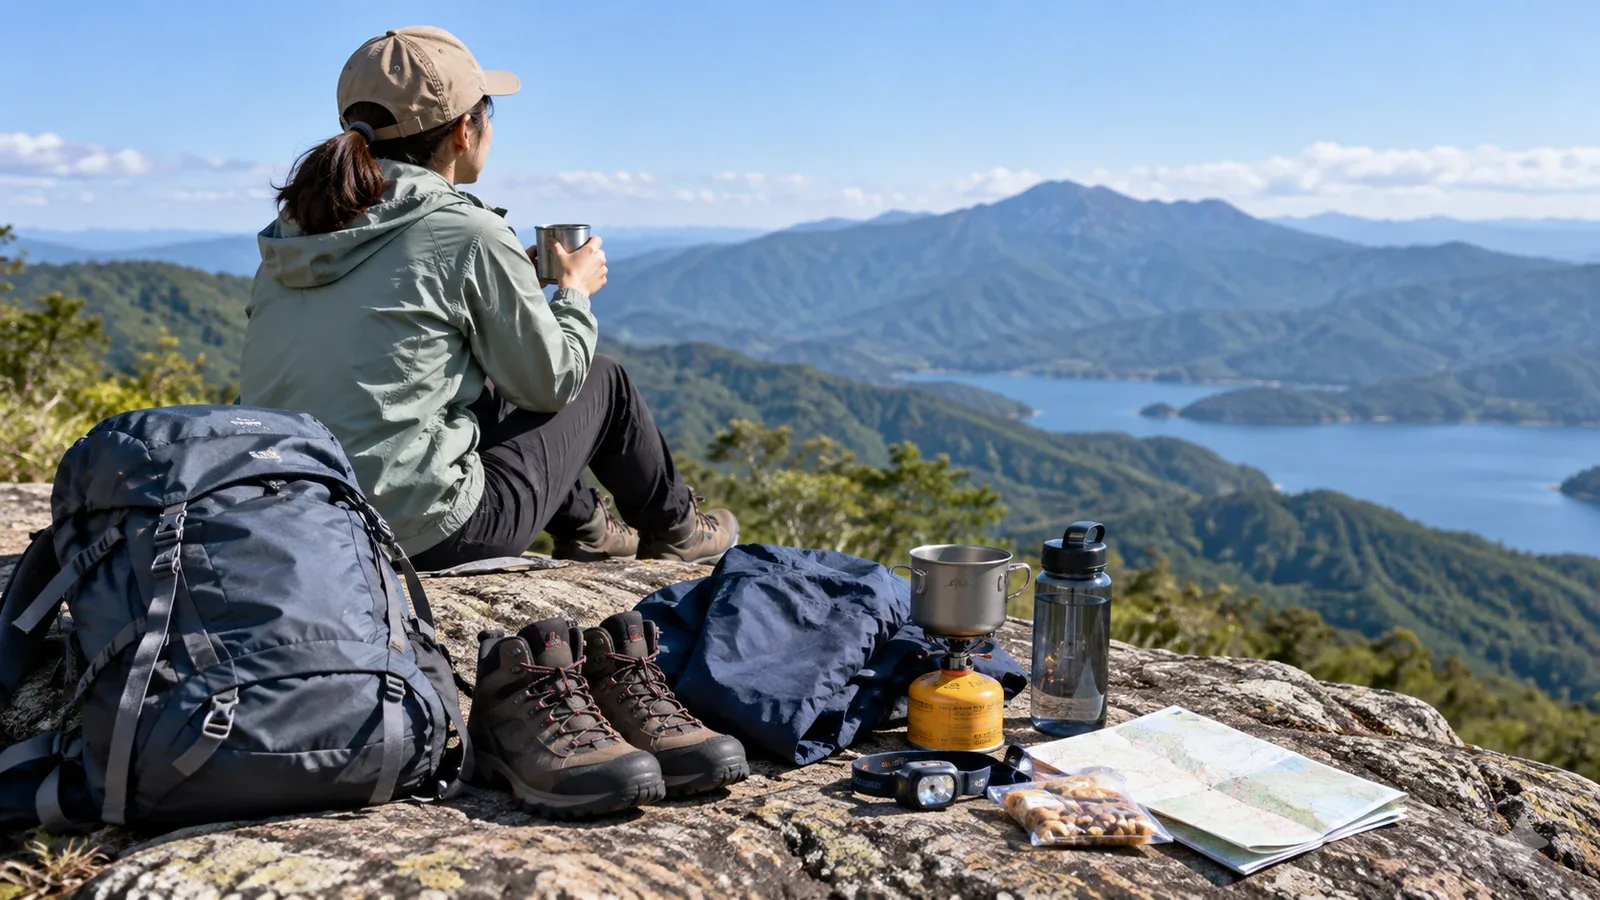
A trip to an outdoor store can leave a new hiker wondering how much it will cost to buy footwear, clothes and a pack all at once. A ¥50,000 gear budget may be feasible if you reuse or rent equipment and choose a manageable day hike on a maintained, snow-free trail.
This example looks at what to spend on and what can wait for a first day hike. It covers equipment. Budget separately for transport and any insurance, training or guide fees you need.
How to divide ¥50,000
Start with the big picture. You can group the gear for a manageable day hike into four categories.
- Footwear — ¥19,000 for hiking shoes or boots and socks.
- Clothing — Reuse suitable quick-drying and warm layers and set aside ¥16,000 for a waterproof jacket and trousers.
- Pack — Borrow a pack in the right size or budget ¥5,000 for one that fits.
- Safety and small items — ¥8,000 for a headlamp and spare power, a map and compass, first-aid supplies and similar items. Keep ¥2,000 in reserve.
The sample allocation adds up to ¥50,000 and does not reflect retail prices. Prioritize footwear and rainwear that fit and suit the outing, and consider borrowing a pack. Poles, gaiters or a high-spec watch can wait if the route does not require them.
Two items to prioritize: hiking footwear and rainwear
Why footwear fit matters
Choose shoes or boots suited to your feet and the trail surface. Check the sole grip, how well the heel holds and whether your toes have enough room on descents.
The sample budget sets aside ¥19,000 for footwear and socks together. Try footwear with the socks you plan to wear, and pay attention to fit as well as the brand and materials. If the right pair exceeds your budget, borrow something else or rent boots to try first.
Choose socks that suit the footwear in thickness and fit. Avoid fabrics that stay wet for a long time and bring a spare pair if needed.
Rainwear for mountain weather
Mountain weather can change quickly, and wind and rain can suddenly intensify on a ridge. Carry rainwear even on a low mountain.
The sample budget sets aside ¥16,000 for a waterproof jacket and trousers. Check the waterproofing and breathability specifications, hood, seams and how well you can move in them. If you reuse or rent rainwear, check that it fits and is in good condition.
Three places to save
Base layers and middle layers
If you already have a quick-drying sports shirt or base layer that lets you move comfortably, use it. Check whether your layers and changes of clothes suit the expected conditions.
An existing fleece or light insulating layer may work. How much warmth you need depends on more than the season. Consider the forecast, the wind and how cold you will get when you stop.
Backpack
A 20–30 L pack is one example for a day hike. Choose one that fits the kit you need and sits well on your shoulders and hips when loaded. Whether you use your own, borrow or buy used, check the back length, straps, seams and buckles.
Headlamp, maps and trail food
Carry a headlamp even on a day hike. It helps if you get off route or run late despite planning to finish before sunset. Test the light, check its beam and runtime, and check the battery and backup power.
Bring a paper map and compass and learn how to use them. The Geospatial Information Authority of Japan lists its maps and current prices. Download any phone maps before departure and carry the paper map so you can still find your position without phone service or power.
Pack trail food you know you can eat, such as rice balls or bread, based on the length of the outing. Bring drinking water and allow for delays.
Buying used or renting
Used gear and rentals are another way to reduce the cost of getting started.
Good candidates for buying used — A backpack and some clothing can work if you can inspect seams, zippers, fabric and coatings. On poles, check locks and shafts and skip any with cracks or signs of a major impact.
Items to be cautious about buying used — On footwear, inspect sole joins, internal deterioration and fit. If you cannot assess the condition, buy new or rent from a trusted provider. Avoid protective equipment such as helmets when the impact and use history is unknown.
Renting — Consider renting from a hiking shop or rental service for your first outing or two. You can find out whether you want to keep hiking before spending more. Check rates and availability on the provider's official site.
How to prioritize what you buy
- Arrange footwear and socks first. Take time to try them on and choose a fit that works for you.
- Get a waterproof jacket and trousers. Check suitability and condition, whether you buy, rent or use what you have.
- Choose a backpack. A specialist shop can help you check the back length.
- Get a headlamp, map, compass and other safety items. Take spare power, first-aid supplies, water and trail food as appropriate to the route.
- See which clothes you can reuse. Buy what is missing.
- Decide on poles and gaiters according to the route. Get them if you need them for the first outing. Otherwise, the purchase can wait.
This order directs spending to the first hike and helps you avoid buying gear you will not use.
Next steps
Choose a manageable first route and make a gear list. Try footwear with the socks you will use, and test rented or existing gear before the outing. If the budget falls short, revisit what you can borrow, where to go or when to go before leaving out essential safety items.