
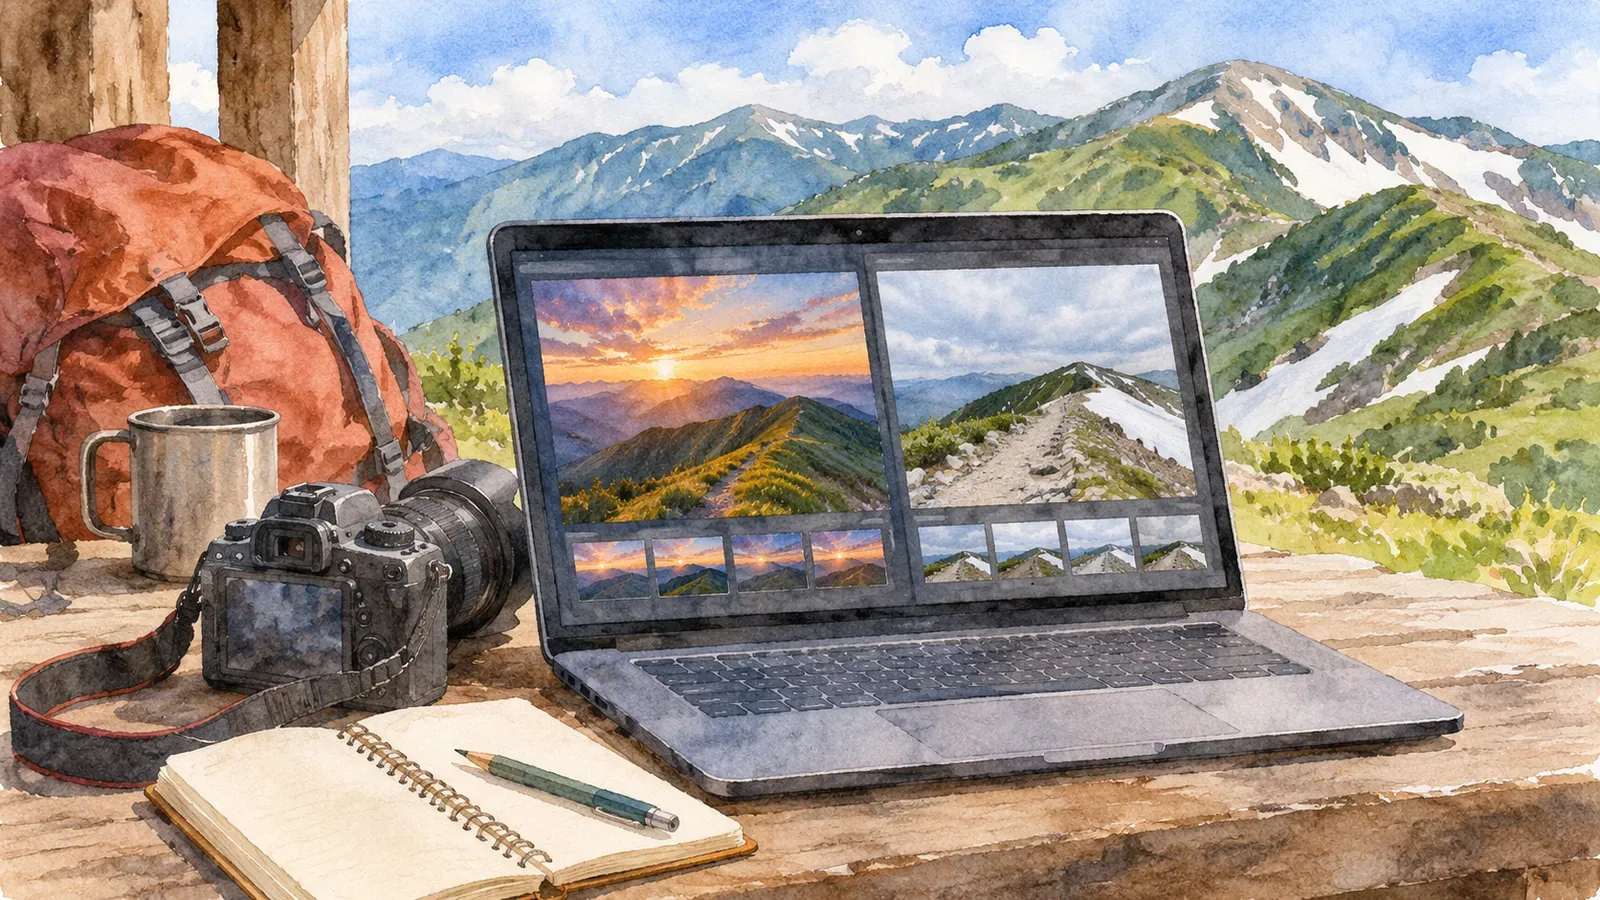
Adjusting brightness or color in a mountain photo can bring it closer to how the day felt or give it a style of your own. When you use a photo to report trail, snow or weather conditions, readers look at it for evidence of what the place was like. Keep creative edits and condition reports separate, and make any changes clear.
Photos serve different purposes in art and reporting
In a creative photo, you can change color, brightness and composition to suit what you want to show. You might emphasize the clouds or light, or crop out something that distracts. You can decide how you want the viewer to feel and choose a look that differs from the original scene.
In a photo that shows what a trail was like that day, readers may want to see where snow or mud extended, where a sign stood or how far they could see. Major changes to color or brightness, or cropping the surroundings, can hide evidence from the original. The US National Press Photographers Association calls on photojournalists to preserve content and context when editing and avoid misleading changes. Hikers can use this as guidance when choosing an image to report conditions. If you use a creatively edited photo in a report, disclose the edits and show the relevant context.
To use the same scene for both purposes, save the original and keep the creative edit separate from the image chosen for the report. If you adjust a report photo for clarity, explain where you cropped it and what else you changed. Accuracy also depends on the viewpoint, date and time and what lies outside the frame. For example, brightening the snow makes it easier to see, but the image alone cannot tell you how firm it was or how easy it was to walk on. Describe the edits separately from what you checked in person.
Keep the original and a record of edits
First save the original file you imported from the camera or phone. Work on a copy and give it a name or folder you can distinguish from the original. For example, keep the date and scene in the name and add “creative” or “report” so you can see which files go together. Use names that are clear in your own setup.
Keep a brief record of edits that could affect how someone reads the image, such as brightness or color changes, cropping or object removal. Google Photos, for example, has tools for cropping and adjusting brightness and saturation. Record the original file and edit date with a description such as “brightness adjusted” or “cropped both sides.” If you made several edits, note which version you shared. Label arrows or text added to a report image as annotations. This keeps them distinct from words on trail signs and lets readers refer to the original view if needed.
How a file's shooting date, time and location are displayed or retained depends on the device and how you share it. Nikon's Z f guide explains how to set the camera so it records the correct date and time. Check the clock on your own device ahead of time and see how the information appears after import. Consult the manual for model-specific settings.
Choose what to include in a condition report
When reporting conditions, add what you know about when and where you took the photo and which way the camera faced. For example, “taken in the morning on the way from the trailhead to the first junction. Snow remained near the sign on the right.” Use details that match what you actually observed.
A photo shows a limited area at a specific moment. A snow-free stretch does not establish that the whole route is clear. Mention any uncertainty about the viewpoint or direction and allow for conditions to change after the photo was taken. Readers should also check up-to-date information from the trail manager or other relevant sources before leaving.
Cropping can remove landmarks or surroundings that help readers interpret the conditions. If you want to enlarge one detail, you can include the wider image separately or explain that you cropped it. Leave what you could not verify open. If the photo shows only one trail at a junction, for example, it cannot tell the reader the condition of the other trail. In your description, distinguish what appears in the frame from what you confirmed in person.
Check who can see the photo before publishing
Photos can show people, vehicles and buildings or include location data. Apple's iPhone guide explains that sharing photos or videos can also share metadata such as location. Check how your device or service handles location for the place and method you plan to share. If people you hiked with appear, check what they are comfortable with. A shared image can be redistributed, depending on where you post it, so consider who can see it.
If you post the creative photo and the report separately, explain the intent of the edits in the creative post and include the shooting time, location and edits in the report. Either post may be forwarded without the other, even if both use the same photo. Make each understandable on its own. If you revise or correct something, make the update visible.
Take photos with awareness of your surroundings. Stay on your planned route and keep passages clear. You can describe what was out of frame or uncertain without getting close to a hazardous place to capture it.
Summary: explain the purpose and the edits
Editing is part of creative photography. To report mountain conditions, include the shooting time and place, what the frame covers and what you changed. Separate observations from creative adjustments.
Keep the original and distinguish creative versions from report versions. Leave uncertainties open, and check location data and who appears in the image before sharing.