
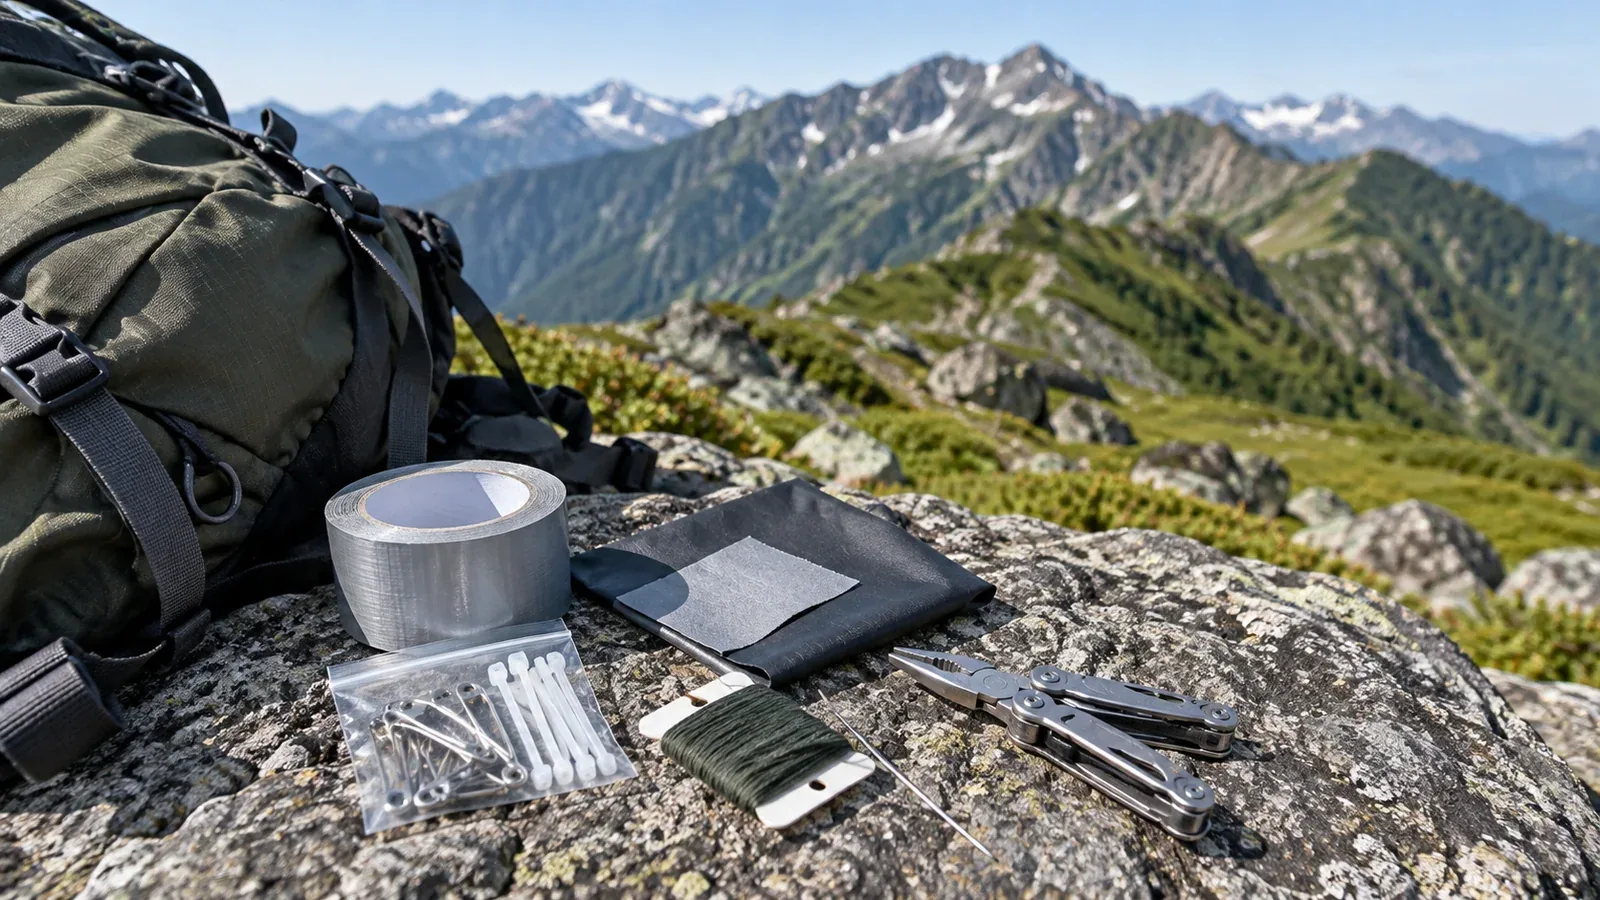
If gear breaks in the mountains, find a safe place to check it. A repair kit can help with small tears and broken accessories. Before you leave, consider what you can fix and which equipment failures would stop the trip.
This guide covers what to pack in a hiking repair kit, how to choose what suits your gear, and where to keep it accessible.
Why carry a repair kit for the mountains?
Weight and size matter, but so does whether you can use the tools with gloves or wet hands. Field repairs temporarily restore a function within the manufacturer's instructions. Treat the gear as compromised and choose what to do based on safety.
List the equipment your trip needs, such as your pack, rainwear, boots, tent, poles, or glasses. For likely failures, decide which repair materials, replacement parts, or backup equipment you need.
Five core items for a repair kit
Choose from these five types of supplies based on the equipment and approved repair methods.
Duct tape
Duct tape can temporarily secure a gear tag, outer panel, or another part that does not bear weight. For a tent pole, use it only to secure the specified repair sleeve. Tape alone cannot support the pole. Wind the amount you need onto a small card for easy access.
Safety pins and cable ties
Safety pins can temporarily hold outer fabric or small accessories. Use cable ties to bundle loose strap ends or accessories that do not carry weight. Cover sharp ends to protect skin and fabric. Do not substitute them for pack buckles that carry weight or fasteners on safety gear.
Repair patches
Thin adhesive patches can cover small tears in clothing or a tent fly. Check compatibility with the treatment or coating as well as the underlying fabric. Follow both the patch and equipment instructions on cleaning, placement, drying, and waiting time.
Needle and thread
Use these for temporary stitches on non-load-bearing areas, such as the outer fabric of gloves or clothing. Choose a needle and thread that suit the material and keep the needle in a case. Do not hand-sew safety stitching or load-bearing straps in the field.
Small pliers or a multitool
Use a compact tool only for adjustments or replacements the manual permits, such as work on specified screws. Do not force stuck poles or try to bend deformed sections back into shape. If you are flying, check the aviation authority's and airline's rules on blades and tools in carry-on and checked baggage.
Extra supplies by trip type
Add to the five basics according to the trip.
Overnight camping and traverses: Consider a compatible pole repair sleeve and a patch that matches your tent fabric and coating. Use the sleeve for temporary repair as the manual describes. In poor weather or with severe damage, consider another shelter or turning back instead of forcing the tent up.
Winter and snow trips: A broken crampon or snowshoe binding can affect your ability to travel. Carry approved spare parts if available and check how to fit them before leaving. Do not substitute cord, cable ties, or tape for bindings. Stay out of terrain requiring them if you cannot secure them properly.
Rocky ridges and stream routes: Stop using a helmet with a damaged chinstrap or buckle. Do not substitute pins or cord. If you have no spare helmet, reassess the route and consider moving somewhere safe or calling for rescue.
Packing your repair kit
Keep it near the top of your pack or in an accessible pocket. Use a water-resistant pouch and cover needles and blades so they cannot damage the pouch or other gear.
Set the kit size according to the length of the trip, weather, and equipment you can use as a backup. Choose parts and tools you might actually use and check their fit at home.
After the trip, replace used supplies and check adhesive and parts for deterioration. When you change equipment, check that the tools and spares still fit.
When to stop using broken equipment
A temporary repair does not necessarily let you continue as planned. If a boot sole separates, a pole breaks, or a load-bearing part of a pack fails, consider footing, weather, backup equipment, and retreat routes before deciding whether you can move safely.
If safety equipment such as a rope, harness, or crampon fails, stop using it and abandon the planned activity. If you cannot move safely on your own or are in immediate danger, call for rescue instead of attempting an unsafe descent.
What to do next
List the gear for your next trip and identify parts or supplies that fit likely failures. Consider which items, such as lights and insulation, need a backup instead of a repair. You can find an outdoor shop for equipment advice through Nordwand's partner directory.
References
- MSR — Field repairs for tents and shelters
- GEAR AID — Caring for waterproof clothing and patching small tears
- Petzl — Inspecting personal protective equipment
- Japan Ministry of Land, Infrastructure, Transport and Tourism — Restricted items in carry-on and checked bags
- Japan National Police Agency — Preventing summer mountain incidents and preparing equipment and communications