
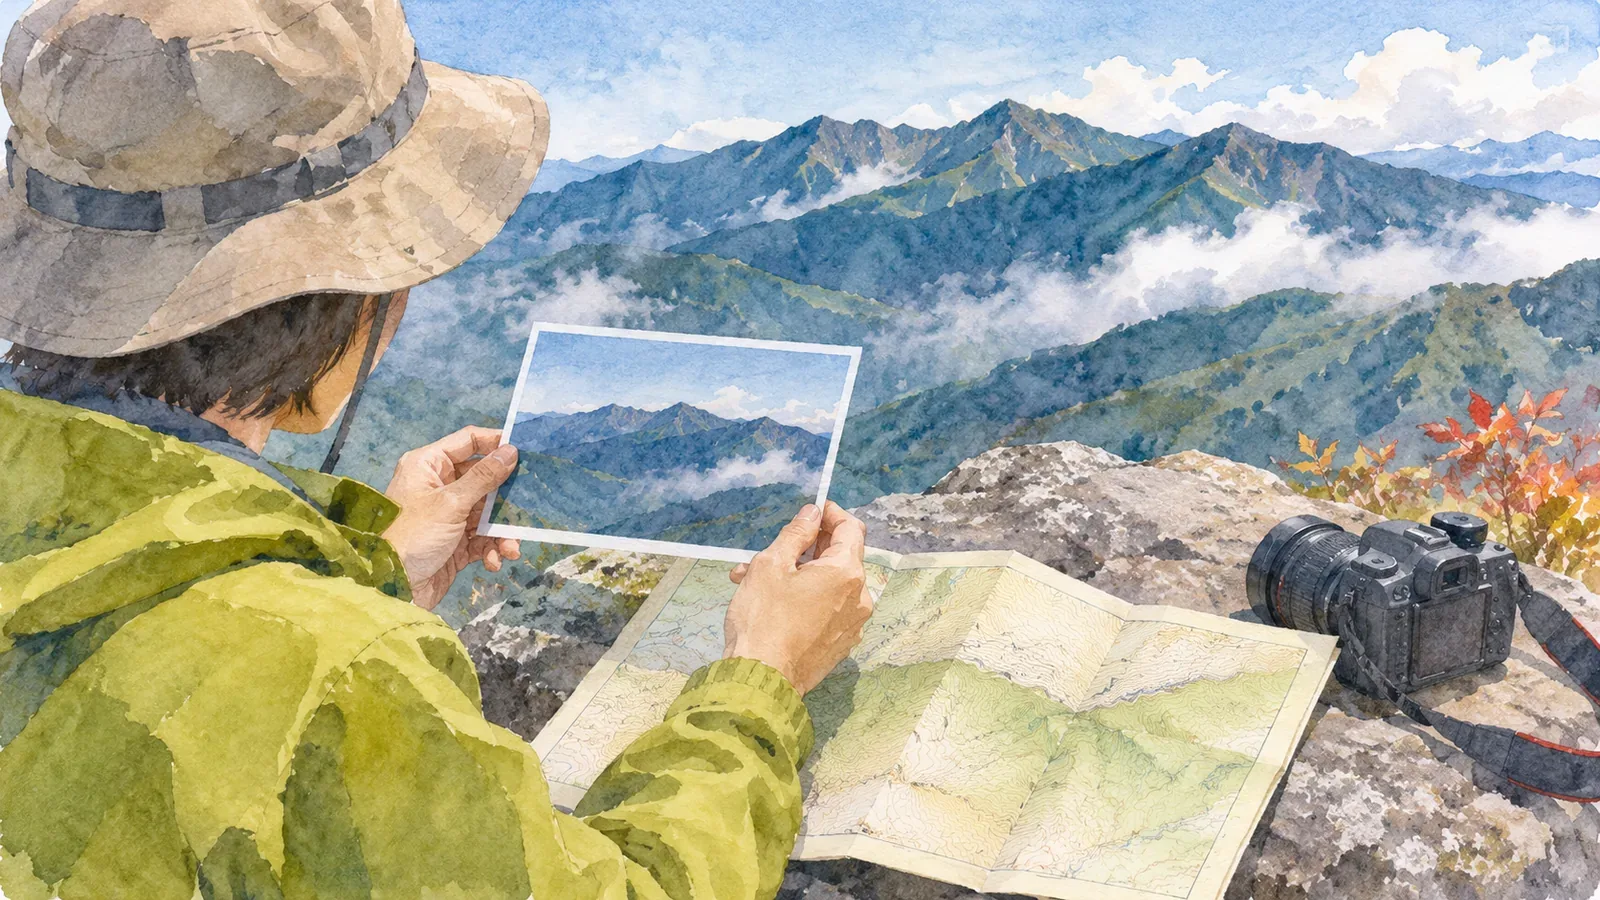
Putting names to the mountains in your photos makes them more enjoyable to revisit. If you cannot remember which way you looked from the summit or several peaks look alike, a first impression may not be enough to name them. Work out as much as you can about where the photo was taken and which way the camera faced. Then check a map and other reliable sources. When you cannot confirm a name, leave it open.
Start with the camera location and time
Before looking up a mountain name, narrow down where you took the photo. Compare your route notes with trail signs, huts, junctions or rest stops in the photos immediately before and after it. A timestamp can help match the photo to your route, although the device clock may have been off. Look for agreement across several clues before fixing a location. If a sign appears in a photo, check whether the text names the mountain or points toward the next destination. You may have moved between photographing the sign and taking the landscape photo before or after it.
If the photo contains location data, check the point on a map. The displayed point may differ from where you actually took the picture. Apple explains, for example, that mountains can block a device's view of GPS satellites. If a photo has no location record or you cannot judge its accuracy, note the area you can establish, such as “near the summit” or “between the trailhead and the pass.” Carry that uncertainty forward when trying to identify the mountain.
If your hiking notes do not match the order of the photos, check the camera's date and time settings and whether you have mixed photos from several devices before deciding which is right. If you correct a timestamp, keep the original and note what you based the change on.
Check the direction and terrain on a map
Find the possible camera location on a map and consider which way the camera likely faced. The direction of travel, a building in the photo or a foreground ridge or valley can give you clues. The camera can point away from the direction you are walking, so use other evidence as well. Keep several possible bearings if you did not record one.
Compare the possible peaks and camera location on the map. See if there is another ridge in front and whether the features match the order of the skyline in the photo. Look at how the valleys and ridges fit together before trying to pair up peaks individually from left to right. GSI Maps, from the Geospatial Information Authority of Japan, shows elevations, coordinates and relief. PeakFinder can show the mountain panorama from a selected location and lets you manually align its outline with a photo. Use it to compare the viewpoint and skyline, and check the labels against other clues before deciding. Changing the field of view or angle changes how the overlays line up, so check that several features match.
The Geospatial Information Authority of Japan lists the names, elevations and locations of selected peaks in its list of major Japanese mountains. It can help you verify names for possible matches on a map. The list covers selected peaks and cannot identify a mountain from a photo by itself. If several mountains have the same name, check their area and exact location on the map.
Handle similar peaks and obscured features
If you still have two possible peaks, write down what you have verified separately from what you are guessing. For example, “taken near the pass,” “probably facing north” and “center of photo: either Mount A or Mount B.” Record only what you can establish from the map. If you use a tentative name in the file name, mark it as such.
When clouds obscure a peak, leave the hidden outline uncertain. A photo through a break in the clouds or a reference photo from another day may show a different shape if the viewpoint or direction changed. Before using another image, check where it was taken and which way it faces. If you cannot suggest a match, leave it as “mountain name unconfirmed.”
When you ask someone you hiked with, ask if they remember the camera location or the direction they were looking instead of suggesting a name in the question. Even if your memories match, check them against a map or signs at the site. People may remember the viewpoint differently, so keep a record of your evidence. Note when you asked and what the person could recall. Even from the same mountain, the view changes with the season and weather. You can gradually check what you have with the sources available to you, without planning a difficult trip back just to identify a peak.
Keep the evidence with the name
In the caption, keep the confirmed name alongside a short note about the viewpoint, direction and sources you checked. For example, “facing north near the pass, confirmed with the map and trail signs in adjacent photos.” Note which features remained uncertain after you checked the map. Keep dates and source names so you can revisit the identification when new evidence turns up.
When publishing a photo, mark a possible name as tentative. If you find an error later, correct it and make the change clear. Before sharing, check whether the file contains location data and whether anyone you hiked with appears in it.
If you want to identify a mountain during a hike, find a place where you can stop and watch your footing without obstructing others. Put the screen away while walking. You can keep the photo and route clues to check at home. There is no need to approach a place off your planned route just to put a name to the view.
Summary: identify what you can
Work out the camera location and direction, then compare the ridges and other terrain in the photo with the map. Check several clues before relying on a timestamp, location record or memory.
Leave the name unconfirmed if you cannot narrow down the possibilities. Keep your guesses separate from the sources and record why you chose a name so you can reconsider it if new information comes to light.
References and sources
- Geospatial Information Authority of Japan: Elevations of Japan's Major Mountains
- Geospatial Information Authority of Japan: Find the Elevation of a Location
- PeakFinder: Mobile App Features
- Apple: About Privacy and Location Services in iOS, iPadOS and watchOS
- U.S. National Park Service: Keep Safety In The Picture