
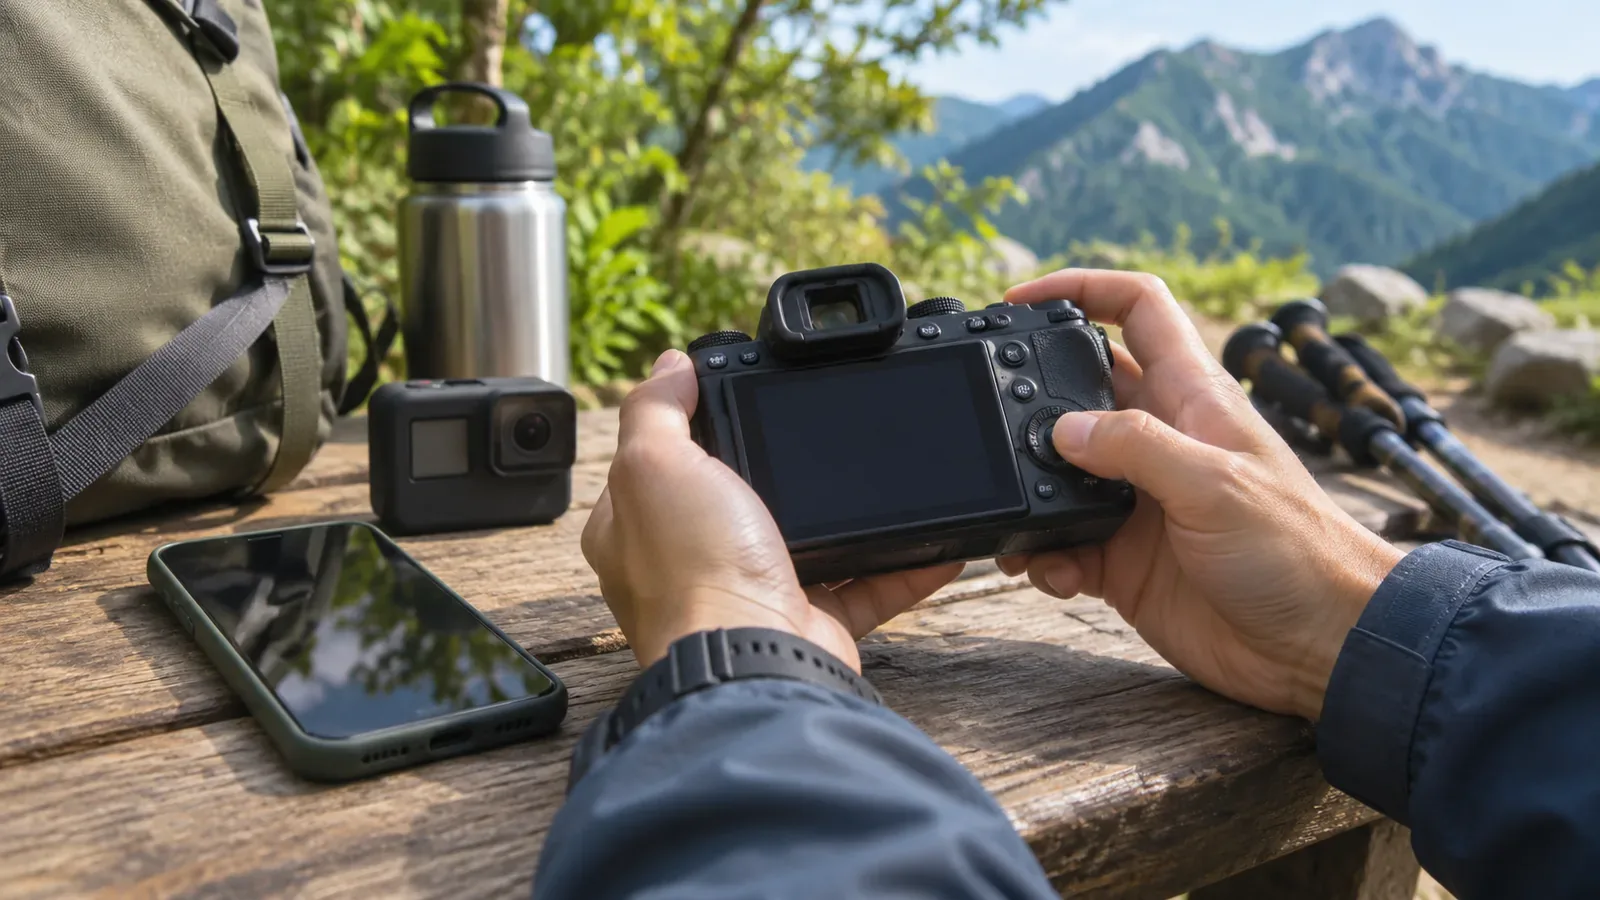
When you sort photos at home, a summit picture might appear before a trailhead shot. If your camera and phone clocks disagree, it can be hard to follow the order. Before leaving, check the date, time and time zone and compare any devices you will use. Timestamps can help you recall the route. Use other evidence to establish a photo's location.
Check the date and time before taking photos
Open the camera settings and check the year, month, day, hour and minute. Check the display format too, since the date may be right while the time is wrong, or AM and PM may be reversed. If your camera can be set to the second, check whether the reference clock offers the same precision. Use your model's manual for the controls.
Time zone and daylight saving settings are easy to miss. The Nikon Z f online manual explains how to set the time zone and clock. Canon's EOS Kiss X10i guide also covers date, time and zone. Screen labels and steps differ by model, so use the manual for your own device.
Check whether the clock has reset. The Nikon Z f, for example, displays a flashing t icon when its clock has reset. The EOS Kiss X10i date and time can reset if the battery runs out. Check your manual for the signs and conditions. After setting the clock, take a test photo and review its timestamp. If it is missing from playback, look up how to change the information display. On iPhone, go to Settings, General, then Date & Time, where Set Automatically may be available. Carrier or device management settings can limit it. Check that the phone you use as a reference is showing the correct time and time zone.
Note any differences between devices
If you plan to combine photos from a camera, phone or a companion's camera, compare them against the same clock. Note any difference you can determine. If one camera is a few minutes fast, write down the device, the difference and when you checked. That helps if the order looks wrong. If photos from the same break appear at different points in the sequence, the note can help you reconstruct the order. If you change a setting, record when so you can distinguish photos taken before and afterward.
With several devices, you can photograph the same clock face with each before you leave. This lets you compare the time shown in the image with the time the device recorded. Display and shutter timing can vary, so use the photos for an approximate comparison.
If you collect your companions' photos, ask which ones you may share and with whom. What information is stored and what survives sharing depend on the device and method. Treat timestamp organisation and sharing as separate decisions. Check location data if needed.
Compare the photos with your route at home
At home, sort by the time photos were taken and compare them with what you remember, such as setting out, breaks, the summit and the descent. If a trailhead photo appears after one taken farther along, check which device made it. File names and capture times can produce different orders. Check whether your viewer is sorting by import time instead.
Even with accurate clocks, similar scenes can occur close together. Use your notes, the map and adjacent photos before identifying a mountain or a location. Without a record, you may not know whether a photo was taken on a break or while moving. Mark uncertain details as guesses.
If you find a mismatch, keep the originals and record which clock was off and by how much. Try any changes on copies and record the original value and the edit. On a computer, Google Photos offers one option that shifts a group of timestamps by the same amount and another that gives them all one date and time. The original date and time can still appear after sharing or downloading, so check any files you pass on. Change groups of photos only when you know how far the clock was off.
Make a checklist for the next hike
Add the camera date and time, time zone and differences between devices to your pre-hike checklist. Check again when you switch devices or travel somewhere new. Do it while you have time to read the manual and settings rather than leaving it to the last moment.
Setting the clocks helps you put photos in order at home. On the trail, pay attention to your surroundings and footing first. If you stop to note a detail, choose somewhere you will not block the path. When you did not photograph something, write down what you remember and leave the exact time open.
After sorting, note where you keep the originals and organised copies. If you adjusted times, record which photos you changed and why in the same place. Choose a simple approach you can follow when you come back to the files.
Use your clock checks to organise photos later
Before leaving, check the date, time and time zone and note any differences between devices. Follow the manual for each model and confirm the recorded time with a test photo.
At home, compare the photos with your route and nearby images. Mark any uncertain places or times. If you make corrections, keep the originals and a record of the changes so you can trace them later.