
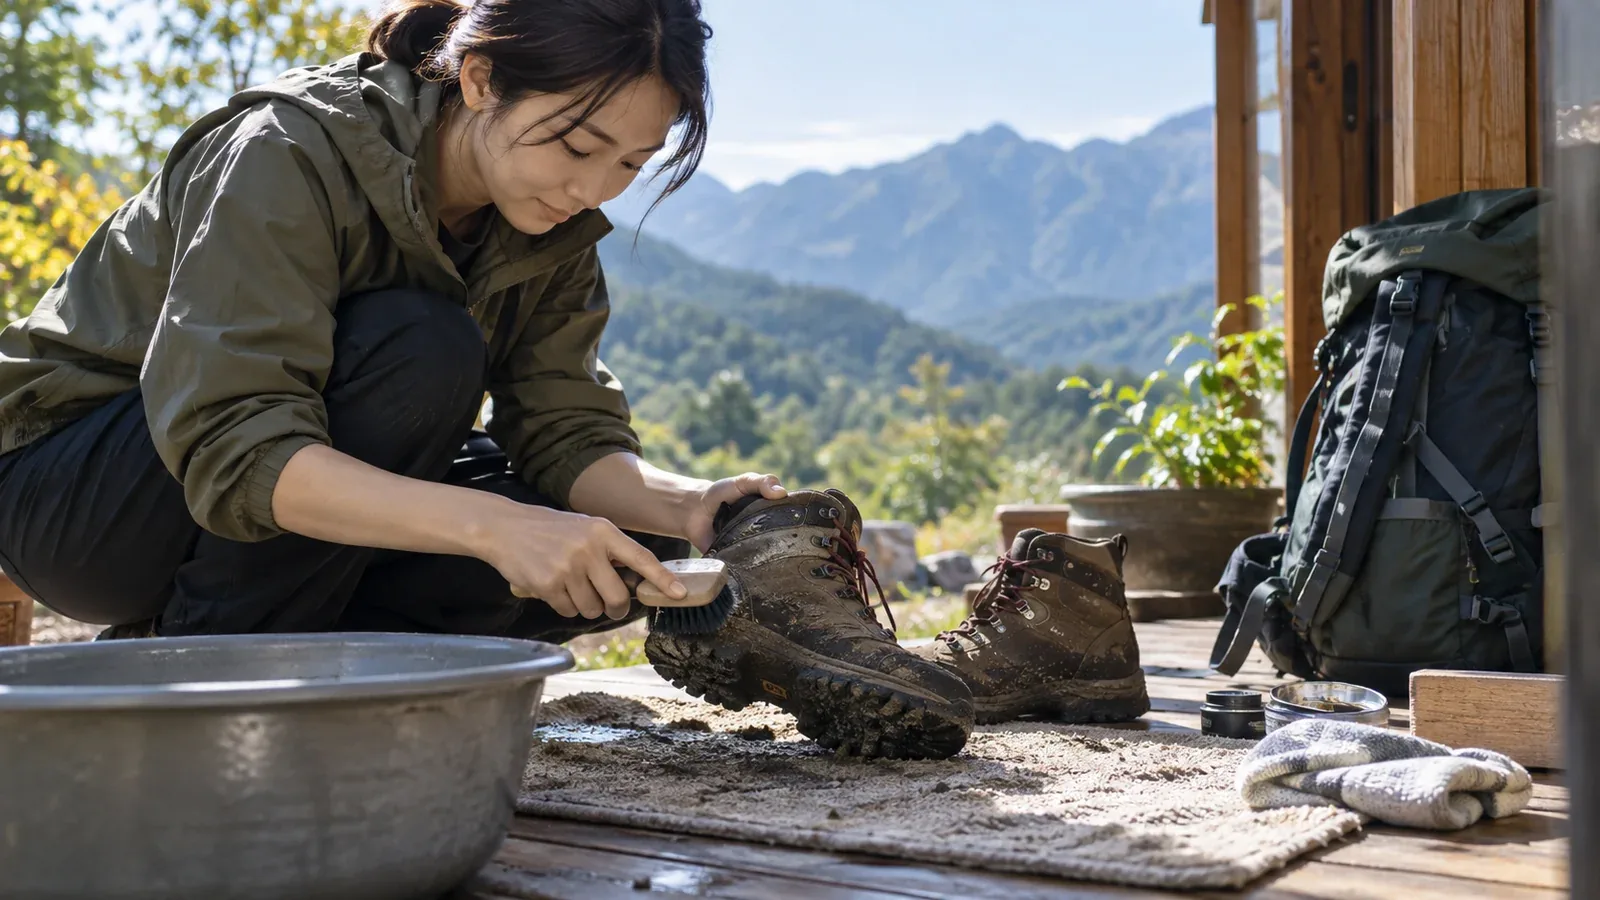
Before putting your boots away, remove mud and grit and set them up so the insides can dry. While you’re at it, look for lifting soles and wear on the upper.
The first 30 minutes can cover cleaning, preparing to dry and checking what treatment your boots need. The time is a guide for the work itself. Drying and any treatment take longer.
Start with the material
Hiking boot uppers often use leather, synthetic leather or fabric such as mesh and nylon. Some use a combination. Check the label or product specifications so you know which care your boots need.
Leather requires cleaning suited to the type and finish. If it needs conditioning, use a compatible product recommended by the boot maker. Synthetic leather can be cleaned with a cloth or brush that won’t damage the surface. Check the manual before applying a conditioner. Fabric uppers need dirt removed from the weave or mesh. For boots with waterproof breathable liners, follow the boot maker’s instructions and avoid high-pressure water.
First 10 minutes: remove mud and excess water
Take out the laces and check behind the tongue and around the eyelets for mud and sand. Wash the laces separately if needed.
Brush mud and small stones from the tread. Avoid banging the boots against the ground, and look for sole separation or damage.
If the manufacturer allows water cleaning, use a cloth or boot brush and lukewarm water around the sole seam, tread and tongue. Avoid wire brushes and bleach. If you use a cleaner, check that it’s recommended for the boots and rinse it off thoroughly.
Blot excess water with a soft towel. Take out removable insoles and dry them separately.
Next 10 minutes: set the boots up to dry
If the inside is wet, remove moisture using a method the boot maker allows. If using absorbent paper, leave room for air, replace it when damp and take it out at the end.
Dry the boots in a ventilated, shaded place away from direct sun and strong heat. Avoid radiators, a hot hair dryer and a car left in the sun.
Open the tongues wide and leave the laces out to let air reach the inside.
Check which protection suits the upper
Use the recommended leather conditioner if your boots need it. Some products go on dry leather and others on slightly damp leather. Apply it when the boots are in the condition specified in the directions.
Water repellency on the surface and conditioning the leather serve different purposes. Read both the boot and care-product instructions before using them together, and check their order and drying times.
Synthetic leather and fabric don’t need leather oil. If restoring water repellency, use a treatment approved for the material. GORE-TEX footwear care recommends a water-based repellent and advises against waterproofing wax and grease.
Common mistakes and what to check
Dry wet boots before storing them. Clean them using a method suited to the materials, then let the insides dry completely.
Look for a sole that is lifting or separating. Inspect the edges for cracks or gaps. If the sole is separating, avoid wearing the boots on the next hike and contact the manufacturer or a repair shop.
Distinguish surface wetting from water inside the boot. If water stops beading on the outer surface, clean the boot and apply a compatible repellent if needed. If water reaches the inside, check for entry at the collar or damage to the material or seams, and ask the maker for advice.
Check the wear on the tread. If the lugs are shallow or worn unevenly, look into manufacturer repairs or replacement. Some models can be resoled.
Before the next hike
Check the sole edges, tread and upper again. Inspecting the same areas regularly and noting damage makes it easier to spot change. You can keep gear notes in your Nordwand hike logs.