
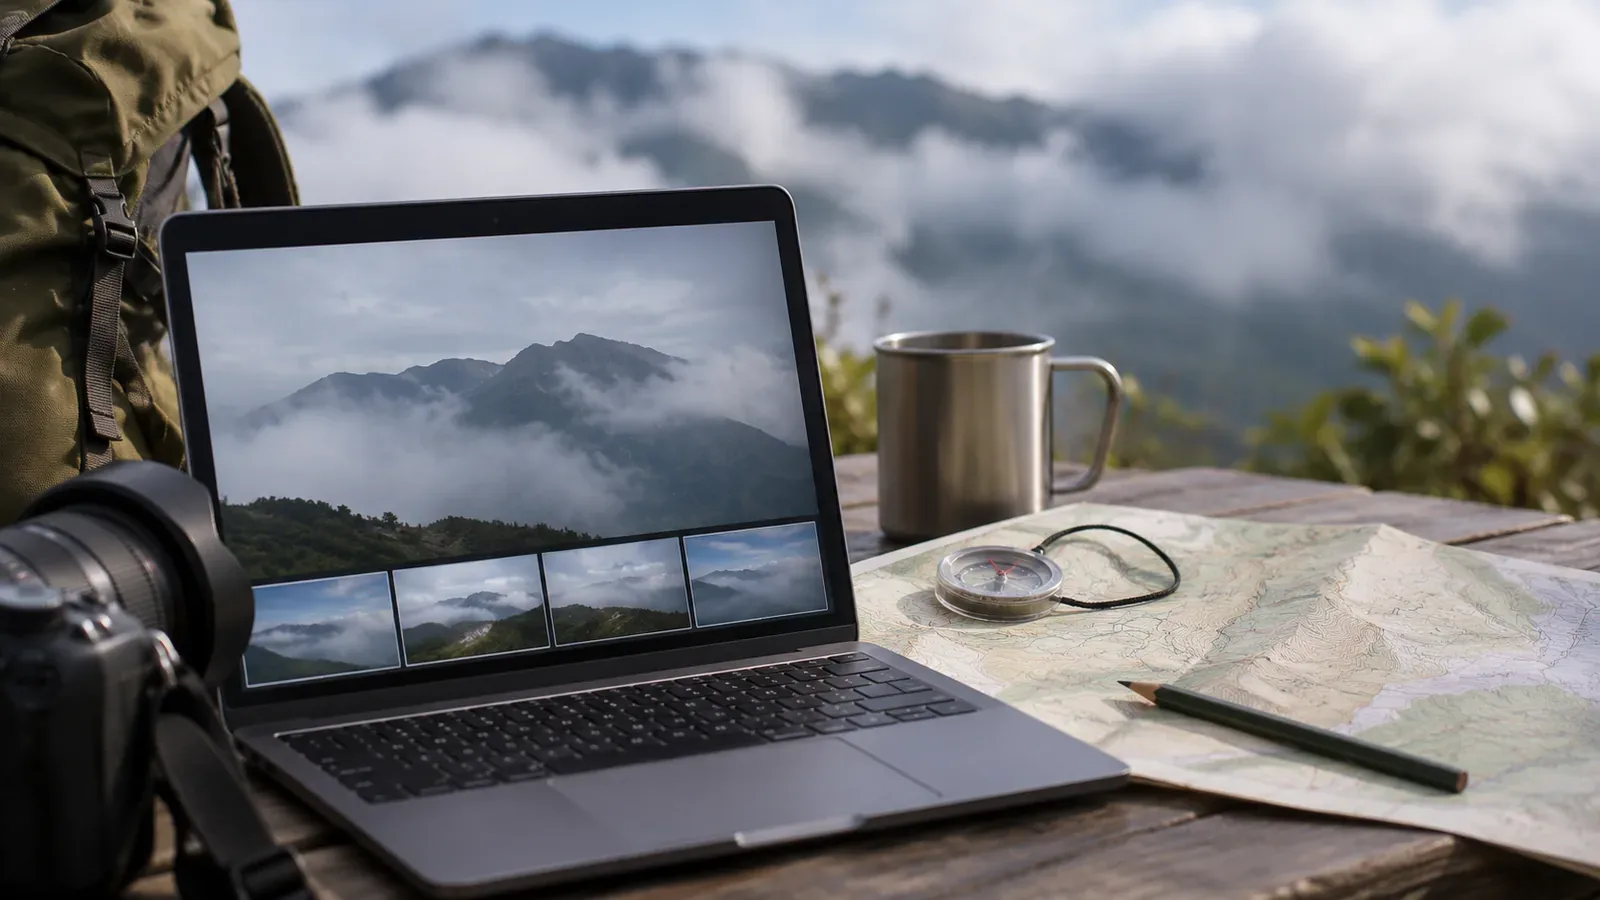
You were hoping to see a particular mountain and expect it is behind the clouds. When sorting your hiking photos, you may be tempted to write down its name. If the peak or ridge is obscured, the visible features alone may be insufficient. Check where the picture was taken and which way the camera faced. Record what actually appears in the image separately from the possible matches on the map. Noting what remains unknown helps you review the identification later.
Separate what you can see from what you expected
Look at the photo and see which ridges are visible and where the clouds begin to hide them. The photo may not tell you whether you are seeing only the foreground ridge or part of the mountain behind it as well. Keep the mountain you expect behind the clouds separate from anything you can identify in the picture.
For example, a viewpoint panel at the summit may name Mount A, but that does not mean the mountain was visible when you took the photo. The panel can help establish the direction. The cloud cover and camera angle still need to be checked separately. You could write “facing Mount A, with the summit in cloud” to distinguish the direction from what was visible.
Use that wording only when you know which way the camera faced. If the direction is unclear, try “taken near the summit, cloud-covered mountain unidentified.” A caption without a name can still preserve the clouds and your impression of the day. You can also mention watching clouds drift, seeing the light change or stopping at the viewpoint. Describing the day's experience and identifying a distant mountain are different tasks.
Check the camera location and direction
Narrow down the viewpoint using the photos before and after, your itinerary and pictures of trail signs. A recorded timestamp can help match the photo to your route, though the camera clock may have been set incorrectly. Compare the photo sequence with the trail you walked. If you cannot settle on an exact location, keep a broader description such as “near the pass.”
Location data on the photo cannot by itself tell you which mountain was visible. Google Photos explains that the camera can save a location, a user can add it, or the service can estimate it. Check where the displayed data came from and compare it with other clues. If the map location is far from your route, return to the nearby photos and your notes before using it. If you cannot tell how the location was added, note that as well.
Use the surrounding terrain, nearby trail or buildings and other photos to work out the camera direction. The direction you were walking and the direction you photographed can differ. If all you know is “somewhere to the north,” keep the search that broad. On the map, see whether another ridge lies between the viewpoint and a possible peak.
Compare possible peaks on the map with the photo
The Geospatial Information Authority of Japan lists the names and locations of major mountains and lets you open a map around the summit by selecting its name. Use the list to understand the position of a possible peak relative to the viewpoint. To identify the mountain, compare names on the map with the features visible in the picture.
Look at nearby mountains and foreground ridges as well as the possible match. A name printed nearby does not mean it belongs to the most prominent shape in the photo. Tools such as PeakFinder can overlay the panorama from a selected point on a photo and let you adjust the outline. This does not make the cloud-covered outline visible in the original photo. If too few visible features match, leave the possibilities open.
If you use photos from another day or an illustrated panorama, check whether the viewpoint and direction match. Similar outlines in photos with different fields of view or cloud positions may belong to different mountains. Note who created the reference, where and, if known, when. Briefly record what matches and what remains uncertain. Compare candidates on the same terms by writing down the bearing from the viewpoint, the foreground ridge and the visible skyline for each. If any clue conflicts, leave the identification open and keep the conflicting evidence.
Check the caption and location data before publishing
When showing the photos to others, mark any possible name as tentative. Instead of just writing “Mount A,” you could say “possibly facing Mount A, with the summit hidden by clouds.” Readers then know how far you got. If another source confirms the name later, update the caption and note the correction if needed.
A file you share may contain the camera location. Apple's iPhone guide explains that sharing a photo or video can also share metadata such as location. Before publishing, review the device or service settings and who can access the photo. If anyone you hiked with appears, check what they are comfortable with.
Keep the original photo separate from the caption and any organized copies so you can revisit the possible matches. Mark any provisional name clearly. You can save the possible names and the reasons for them in the caption or in a separate note as well as in the file name. If you revise a name later, keep a record of why, so another viewer will not mistake a guess for a confirmed identification.
Summary: leave what's behind the clouds unconfirmed
When clouds hide a summit or ridge, describe the visible features separately from the possible mountain on the map. Compare the viewpoint and direction with the surrounding photos, route and map before choosing between candidates.
Leave the name open if you cannot confirm it, and note your sources and what remains uncertain. Before sharing the photo, check its location data and whether anyone from the group appears.