
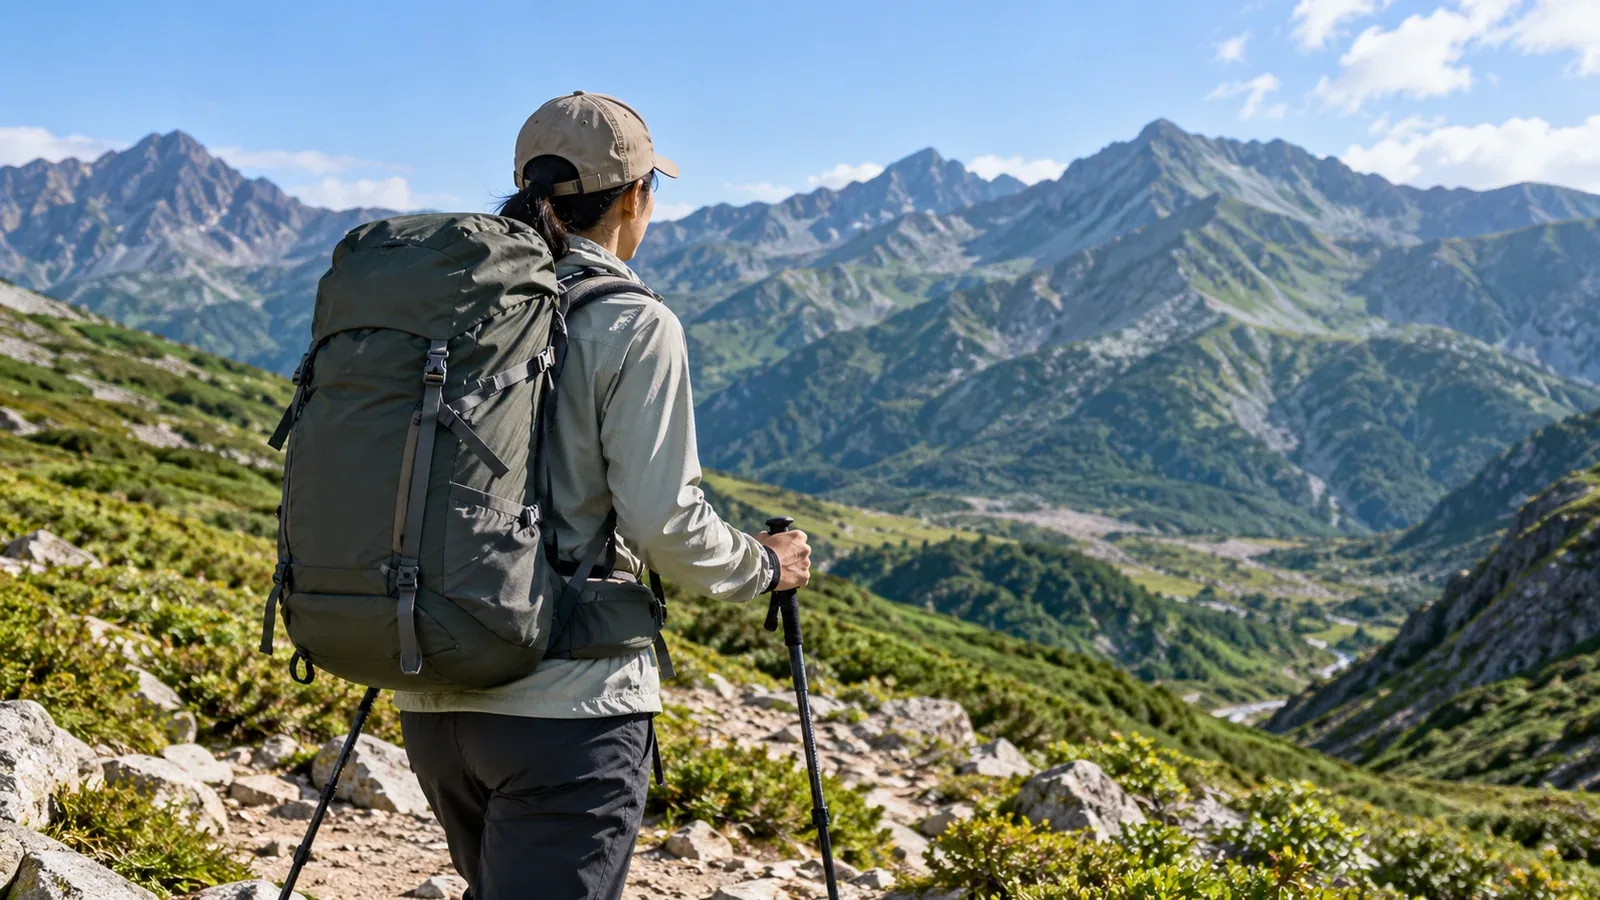
When you put on a hiking pack, the weight may concentrate on your shoulders or the contents may sway with each step. Check strap position and tension, torso length, and how you packed it to narrow down the cause.
With packs that have a load-bearing hipbelt, one method is to set the hipbelt first, then adjust the shoulders. This guide shows a common sequence. Strap designs and fitting sequences vary, so check your pack's instructions.
Why the order matters
A load-bearing hipbelt wraps around the upper pelvis to share the weight between the hips and shoulders. How much weight it transfers depends on the frame, belt construction, fit, and the load.
If you tighten the shoulder straps first, it can be harder to position the hipbelt on the pelvis. When fitting from the hips, loosen the shoulder straps to set the belt position, then bring the shoulder straps into place.
Even with the same load, strap position and packing can change pressure on your shoulders and how much the pack sways. Check it with a realistic load before setting out.
Before putting the pack on: loosen the straps
To start the fit again, loosen the straps before putting the pack on. Load it with a realistic weight you can manage comfortably.
Prepare whichever straps your pack has.
- Hipbelt: undo the buckle and loosen both sides.
- Shoulder straps: loosen the length adjusters.
- Load lifters: loosen the diagonal straps above the shoulder straps if they were tightened.
- Sternum strap: undo the chest buckle and loosen the strap if needed.
Stand on stable ground and put both arms through the shoulder straps. For a heavy pack, rest it on a stable raised surface or ask someone to support it as you put it on.
Four steps to adjust the straps
Step 1: fit the hipbelt around the iliac crest
For a pack designed to transfer weight to the hips, position the belt pads around the iliac crest, the upper edge of the pelvis. Close the buckle and tighten both sides evenly.
The height of the pads varies by manufacturer and model. Use the instructions as a guide. Adjust so the belt doesn't slip when you walk or press hard on one spot on the abdomen or hipbone.
Step 2: tighten the shoulder straps to follow your shoulders
Once the hipbelt is positioned, pull both shoulder straps gradually until they follow the curve of your shoulders. Follow the buckle and adjuster design for which direction to pull.
If the straps rub your neck or leave large gaps over your shoulders, check where the harness attaches and whether the torso length fits. For adjustable models, reset the length as the maker directs.
The straps should follow your shoulders without strong pressure when you move your arms. If the pack is designed to carry weight at the hips, avoid lifting the whole pack by tightening the shoulder straps hard.
Step 3: adjust the load lifters
Load lifters connect the upper shoulder straps to the top of the pack. If your pack has them, set the hips and shoulders first, then pull lightly to bring the load closer to your body.
Loosen them if they lift the shoulder straps or cause pressure at the neck or shoulders. Recommended angles vary by model. Follow the instructions and check the pack is stable when you walk.
Step 4: fasten the sternum strap
The sternum strap helps prevent the shoulder straps from sliding outward. Set the height in the range the manufacturer recommends and fasten it loosely enough to breathe deeply without pressure on your chest.
Lift your arms or mimic using hiking poles to check that the straps and your breathing feel comfortable. If you feel restricted, adjust the height or length of the sternum strap.
Two checks after you start walking
When you start walking, check for pressure or swaying. Stop in a safe place if you need to adjust.
Where the weight sits: if it concentrates on your shoulders, recheck hipbelt position, packing, and torso length. If the hips hurt, check position and overtightening there as well.
Whether the pack sways side to side: check for loose straps, gear moving inside, or more weight on one side. You can also repack or adjust the compression straps.
Drinking water or taking out rain gear changes the load or where it sits. Adjust straps and packing during breaks as needed.
When torso length may be the problem
If the pack still doesn't fit after adjustment, its frame or back-panel length may not suit your torso.
Comparing packs with a load inside can help you check torso length and hipbelt shape. In a shop, ask about fitting weights and follow the manufacturer's adjustment steps.
Next steps
Before your next hike, try adjusting the pack with a load close to what you plan to carry. Walk briefly to check pressure at the shoulders or hips and side-to-side movement. A companion looking from the side can help spot gaps under the straps or a tilted pack. You can also ask hikers in Nordwand's Base Camp or communities for particular interests about similar routes.