
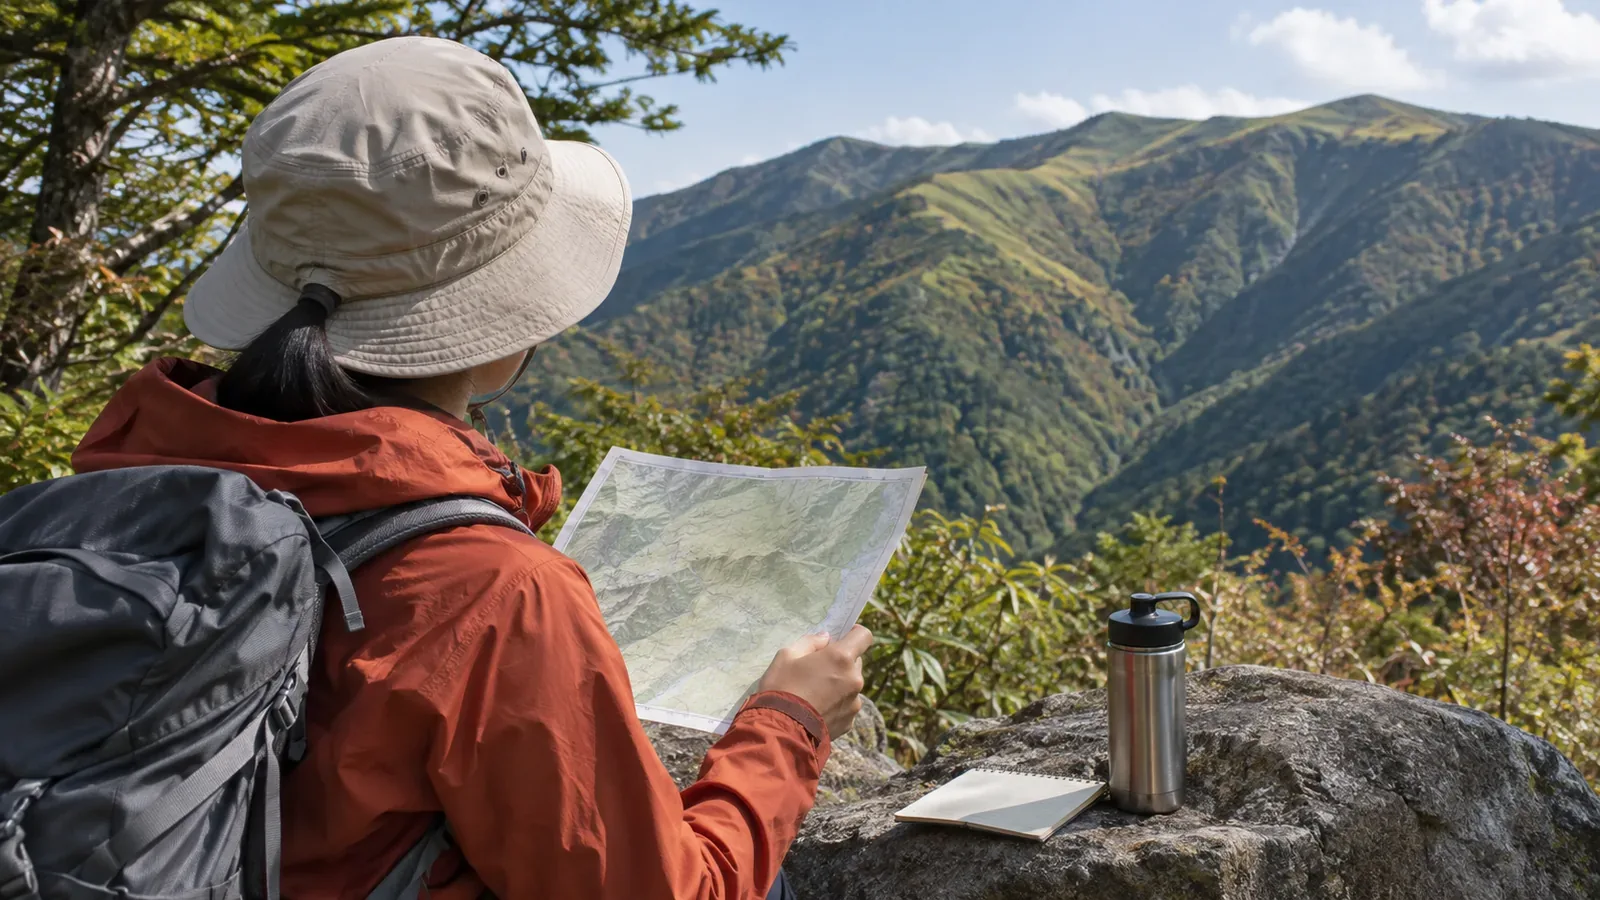
A terrain model can give you a preview of the landscape you will see on a hike. Check the area it covers and its scale, then match your route to the hiking map you plan to carry. On the trail, compare the map with your surroundings from a safe place to stop. These suggestions are based on visitor information checked on November 4, 2026. Keep using a hiking map and check current trail access separately.
Our main example is Mitake Visitor Center, which is listed by the Tokyo Metropolitan Government Bureau of Environment. For precautions on the trail, we refer to the Nasu Highland and Tanzawa visitor centers' guidance. Facilities and mountains differ. Ask the staff who cover the area where you plan to hike what applies there.
What to check first: Coverage, scale, and how the model shows elevation
According to the Bureau of Environment, Mitake Visitor Center has a 1:5,000 wooden terrain model and a diorama of Mount Mitake on the second floor. The first floor has displays on wildlife and plants you may see at the time of your visit and information on hiking around Mitake. Admission is free. The center lists the terrain model and diorama as separate exhibits. Its page does not say where the model's boundaries are or how it corresponds to the actual trails. Before you apply what you see to the landscape outside, check the display notes or ask an interpreter.
Compare the scale of the model with your own map. If you have a 1:25,000 map, a 1:5,000 model shows a given distance at five times the length on the map, provided the two cover the same area. The center's information does not say whether elevation is shown at the same scale or exaggerated. A slope that looks steep on the model may feel different underfoot.
Check five things in the exhibit. Find the model's boundaries and see whether your entire route fits inside them. Check whether north points the same way as on your map. Look for the trailhead, major trails, and facilities. Check for a note on vertical exaggeration. Finally, see what the diorama and terrain model each depict and what they are designed to explain. These checks make it easier to transfer what you see to your map.
From the model to paper: Mark the features you want to spot
To put the exhibit to use, transfer what you noticed to your own map. The Tanzawa visitor centers advise hikers to carry a map, and Nasu Highland Visitor Center asks hikers to carry a 1:25,000 map. A note on the map makes it easier to look up a feature on the trail. Do this indoors while standing or sitting somewhere stable.
Start by tracing your planned route on your map. Then find the same route on the model and see where it follows a ridge or valley or crosses a slope. Locate those sections on the contour map and mark where the contour lines are close together or widely spaced. Finally, pick a few of the marked features you think you can recognize from the trail and describe them briefly in the margin.
Try starting with about three landmarks. A short list is easy to refer to, and you can keep any other information you need to locate yourself. The Tanzawa guidance urges hikers to descend before sunset and carry a light. Treat spotting terrain features as an aid to thinking about your position. Keep each note short, such as “reach the ridge” or “valley closes in on the right.”
On the trail: Stop where you can compare, and turn back if you cannot verify your position
Check the map or look for landmarks while stopped on stable footing where others can pass. If you cannot safely stop where you planned to look for a feature, skip that observation. If you are unsure of your position or direction, find a safe place to stop and resolve it before continuing. Compare the map with your surroundings and check other information such as GPS if you need it.
Sometimes a feature will be out of sight or the landscape will appear to disagree with the map. Trees or weather can obscure the view. If that happens, stop looking ahead as you walk and check your position relative to a point you can positively identify. If you cannot verify it, keep the option of turning back while it is still safe to do so. The shape you saw on the model cannot tell you where you are.
Nasu Highland Visitor Center's trail information warns against relying on markers alone. A report dated April 25, 2025 cautions hikers against assuming they are safe because they are on the summer trail or can see pink ribbons. Another report urges hikers to be ready to turn back even if there is a shelter ahead. These are past reports from Mount Nasu. They illustrate the judgment to use with terrain features as well: spotting one gives you a clue, and you still need to decide whether it is safe to continue.
Questions for staff and alternatives at centers without a model
Mitake Visitor Center says its interpreters provide information on trails and nature. It also lists guided walks that may be available without advance booking and planning advice for groups. Use the notes in the exhibit or ask an interpreter how the display relates to the actual trail. The listed hours are 9:00 a.m. to 4:30 p.m. The center closes on Mondays, on the following day if Monday is a public holiday or Tokyo Citizens’ Day, and from December 29 to January 3. Check the official page if you plan to stop there before your hike.
Have three questions ready. What area does this model cover, and where on it is today's route? What features on the route are easiest to recognize on the ground? What is the latest information on closures or other changes, which sections does it cover, and when was it confirmed?
That third question follows the Tanzawa visitor centers' advice to check the closures section of their Tanzawa hiking page. The Mitake page describes its trail information as “real-time.” When you read a notice at the center or check an official update, record when you checked it.
Some visitor centers have no terrain model. The Lake Shikotsu Visitor Center home page says that a walking map and a new Lake Shikotsu Handy Guide are available as PDFs. The page confirms that you can get them. Download them to see whether they show the terrain features you are looking for. For these resources too, check the coverage and scale, and compare useful details with the map you will carry.
Summary: Preview the terrain on the model and make decisions using your map and conditions on the ground
Transfer terrain features from the exhibit to your map indoors and compare them with the trail from a safe place to stop. Check the model's coverage and scale, annotate your map, compare the map with your surroundings on the trail, and bring questions to an interpreter. If you cannot spot a feature or the map and landscape do not line up, keep the option to turn back. Use the model as a preview and establish your position on the ground. For closures and trail conditions, ask local staff what section the information covers and when it was confirmed.